Pre-Reg and Vouchers March 2017 - College Board · During this presentation,we will discuss: •...
36
Welcome to this presentation on ACCUCPLACER Pre‐Registration and Vouchers. Remember that you can pause this video using the controls at the bottom of the window. 1
-
Upload
truonghanh -
Category
Documents
-
view
214 -
download
0
Transcript of Pre-Reg and Vouchers March 2017 - College Board · During this presentation,we will discuss: •...
Welcome to this presentation on ACCUCPLACER Pre‐Registration and Vouchers. Remember that you can pause this video using the controls at the bottom of the window.
1

During this presentation, we will discuss:
• The benefits of using pre‐registration and vouchers to test students.• The process of pre‐registering students prior to testing.• How to generate vouchers for students• Testing procedures when using vouchers
and
• Fast Track as another option to speed the process of testing
2
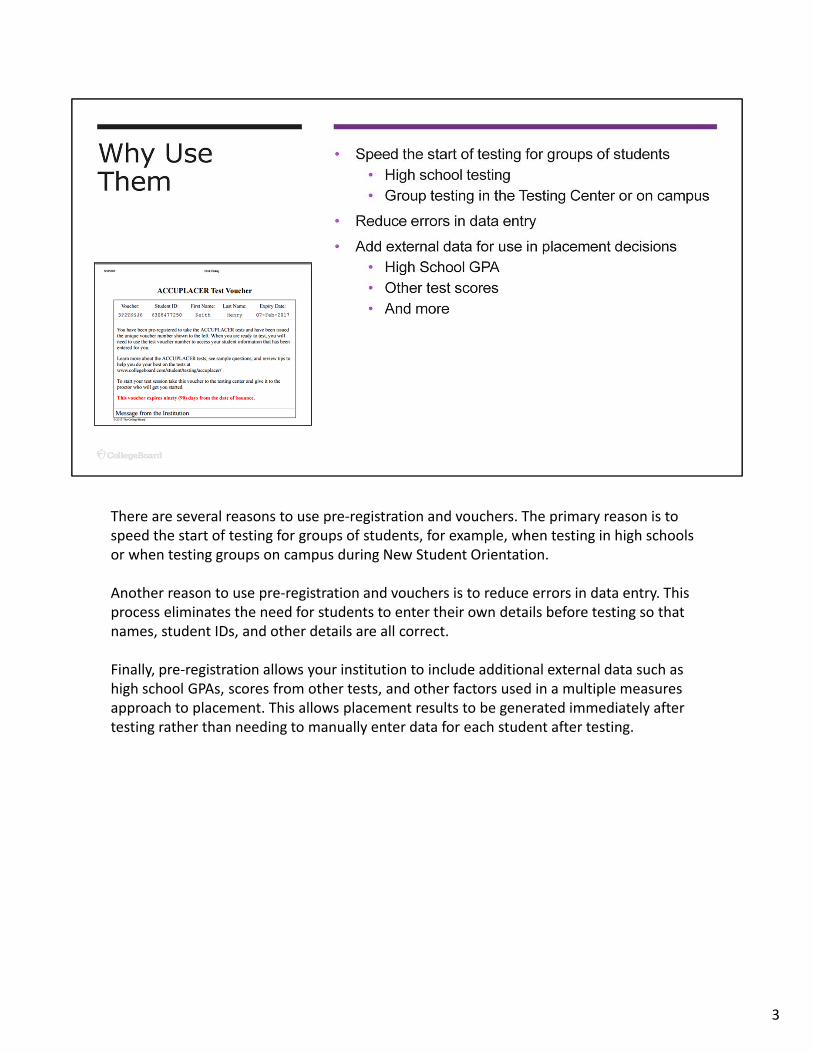
There are several reasons to use pre‐registration and vouchers. The primary reason is to speed the start of testing for groups of students, for example, when testing in high schools or when testing groups on campus during New Student Orientation.
Another reason to use pre‐registration and vouchers is to reduce errors in data entry. This process eliminates the need for students to enter their own details before testing so that names, student IDs, and other details are all correct.
Finally, pre‐registration allows your institution to include additional external data such as high school GPAs, scores from other tests, and other factors used in a multiple measures approach to placement. This allows placement results to be generated immediately after testing rather than needing to manually enter data for each student after testing.
3

Use of pre‐registration and vouchers consists of preparation before testing and then the testing itself.
Before testing you will pre‐register students using a spreadsheet template available inside ACCUPLACER. Next, you will choose and assign the desired Branching Profile. Finally, you will create and print vouchers.
To test, students will enter voucher details on their won screen. To begin testing, the proctor can authorize all students from the Test Center Management Dashboard.
To pre‐register students and create vouchers, you must log in as a Site Manger, Proctor, or Proctor Reporter.
4
Completing Pre‐Registration
5
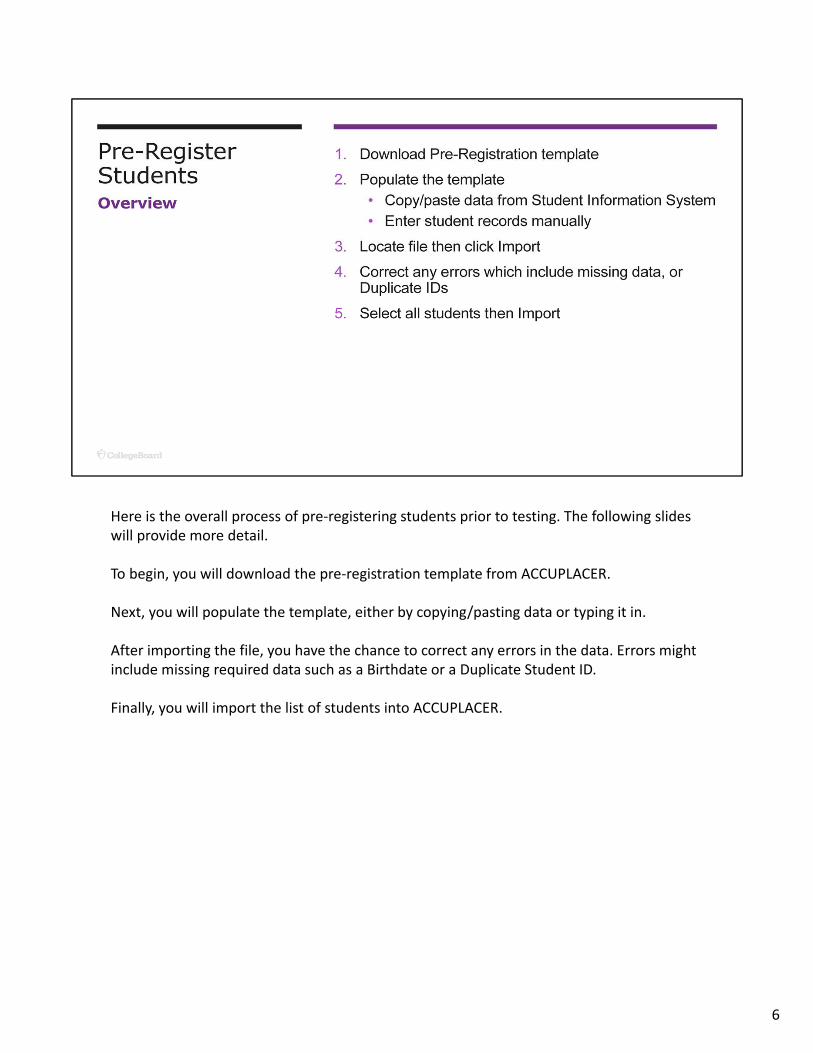
Here is the overall process of pre‐registering students prior to testing. The following slides will provide more detail.
To begin, you will download the pre‐registration template from ACCUPLACER.
Next, you will populate the template, either by copying/pasting data or typing it in.
After importing the file, you have the chance to correct any errors in the data. Errors might include missing required data such as a Birthdate or a Duplicate Student ID.
Finally, you will import the list of students into ACCUPLACER.
6
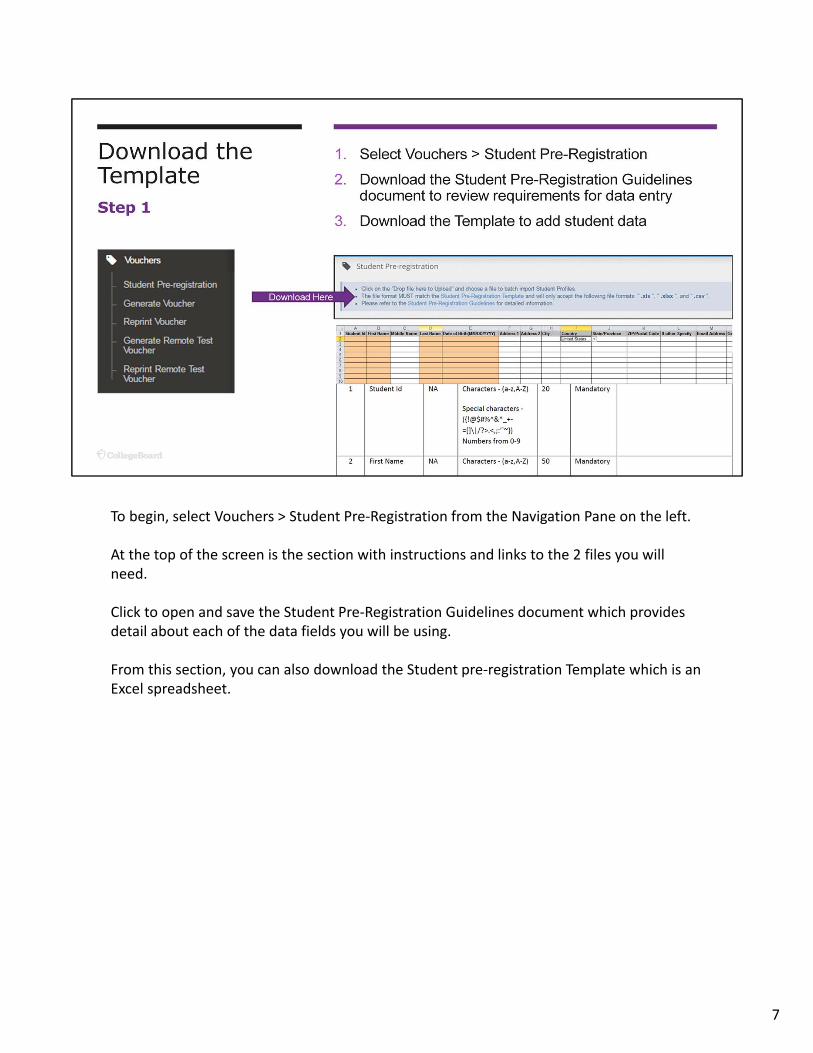
To begin, select Vouchers > Student Pre‐Registration from the Navigation Pane on the left.
At the top of the screen is the section with instructions and links to the 2 files you will need.
Click to open and save the Student Pre‐Registration Guidelines document which provides detail about each of the data fields you will be using.
From this section, you can also download the Student pre‐registration Template which is an Excel spreadsheet.
7
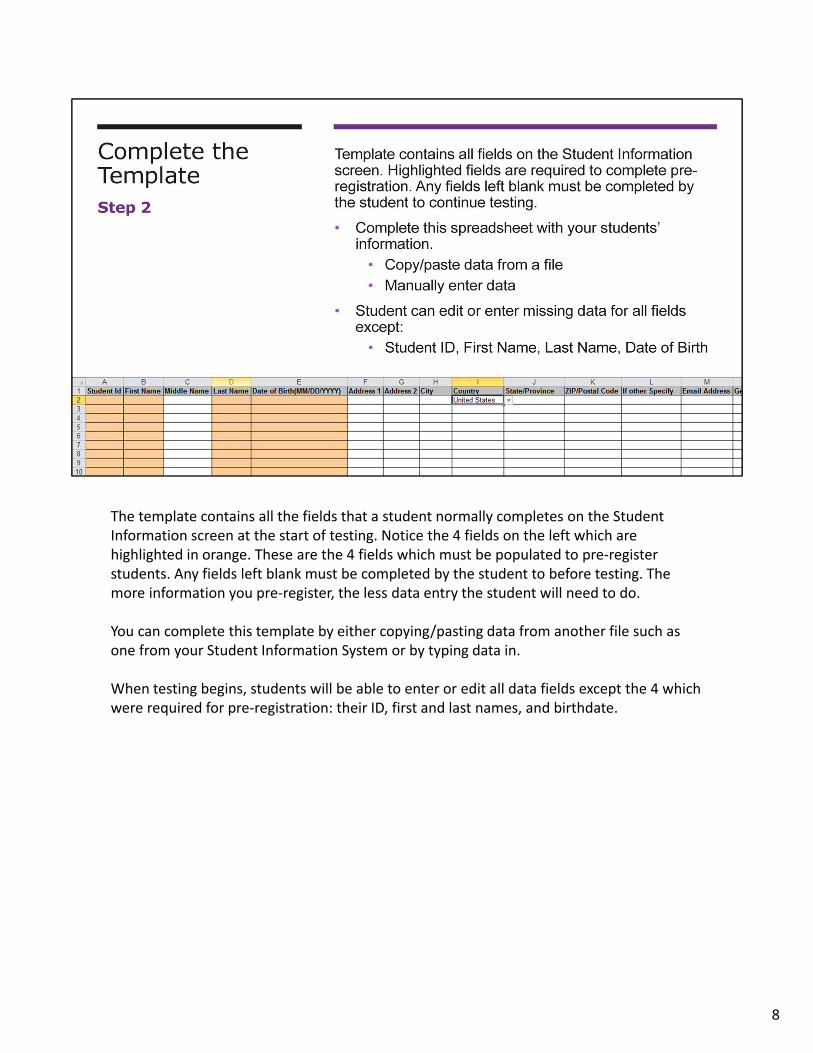
The template contains all the fields that a student normally completes on the Student Information screen at the start of testing. Notice the 4 fields on the left which are highlighted in orange. These are the 4 fields which must be populated to pre‐register students. Any fields left blank must be completed by the student to before testing. The more information you pre‐register, the less data entry the student will need to do.
You can complete this template by either copying/pasting data from another file such as one from your Student Information System or by typing data in.
When testing begins, students will be able to enter or edit all data fields except the 4 which were required for pre‐registration: their ID, first and last names, and birthdate.
8
Here are some tips to consider for completing the pre‐registration process:
• Particularly useful for high school testing, complete templates of students by subject.
• Also for high schools, you may wish to complete templates by section to simplify the distribution of vouchers to teachers.
• Rather than searching for students who need to retest, they can be put into a new template and be pre‐registered again.
• Note that birthdate must be entered using 2 digits for the month and day, and 4 digits for the year all separated by slashes.
• To save time and increase accuracy, you can copy/paste data from your Student Information System. Note that the template uses Excel macros which ACCUPLACER needs to complete pre‐registration properly. You cannot just upload a file in the same format as the template because it will not work properly.
• Pre‐registering students does not consume test units. Units are only charged once the student begins each test in a Branching Profile.
9
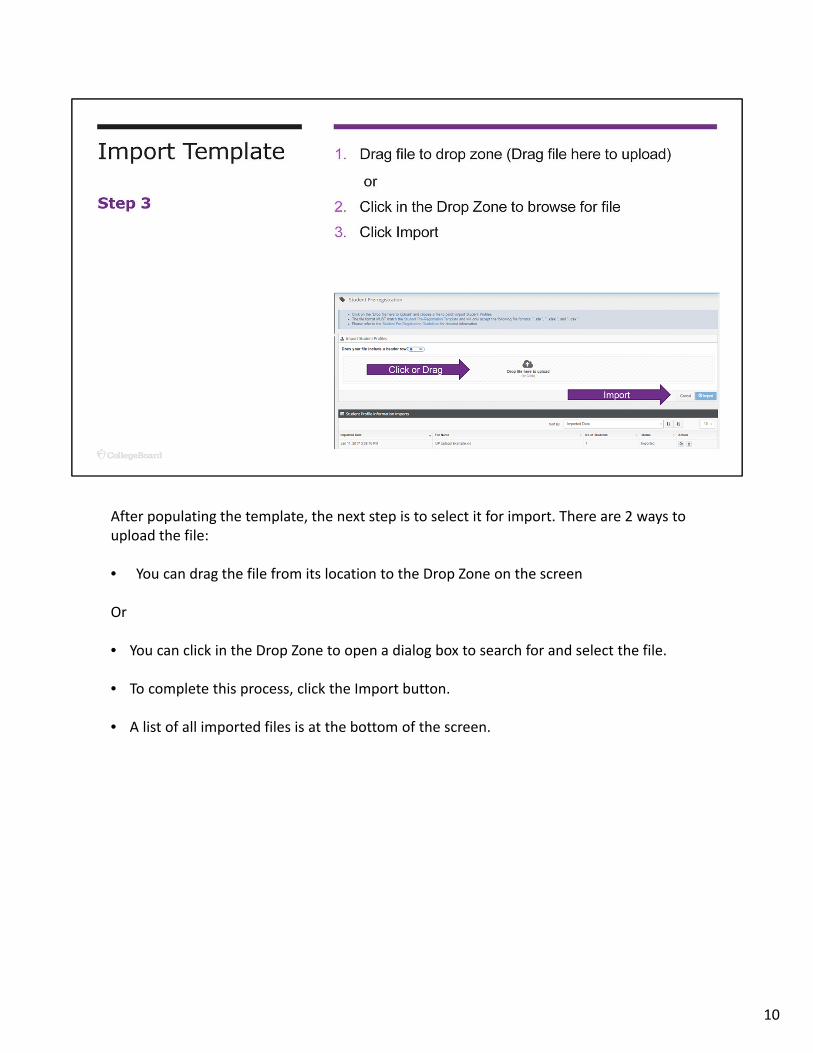
After populating the template, the next step is to select it for import. There are 2 ways to upload the file:
• You can drag the file from its location to the Drop Zone on the screen
Or
• You can click in the Drop Zone to open a dialog box to search for and select the file.
• To complete this process, click the Import button.
• A list of all imported files is at the bottom of the screen.
10
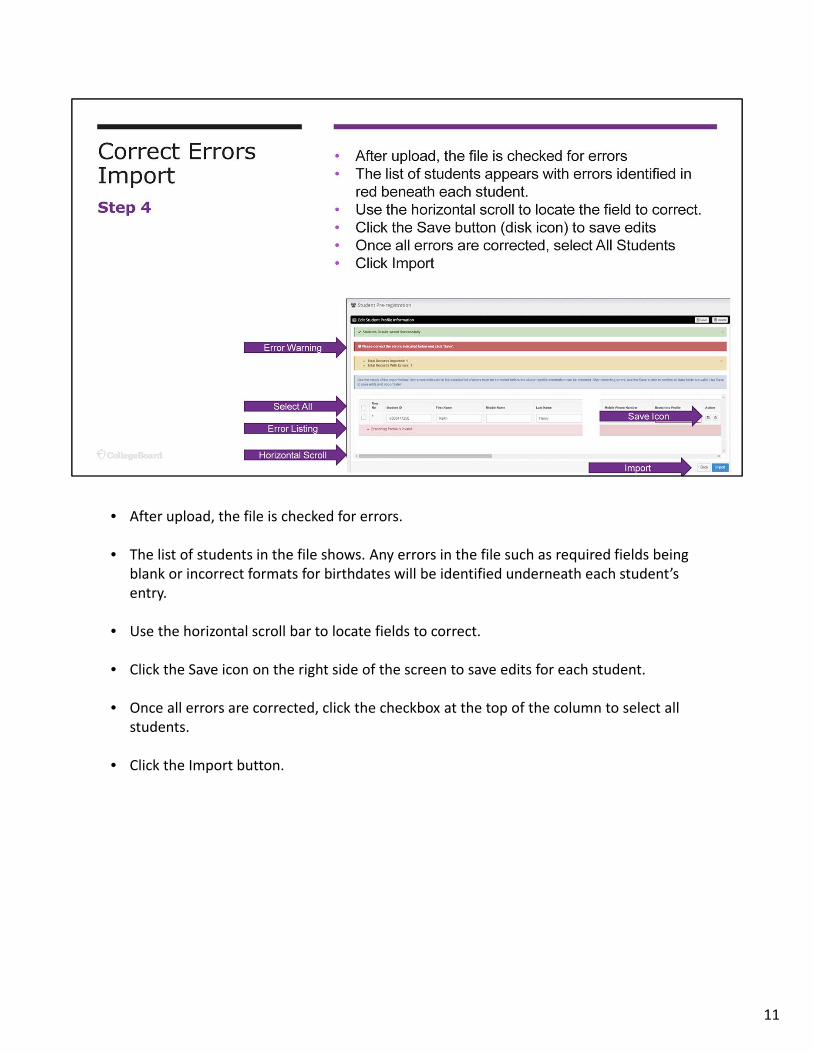
• After upload, the file is checked for errors.
• The list of students in the file shows. Any errors in the file such as required fields being blank or incorrect formats for birthdates will be identified underneath each student’s entry.
• Use the horizontal scroll bar to locate fields to correct.
• Click the Save icon on the right side of the screen to save edits for each student.
• Once all errors are corrected, click the checkbox at the top of the column to select all students.
• Click the Import button.
11
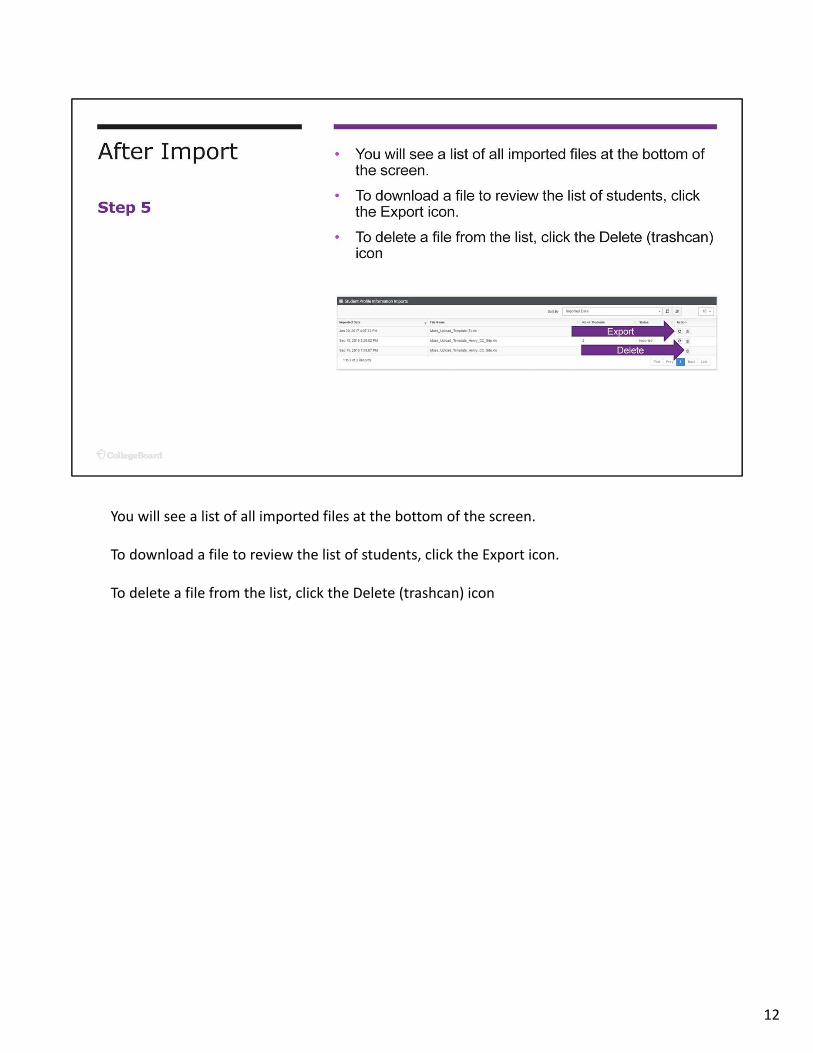
You will see a list of all imported files at the bottom of the screen.
To download a file to review the list of students, click the Export icon.
To delete a file from the list, click the Delete (trashcan) icon
12

Creating Vouchers
13
There are 4 steps to the process of creating vouchers.
First, you will select the pre‐registration file(s) containing the students you want.
You can add or remove students from the list if needed.
Next, you will apply the appropriate Branching Profile.
Finally, you will print vouchers to distribute to students.
14
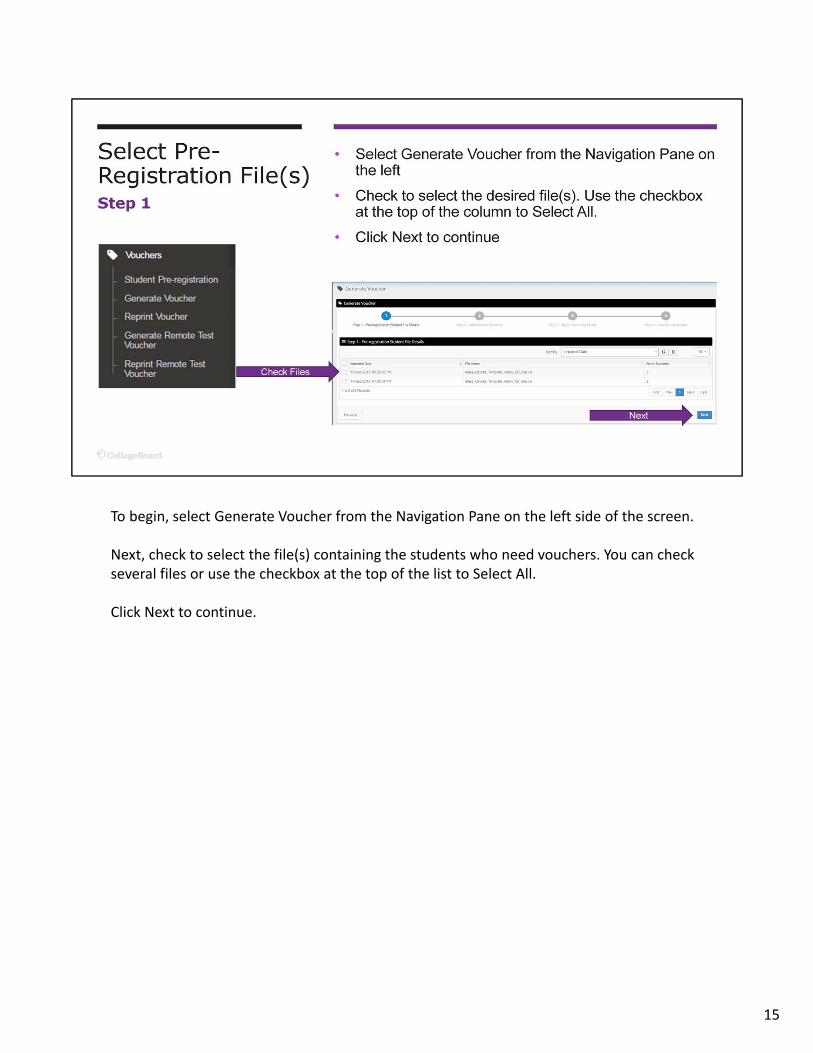
To begin, select Generate Voucher from the Navigation Pane on the left side of the screen.
Next, check to select the file(s) containing the students who need vouchers. You can check several files or use the checkbox at the top of the list to Select All.
Click Next to continue.
15
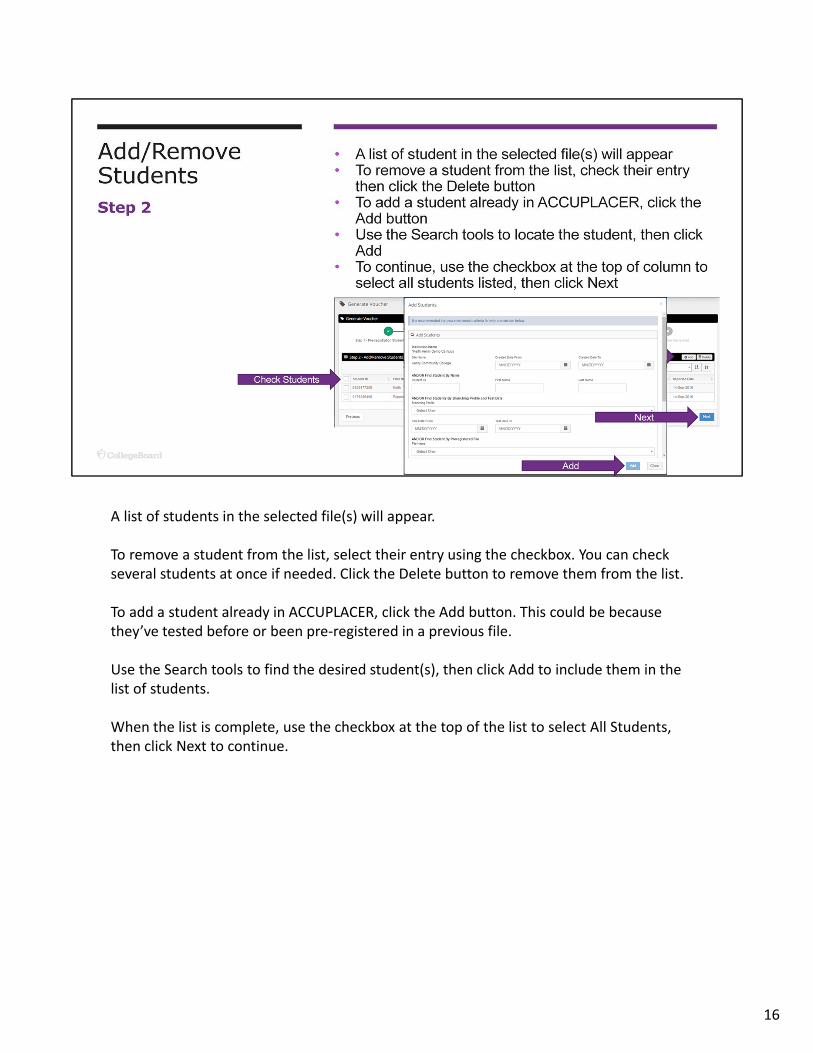
A list of students in the selected file(s) will appear.
To remove a student from the list, select their entry using the checkbox. You can check several students at once if needed. Click the Delete button to remove them from the list.
To add a student already in ACCUPLACER, click the Add button. This could be because they’ve tested before or been pre‐registered in a previous file.
Use the Search tools to find the desired student(s), then click Add to include them in the list of students.
When the list is complete, use the checkbox at the top of the list to select All Students, then click Next to continue.
16
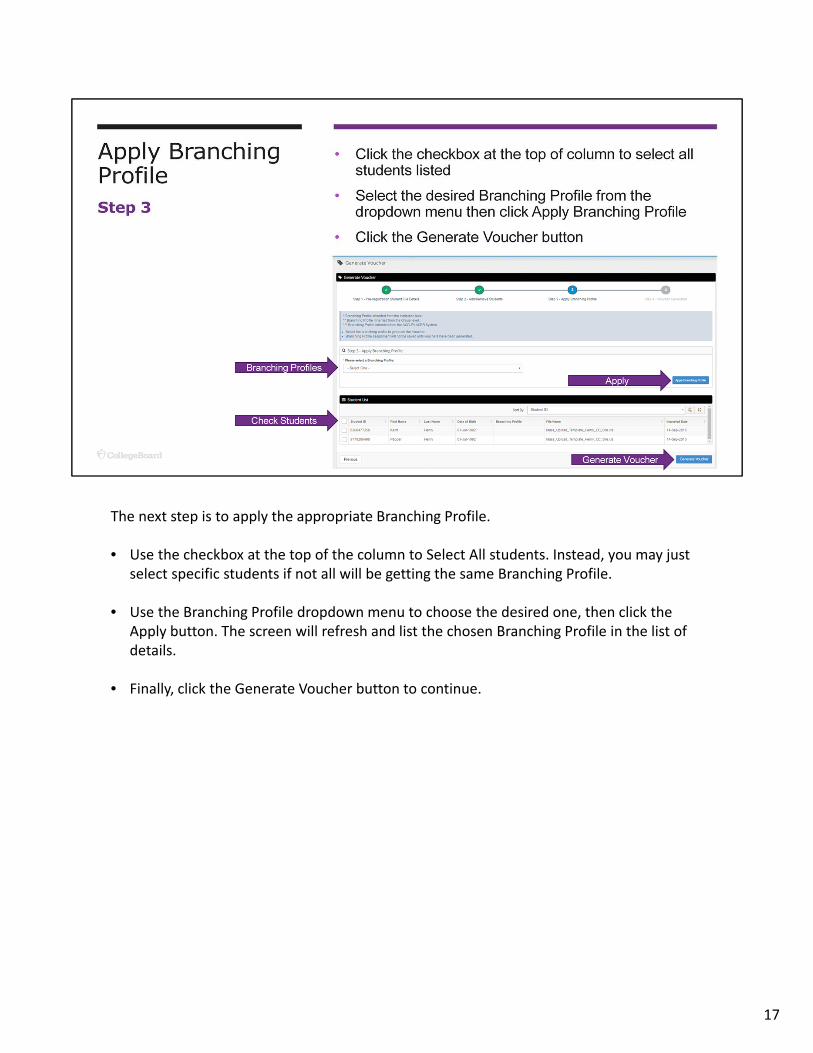
The next step is to apply the appropriate Branching Profile.
• Use the checkbox at the top of the column to Select All students. Instead, you may just select specific students if not all will be getting the same Branching Profile.
• Use the Branching Profile dropdown menu to choose the desired one, then click the Apply button. The screen will refresh and list the chosen Branching Profile in the list of details.
• Finally, click the Generate Voucher button to continue.
17
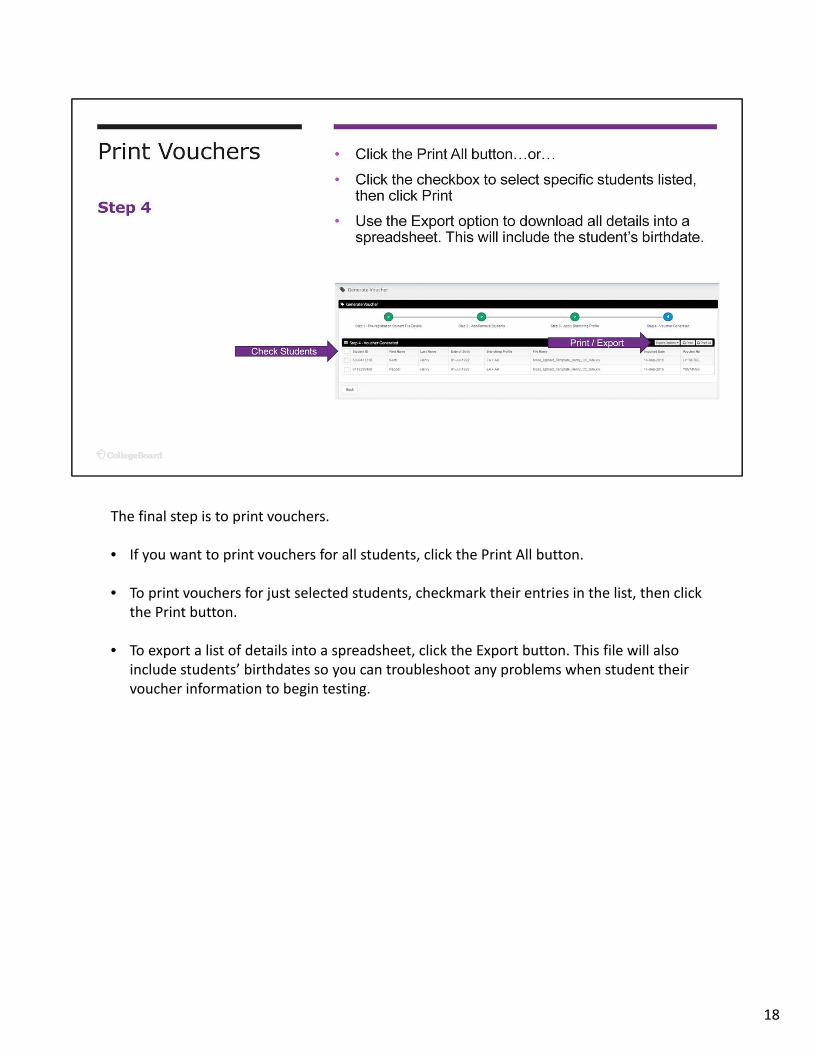
The final step is to print vouchers.
• If you want to print vouchers for all students, click the Print All button.
• To print vouchers for just selected students, checkmark their entries in the list, then click the Print button.
• To export a list of details into a spreadsheet, click the Export button. This file will also include students’ birthdates so you can troubleshoot any problems when student their voucher information to begin testing.
18
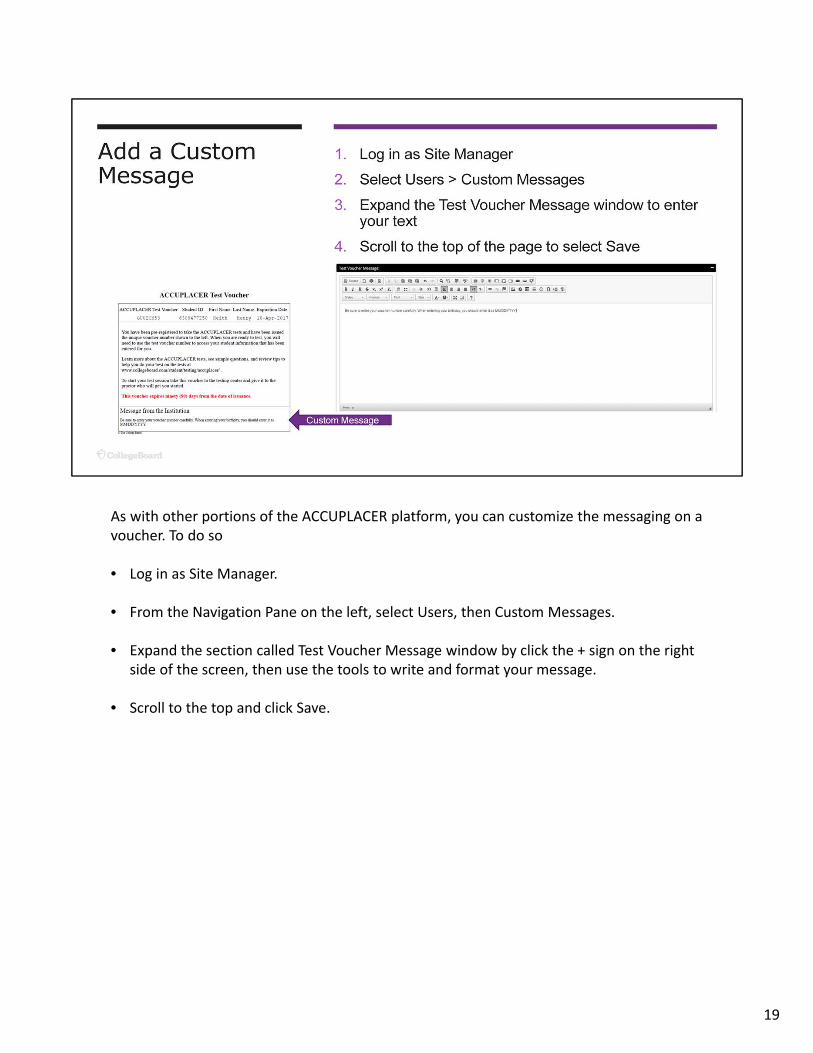
As with other portions of the ACCUPLACER platform, you can customize the messaging on a voucher. To do so
• Log in as Site Manager.
• From the Navigation Pane on the left, select Users, then Custom Messages.
• Expand the section called Test Voucher Message window by click the + sign on the right side of the screen, then use the tools to write and format your message.
• Scroll to the top and click Save.
19

Testing With Vouchers
20
There are 2 parts to Testing With Vouchers. The first part of the process occurs when students enter their voucher information:
• First, the student navigates to the ACCUPLACER launch page
• Next, they click the Use Voucher button
• The student enters their voucher details.
• Finally, they must wait for authorization from the Proctor.
To authorize testing, the Proctor should:
• Log in on a separate computer
• Go to the Test Center Management Dashboard
• Select the list of students awaiting approval to authorize testing
• Testing will begin in approximately 60 seconds
21
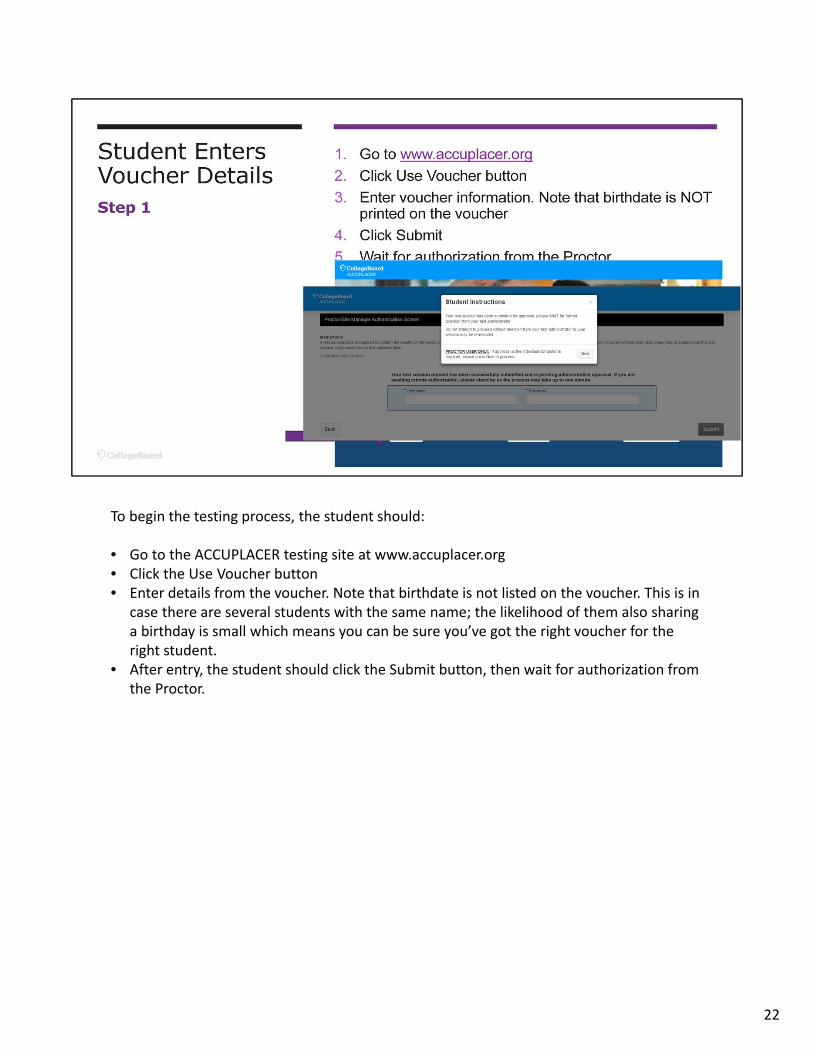
To begin the testing process, the student should:
• Go to the ACCUPLACER testing site at www.accuplacer.org• Click the Use Voucher button• Enter details from the voucher. Note that birthdate is not listed on the voucher. This is in
case there are several students with the same name; the likelihood of them also sharing a birthday is small which means you can be sure you’ve got the right voucher for the right student.
• After entry, the student should click the Submit button, then wait for authorization from the Proctor.
22
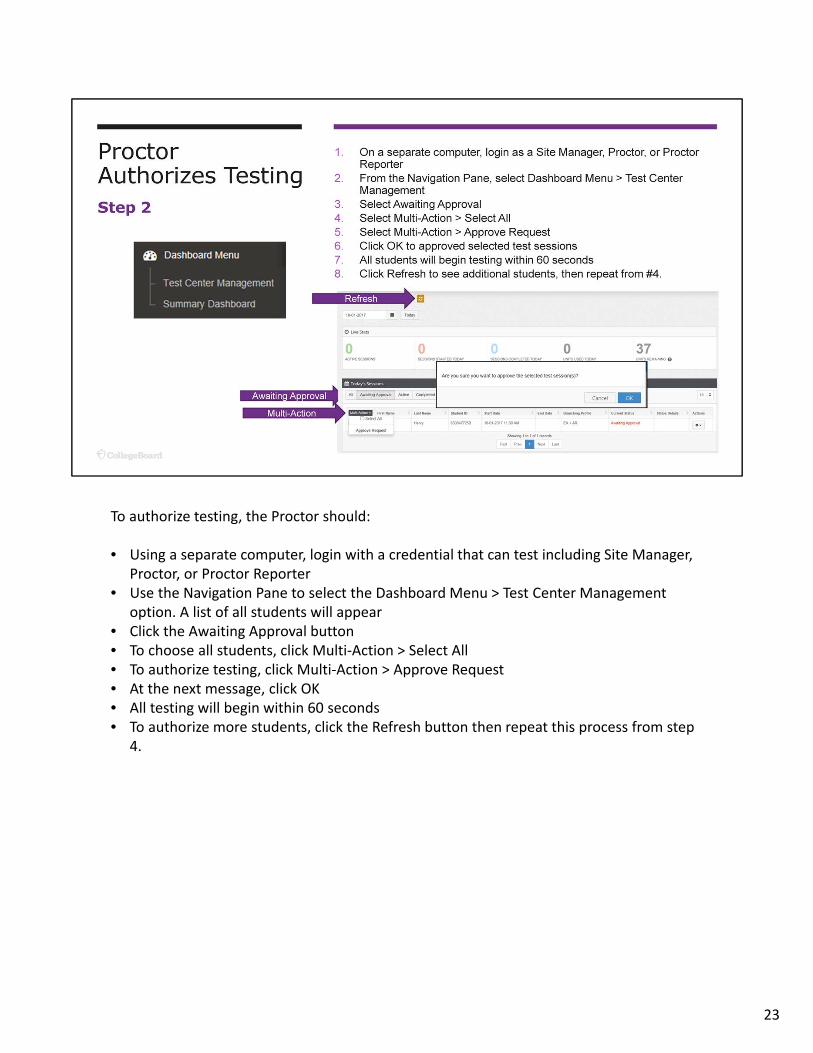
To authorize testing, the Proctor should:
• Using a separate computer, login with a credential that can test including Site Manager, Proctor, or Proctor Reporter
• Use the Navigation Pane to select the Dashboard Menu > Test Center Management option. A list of all students will appear
• Click the Awaiting Approval button• To choose all students, click Multi‐Action > Select All• To authorize testing, click Multi‐Action > Approve Request• At the next message, click OK• All testing will begin within 60 seconds• To authorize more students, click the Refresh button then repeat this process from step
4.
23
To resume an unfinished, the student can re‐enter their voucher details as they did to begin testing. The voucher will continue to work all tests have been completed.
You can also use the Manage Test Sessions option to search for resume an open test.
Remember that tests change from Open to Closed status after 14 days. You may need to use the Manage Test Sessions option to search for and re‐open a test before the student can continue.
24

Testing With Fast Track
25
• Fast Track is an additional way to speed the start of testing for groups of students.
• Fast Track does not require any pre‐registration of students in advance. This is useful when details for students who will test are unavailable.
• Fast Track does require that students complete the Student Information screen.
• The Proctor authorizes testing to begin by using the Test Center Management Dashboard in the same way as when using Vouchers.
26
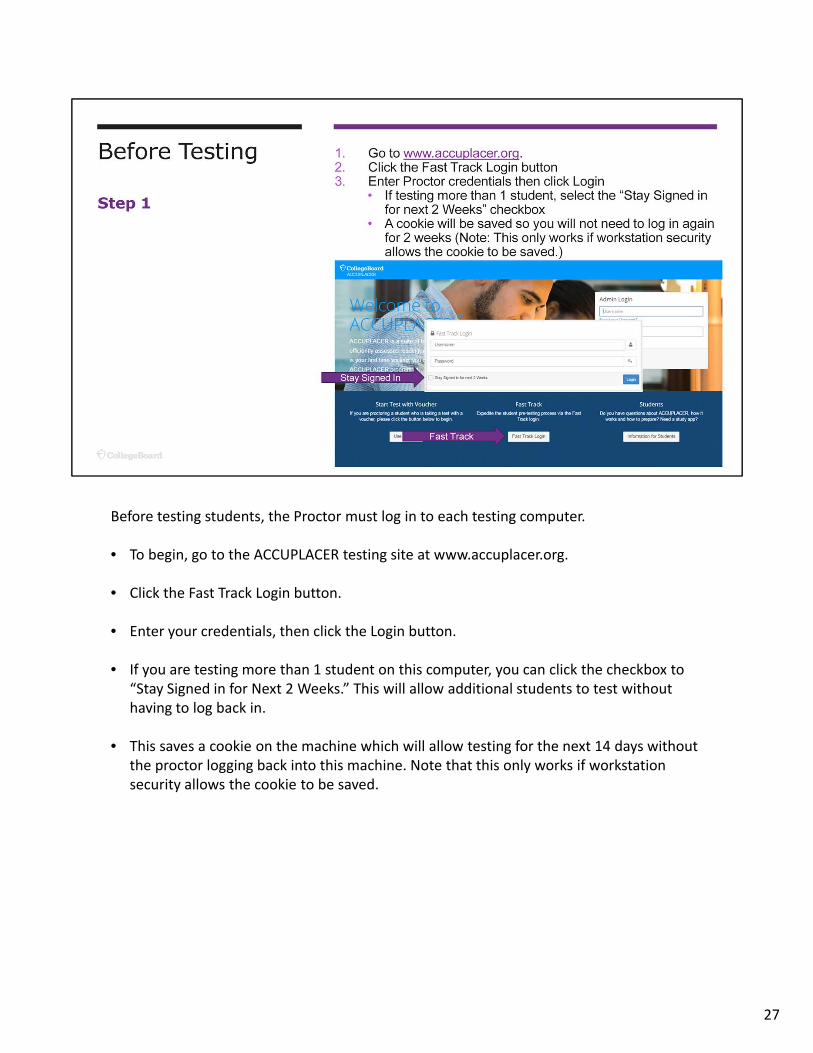
Before testing students, the Proctor must log in to each testing computer.
• To begin, go to the ACCUPLACER testing site at www.accuplacer.org.
• Click the Fast Track Login button.
• Enter your credentials, then click the Login button.
• If you are testing more than 1 student on this computer, you can click the checkbox to “Stay Signed in for Next 2 Weeks.” This will allow additional students to test without having to log back in.
• This saves a cookie on the machine which will allow testing for the next 14 days without the proctor logging back into this machine. Note that this only works if workstation security allows the cookie to be saved.
27
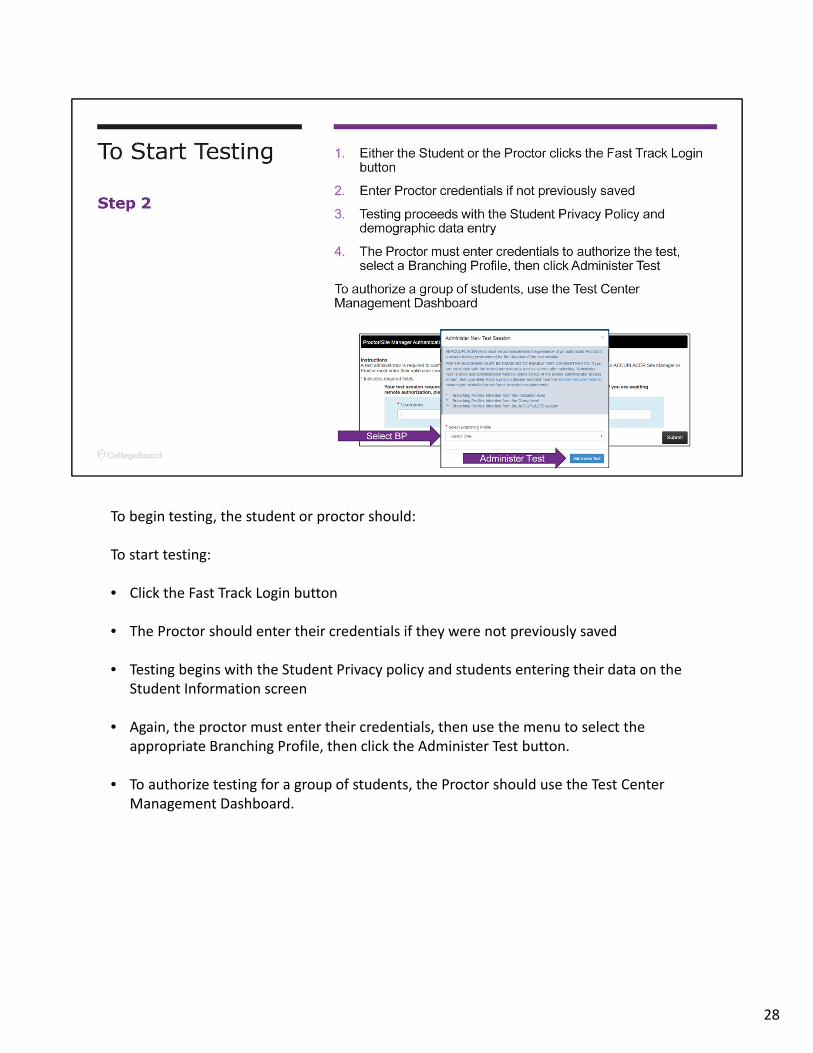
To begin testing, the student or proctor should:
To start testing:
• Click the Fast Track Login button
• The Proctor should enter their credentials if they were not previously saved
• Testing begins with the Student Privacy policy and students entering their data on the Student Information screen
• Again, the proctor must enter their credentials, then use the menu to select the appropriate Branching Profile, then click the Administer Test button.
• To authorize testing for a group of students, the Proctor should use the Test Center Management Dashboard.
28

As with using Vouchers, the Proctor can authorize testing from the Dashboard.
• Login with a credential that can test including Site Manager, Proctor, or Proctor Reporter
• Use the Navigation Pane to select the Dashboard Menu > Test Center Management option. A list of all students will appear
• Click the Awaiting Approval button
• To choose all students, click Multi‐Action > Select All
• To authorize testing, click Multi‐Action > Approve Request
• Select the desired Branching Profile, then click Administer Test.
• All testing will begin within 60 seconds
29
Reprinting Vouchers
30
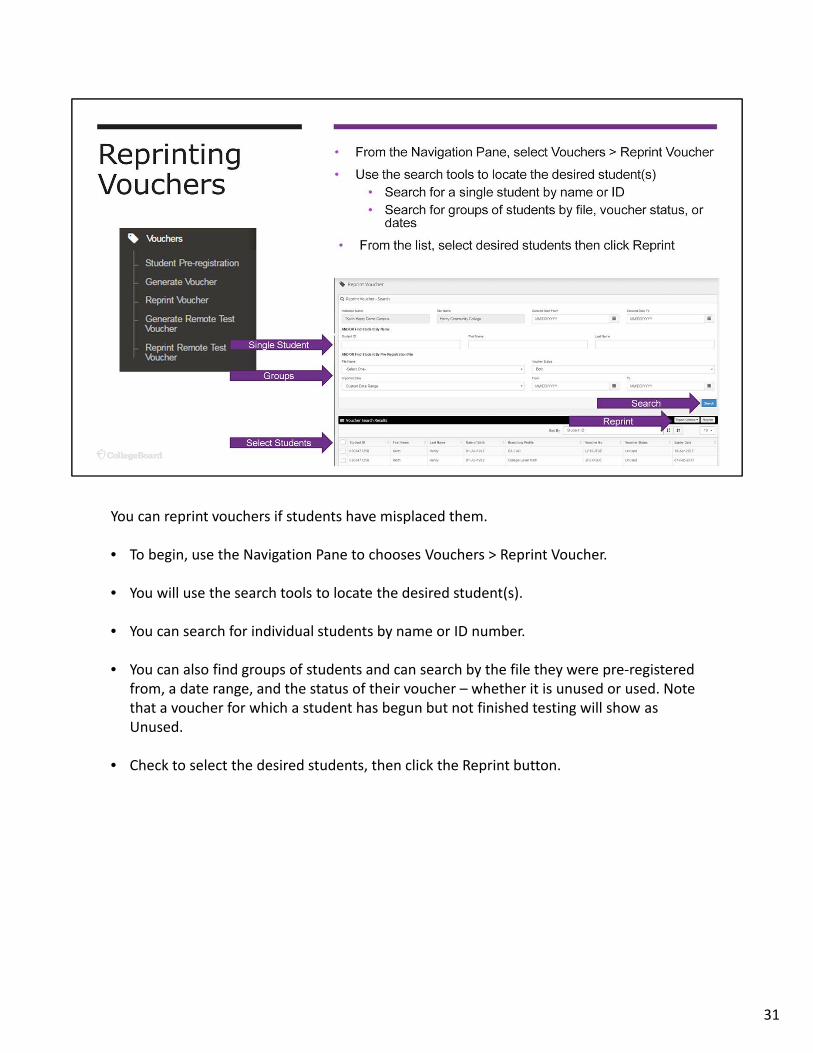
You can reprint vouchers if students have misplaced them.
• To begin, use the Navigation Pane to chooses Vouchers > Reprint Voucher.
• You will use the search tools to locate the desired student(s).
• You can search for individual students by name or ID number.
• You can also find groups of students and can search by the file they were pre‐registered from, a date range, and the status of their voucher – whether it is unused or used. Note that a voucher for which a student has begun but not finished testing will show as Unused.
• Check to select the desired students, then click the Reprint button.
31

User Resources
32
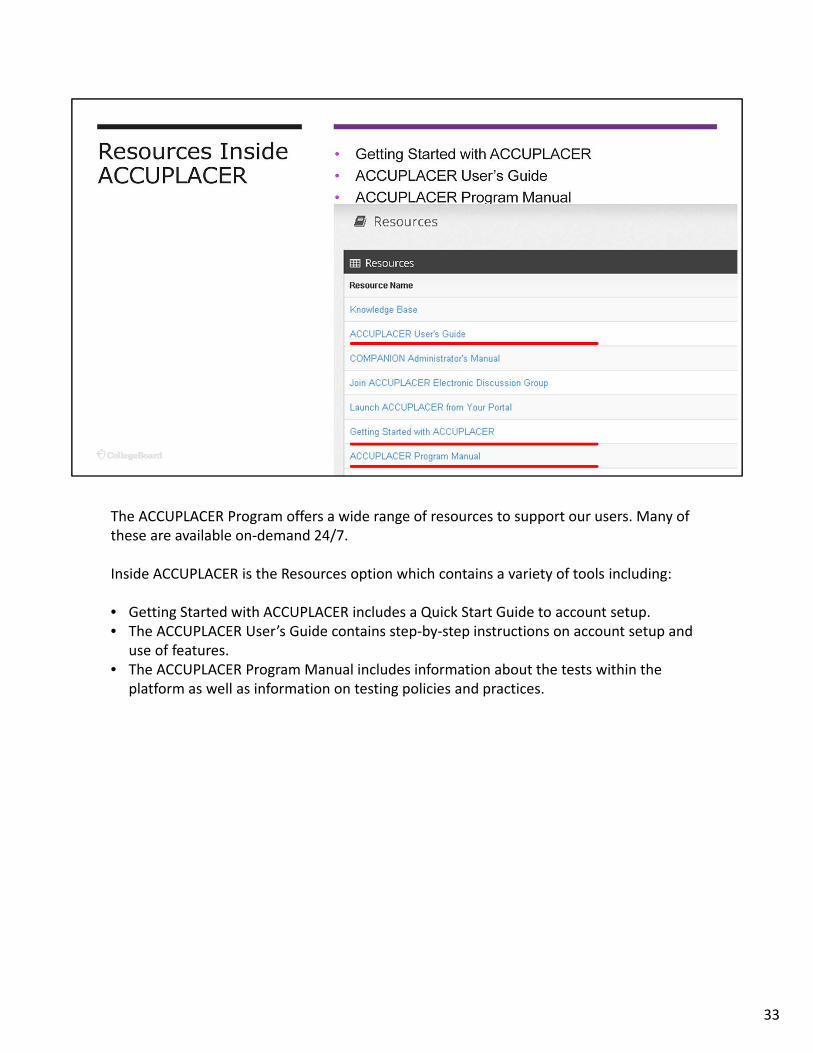
The ACCUPLACER Program offers a wide range of resources to support our users. Many of these are available on‐demand 24/7.
Inside ACCUPLACER is the Resources option which contains a variety of tools including:
• Getting Started with ACCUPLACER includes a Quick Start Guide to account setup.• The ACCUPLACER User’s Guide contains step‐by‐step instructions on account setup and
use of features.• The ACCUPLACER Program Manual includes information about the tests within the
platform as well as information on testing policies and practices.
33
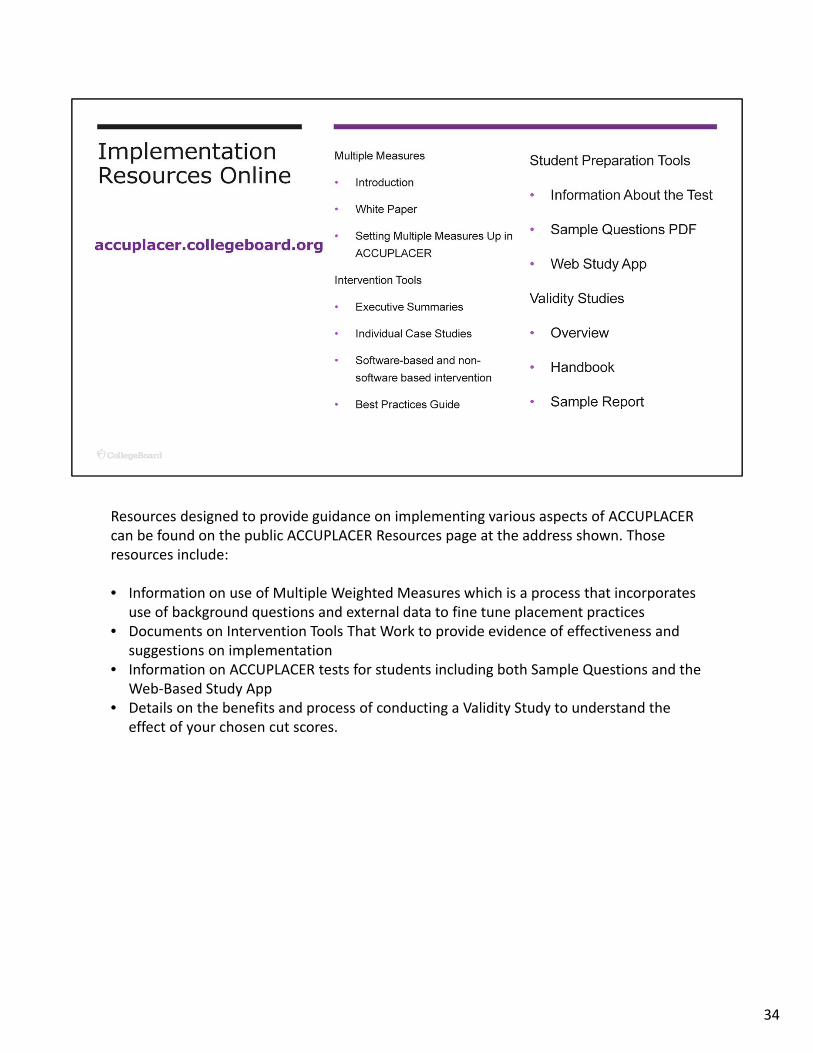
Resources designed to provide guidance on implementing various aspects of ACCUPLACER can be found on the public ACCUPLACER Resources page at the address shown. Those resources include:
• Information on use of Multiple Weighted Measures which is a process that incorporates use of background questions and external data to fine tune placement practices
• Documents on Intervention Tools That Work to provide evidence of effectiveness and suggestions on implementation
• Information on ACCUPLACER tests for students including both Sample Questions and the Web‐Based Study App
• Details on the benefits and process of conducting a Validity Study to understand the effect of your chosen cut scores.
34
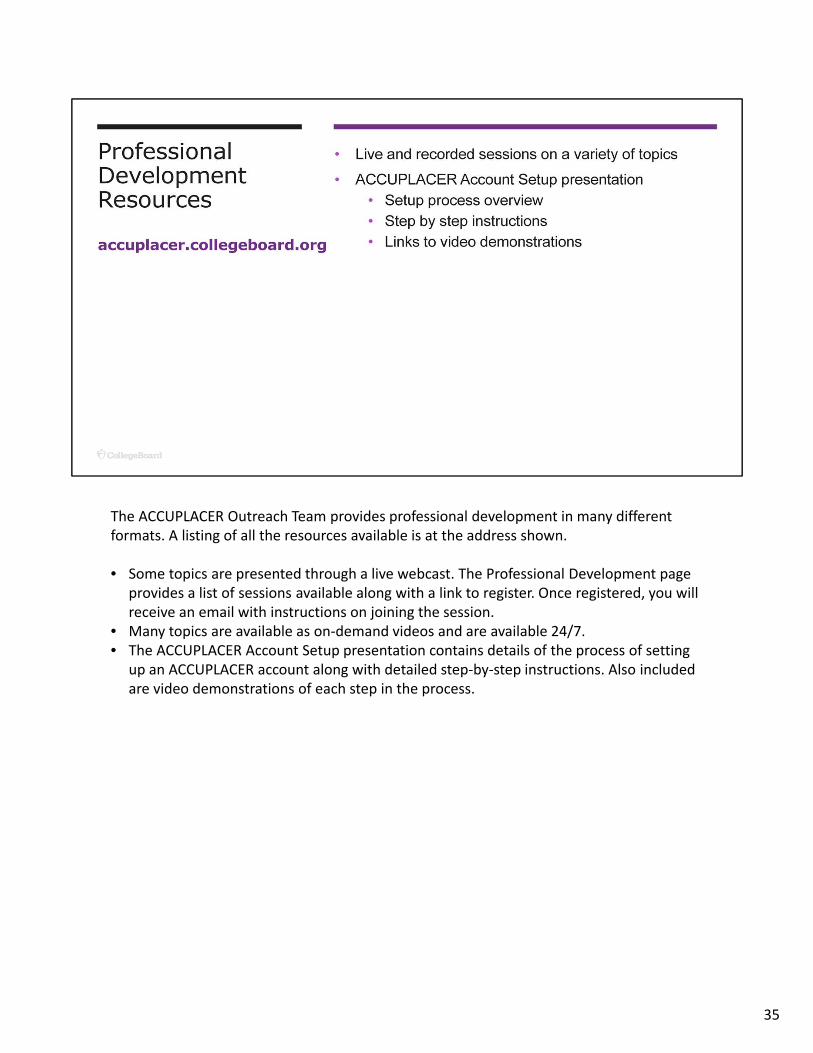
The ACCUPLACER Outreach Team provides professional development in many different formats. A listing of all the resources available is at the address shown.
• Some topics are presented through a live webcast. The Professional Development page provides a list of sessions available along with a link to register. Once registered, you will receive an email with instructions on joining the session.
• Many topics are available as on‐demand videos and are available 24/7.• The ACCUPLACER Account Setup presentation contains details of the process of setting
up an ACCUPLACER account along with detailed step‐by‐step instructions. Also included are video demonstrations of each step in the process.
35
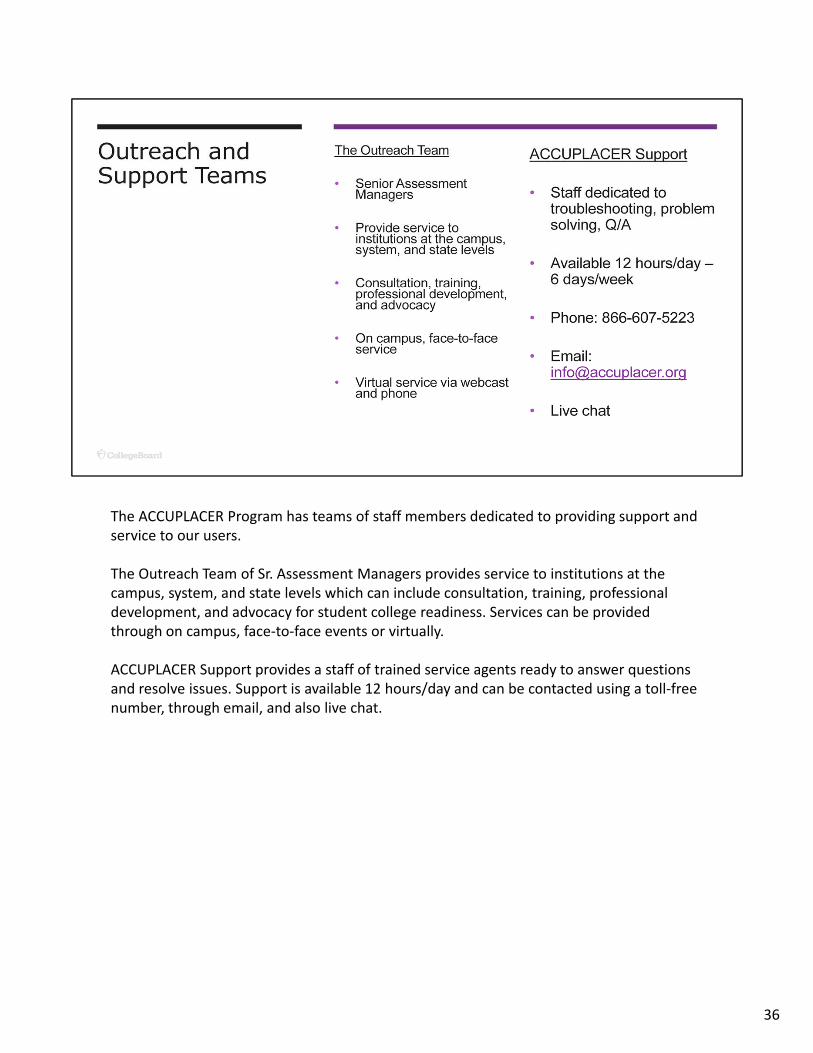
The ACCUPLACER Program has teams of staff members dedicated to providing support and service to our users.
The Outreach Team of Sr. Assessment Managers provides service to institutions at the campus, system, and state levels which can include consultation, training, professional development, and advocacy for student college readiness. Services can be provided through on campus, face‐to‐face events or virtually.
ACCUPLACER Support provides a staff of trained service agents ready to answer questions and resolve issues. Support is available 12 hours/day and can be contacted using a toll‐free number, through email, and also live chat.
36