Node.js從無到有 基本課程
39
Node.js從無到有 MiCloud Team Simon https://sites.google.com/a/mitac.com.tw/training/
-
Upload
simon-su -
Category
Technology
-
view
3.492 -
download
2
Transcript of Node.js從無到有 基本課程

Node.js從無到有
MiCloud TeamSimon
https://sites.google.com/a/mitac.com.tw/training/
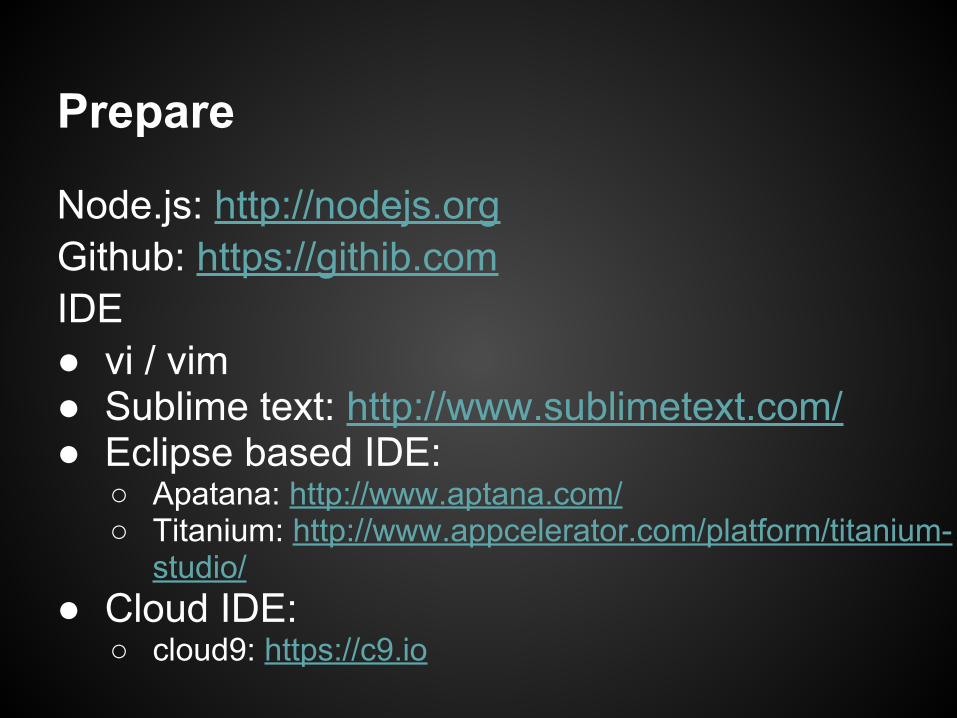
Prepare
Node.js: http://nodejs.orgGithub: https://githib.com IDE● vi / vim● Sublime text: http://www.sublimetext.com/● Eclipse based IDE:
○ Apatana: http://www.aptana.com/○ Titanium: http://www.appcelerator.com/platform/titanium-
studio/● Cloud IDE:
○ cloud9: https://c9.io

Objective
● 簡介Node.js● 從安裝開始● 第一個Node.js程式● 基礎介紹● NPM(Node.js Package Management)● Node.js的MVC - Express + EJS
Node.js簡介
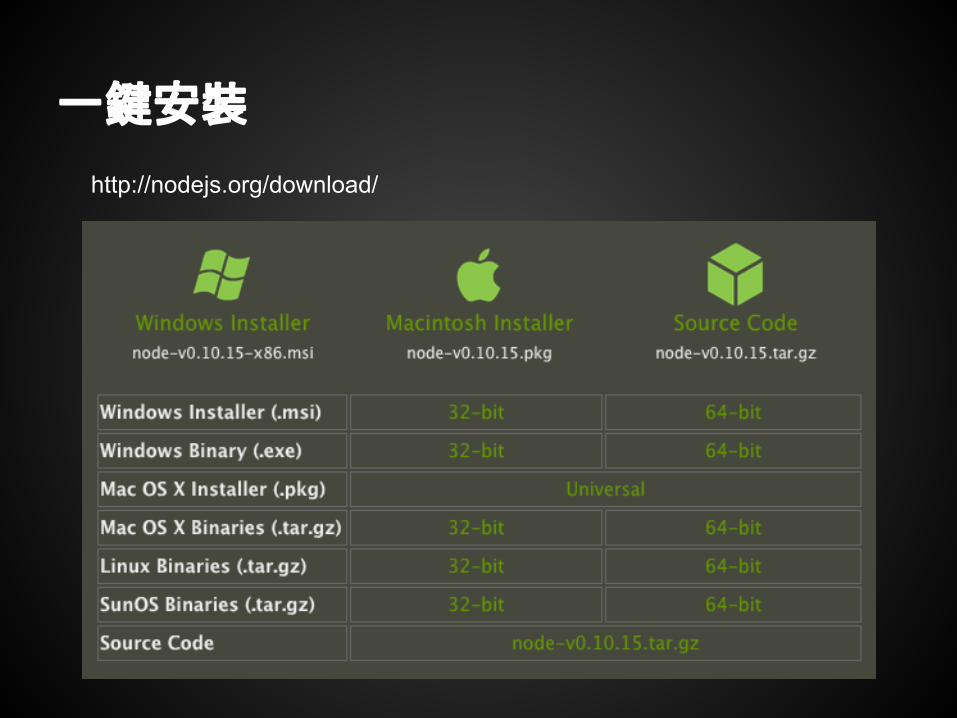
一鍵安裝
http://nodejs.org/download/

進階安裝
● Download source code● Install
tar -zxf node-vx.x.x.tar.gzcd node-vx.x.x./configure --prefix=/opt/nodemakesudo make install
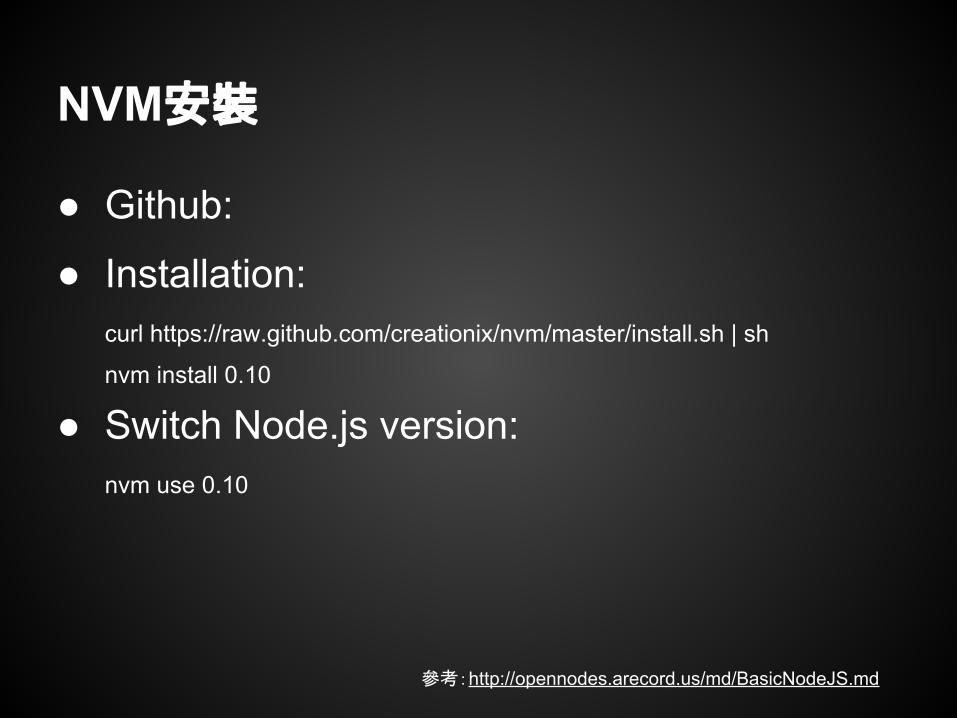
● Github:
● Installation:curl https://raw.github.com/creationix/nvm/master/install.sh | sh
nvm install 0.10
● Switch Node.js version:nvm use 0.10
NVM安裝
參考:http://opennodes.arecord.us/md/BasicNodeJS.md
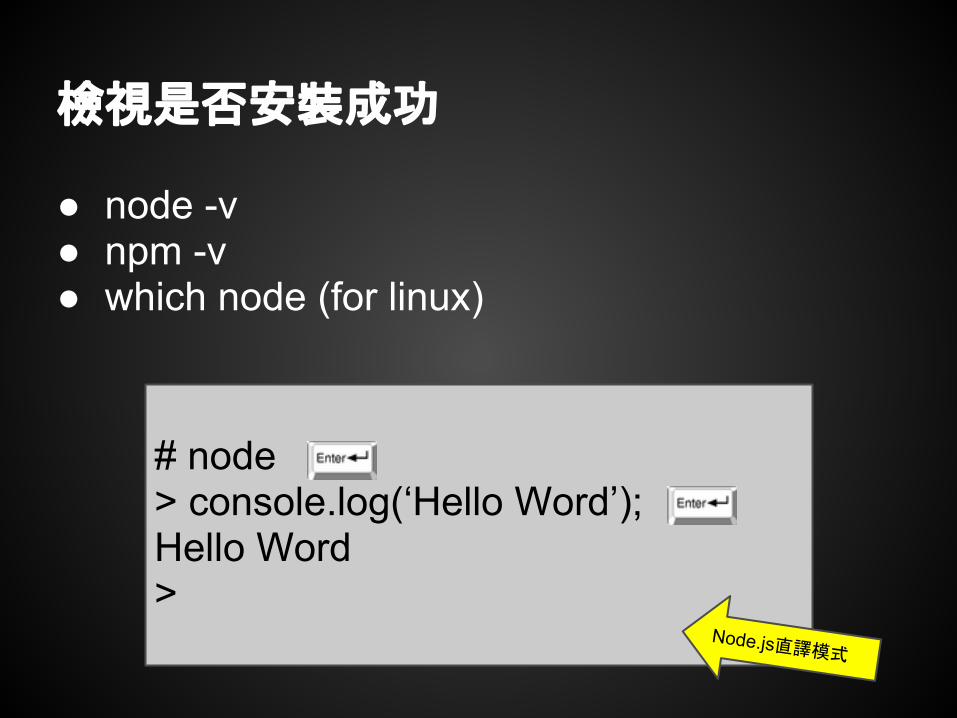
檢視是否安裝成功
● node -v● npm -v● which node (for linux)
# node> console.log(‘Hello Word’);Hello Word>
Node.js直譯模式

第一個Node.js程式
var http = require('http');/** * 透過http模組啟動web server服務
*/http.createServer(function (req, res) { //設定回應為text文件,並回應Hello World res.writeHead(200, {'Content-Type': 'text/plain'}); res.end('Hello World\n');}).listen(1337, '127.0.0.1'); //設定服務聽取127.0.0.1位置的1337 port
Lab 1 - Hello World app
● 建立一個Hello World網站

基礎介紹● 基礎語法介紹● 基本模組介紹● JSON
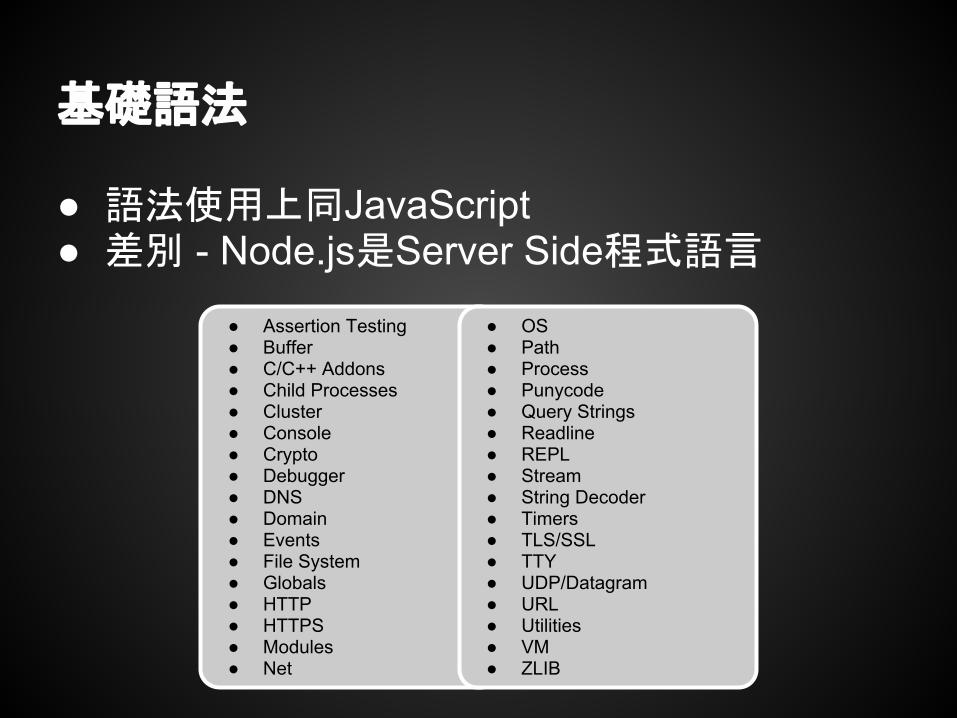
基礎語法
● 語法使用上同JavaScript● 差別 - Node.js是Server Side程式語言
● Assertion Testing● Buffer● C/C++ Addons● Child Processes● Cluster● Console● Crypto● Debugger● DNS● Domain● Events● File System● Globals● HTTP● HTTPS● Modules● Net
● OS● Path● Process● Punycode● Query Strings● Readline● REPL● Stream● String Decoder● Timers● TLS/SSL● TTY● UDP/Datagram● URL● Utilities● VM● ZLIB

模組的使用
載入模組● var fs = require(‘fs’);● var mylib = require(‘./mylib’);
發佈模組● exports.fn = function(...){...}
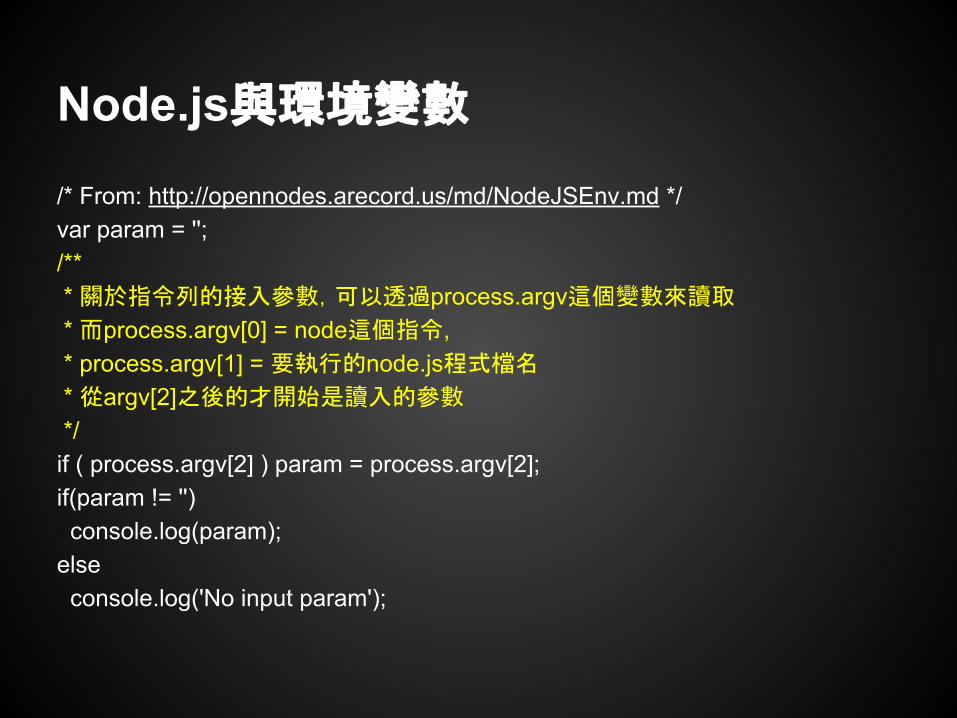
Node.js與環境變數
/* From: http://opennodes.arecord.us/md/NodeJSEnv.md */var param = '';/** * 關於指令列的接入參數,可以透過process.argv這個變數來讀取
* 而process.argv[0] = node這個指令, * process.argv[1] = 要執行的node.js程式檔名
* 從argv[2]之後的才開始是讀入的參數
*/if ( process.argv[2] ) param = process.argv[2];if(param != '') console.log(param);else console.log('No input param');
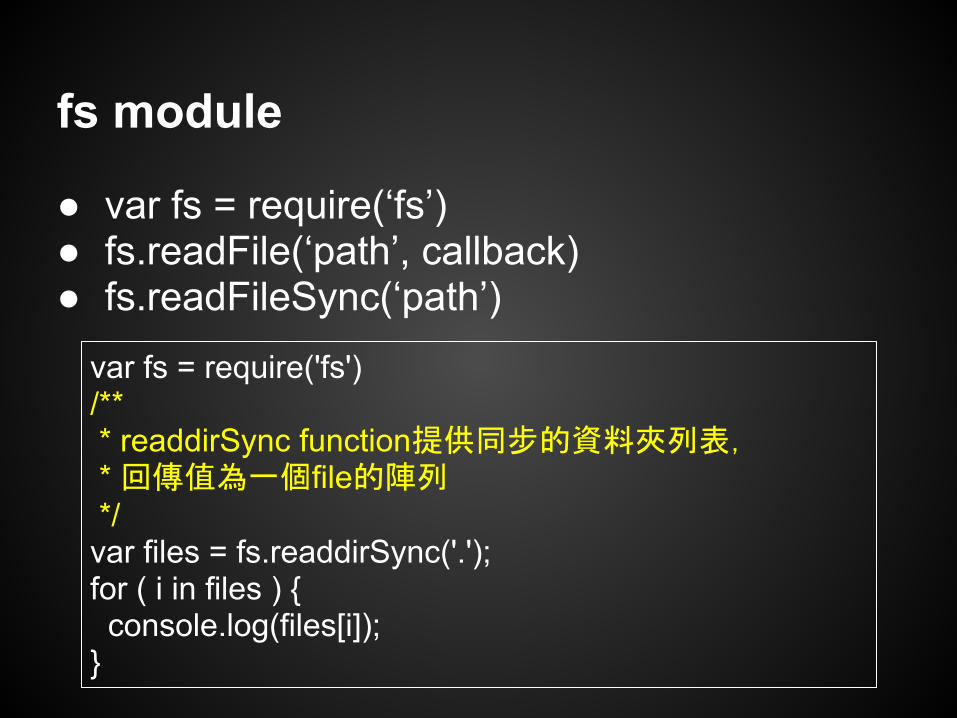
fs module
● var fs = require(‘fs’)● fs.readFile(‘path’, callback)● fs.readFileSync(‘path’)
var fs = require('fs')/** * readdirSync function提供同步的資料夾列表, * 回傳值為一個file的陣列 */var files = fs.readdirSync('.');for ( i in files ) { console.log(files[i]);}
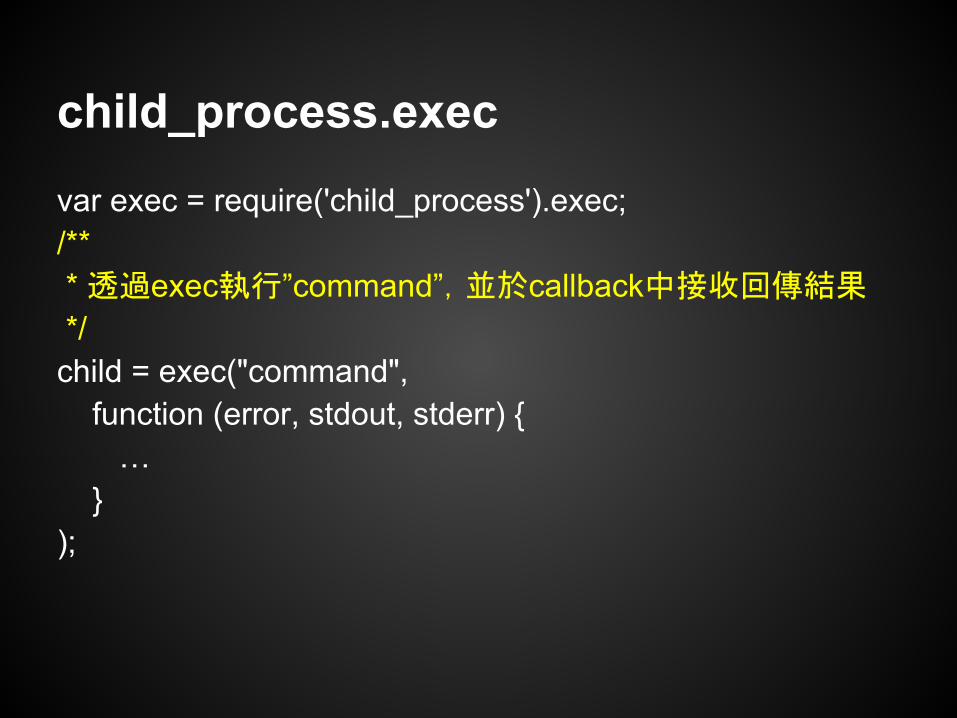
child_process.exec
var exec = require('child_process').exec;/** * 透過exec執行”command”,並於callback中接收回傳結果
*/child = exec("command", function (error, stdout, stderr) { … });

socketvar net = require('net');var client = new net.Socket();
//使用port與host來設定socket物件
client.connect(PORT, HOST, function() { console.log('CONNECTED TO: ' + HOST + ':' + PORT); client.write('I am Chuck Norris!');});
//接收到data的處理
client.on('data', function(data) { console.log('DATA: ' + data); client.destroy();});

Node.js的物件 - JSON
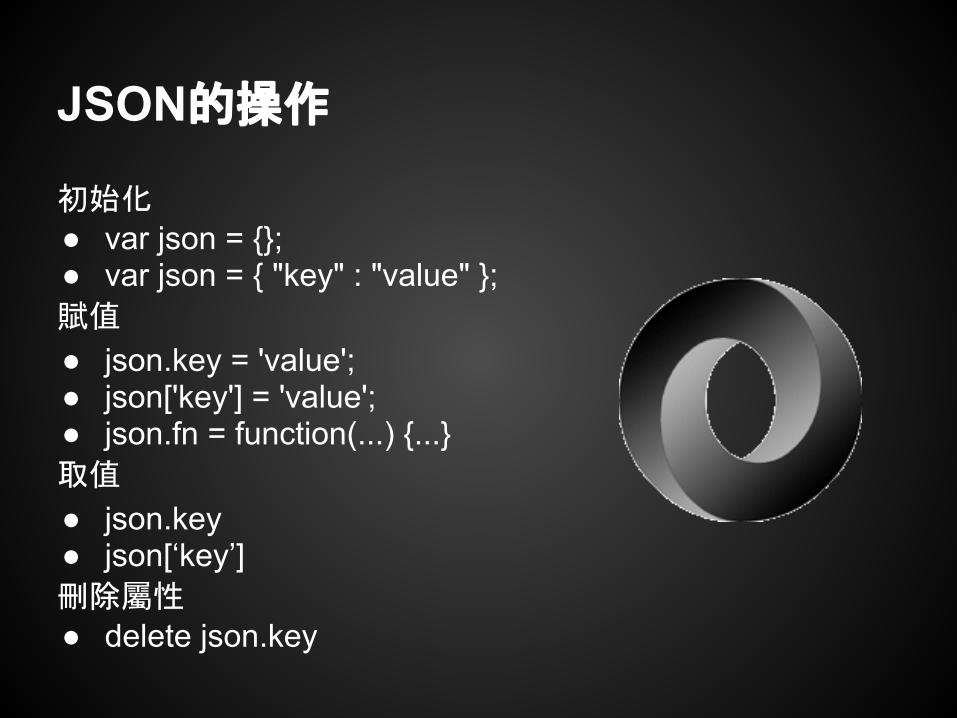
初始化● var json = {};● var json = { "key" : "value" };賦值
● json.key = 'value';● json['key'] = 'value';● json.fn = function(...) {...}取值
● json.key● json[‘key’]刪除屬性● delete json.key
JSON的操作
Lab 2 - Lightware HTTP Server
● 透過fs模組讀取某個目錄底下的文件,並提供給http模組做呈現

NPM● 基本操作● 好用的模組工具

模組的安裝 - NPM
搜尋● npm search [模組名稱]安裝● npm install [模組全名] [-g] [--save]● npm install [模組全名]@[版本]詳細檢視● npm show [模組全名]刪除● npm remove [模組全名] [-g]
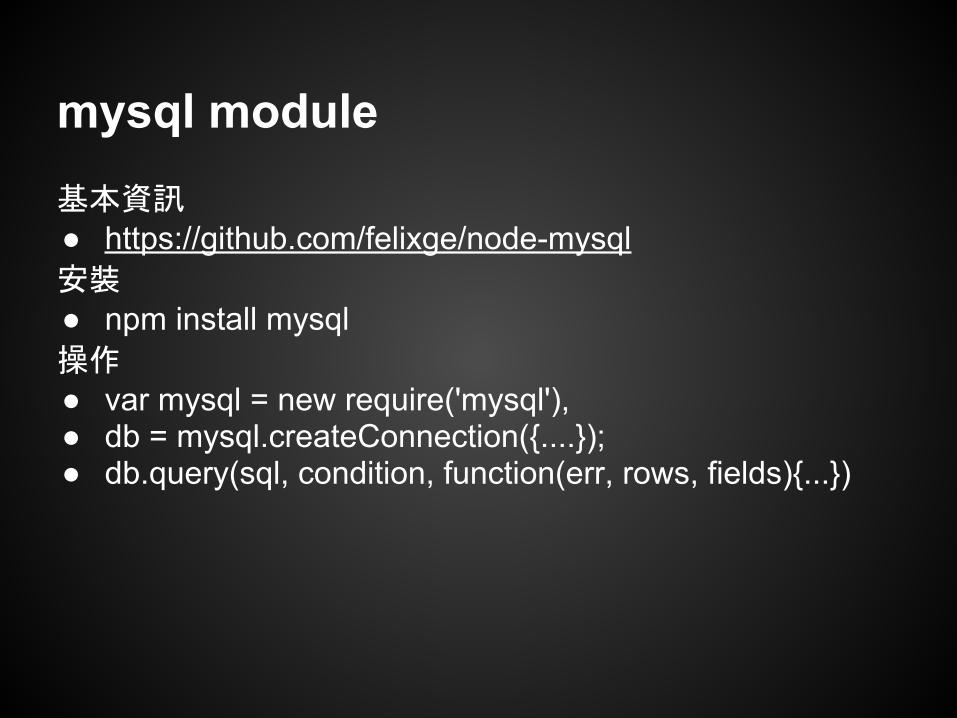
mysql module基本資訊● https://github.com/felixge/node-mysql安裝● npm install mysql操作● var mysql = new require('mysql'),● db = mysql.createConnection({....});● db.query(sql, condition, function(err, rows, fields){...})

forever module基本資訊● http://github.com/nodejitsu/forever.git安裝● npm install forever -g操作● forever start [path to executable js]● forever stop [path to executable js]● forever restart [path to executable js]● forever list
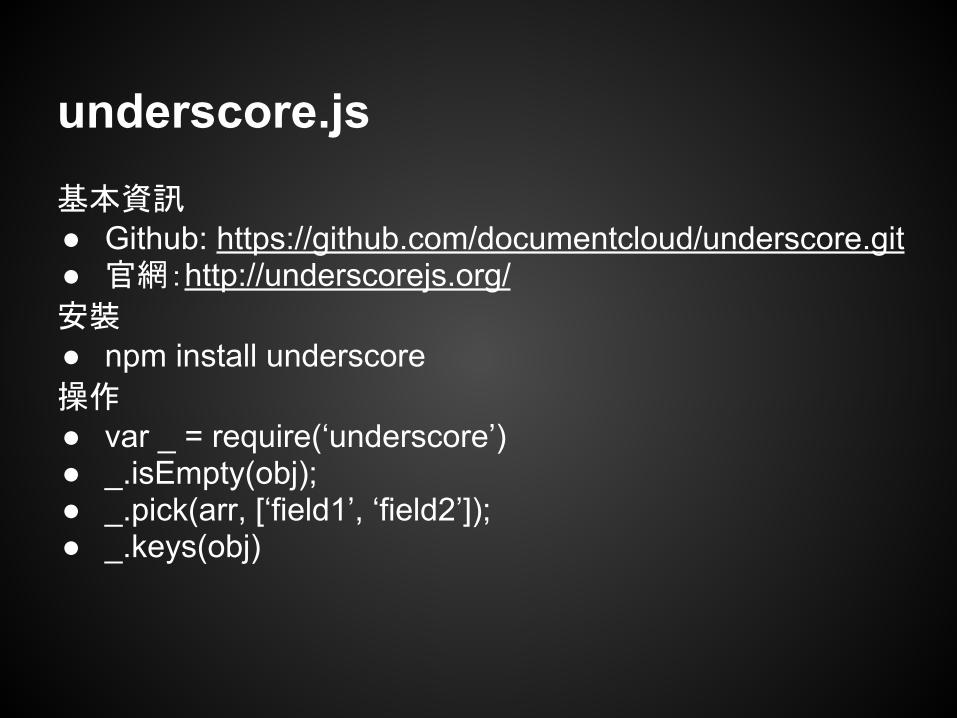
underscore.js基本資訊● Github: https://github.com/documentcloud/underscore.git● 官網:http://underscorejs.org/ 安裝● npm install underscore操作● var _ = require(‘underscore’)● _.isEmpty(obj);● _.pick(arr, [‘field1’, ‘field2’]);● _.keys(obj)

express基本資訊● https://github.com/visionmedia/express● http://expressjs.com安裝● npm install express -g操作● express -e -s [project name]● cd [project name] && npm install
Node.js MVC - ExpressJS● Express基本結構● EJS● EJS-Partial

Express基本結構
專案定義檔,包含模組相依
程式啟動點,包含route設定
預設靜態資源位置,可存放 html, js, image, css...
route相關設定,存放從app.js模組化出來的routes
views相關設定,存放ejs檔案,為view層顯示相關的檔案

基本資訊● Github: https://github.com/visionmedia/ejs 優點:● 採用html語法作為基礎● 結合express-partials可以提供樣板功能
操作:● app.js● views/index.ejs● routes/index.js
EJS模組

EJS - app.js, index.js# app.js
….(skip)app.set('view engine', 'ejs');….(skip)
# routes/index.jsexports.index = function(req, res){ //透過res.render設定導向的頁面與參數集合 res.render('index', { title: 'Express' }); };….(skip)
指定本專案使用ejs作為view engine
routes中使用res.render()來指定要輸出的頁面位置(在此為index),以及要帶過去的參數集合(在此為{ title: 'Express' })
EJS - index.ejs
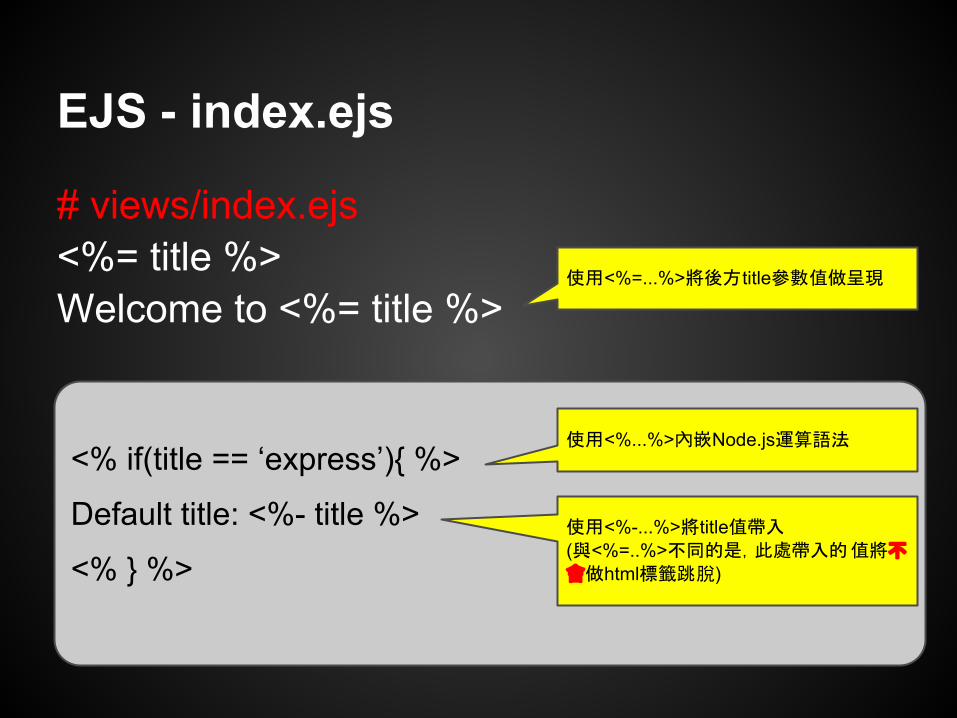
# views/index.ejs<%= title %> Welcome to <%= title %>
使用<%=...%>將後方title參數值做呈現
<% if(title == ‘express’){ %>
Default title: <%- title %>
<% } %>
使用<%...%>內嵌Node.js運算語法
使用<%-...%>將title值帶入
(與<%=..%>不同的是,此處帶入的值將不
會做html標籤跳脫)

EJS - express-partials模組
● Github: https://github.com/publicclass/express-partials● 安裝:npm install express-partial --save
# app.jsvar express = require('express') , partials = require('express-partials') , app = express();
app.use(partials());
# views/index.ejsapp.get('/test', function(req, res) { ... res.render('page_name', {layout: 'your_layout', obj: 'your objects...'}); });

Lab 3 - Express + MySQL的應用
● 建立Express+Ejs網站,使用jetstrap樣板● 連線MySQL實作用戶資料的新、刪、改、查

自建npm模組● 基本設定● 發佈

自建NPM模組
● Got your npm account: https://npmjs.org/signup
● Prepare:○ package.json○ module dependency and you implements
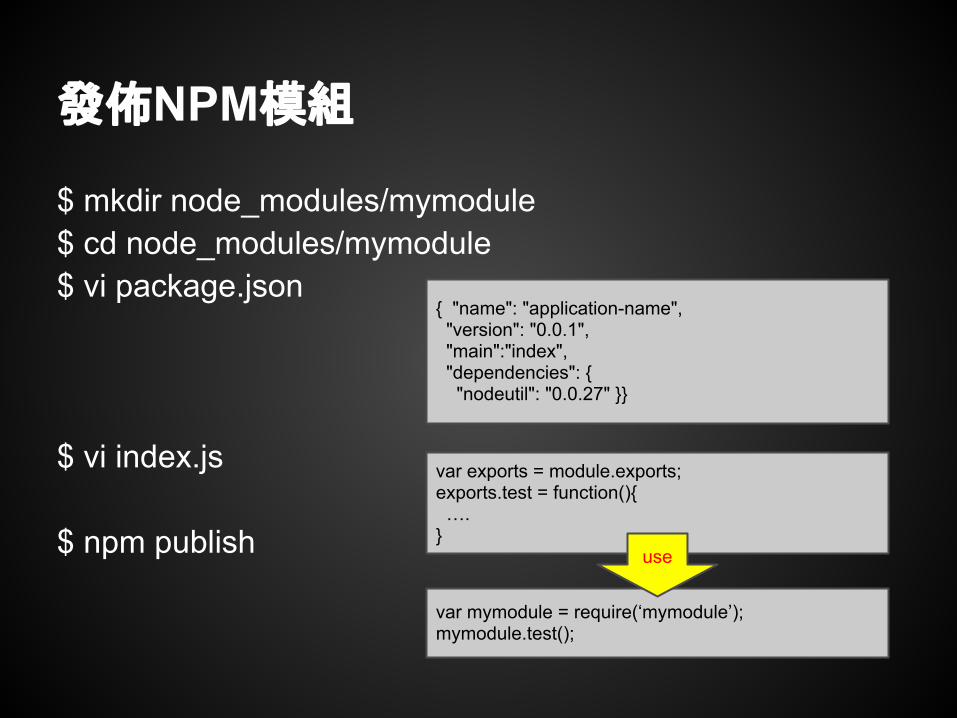
$ mkdir node_modules/mymodule$ cd node_modules/mymodule$ vi package.json
$ vi index.js
$ npm publish
發佈NPM模組
{ "name": "application-name", "version": "0.0.1", "main":"index", "dependencies": { "nodeutil": "0.0.27" }}
var exports = module.exports;exports.test = function(){ ….}
var mymodule = require(‘mymodule’);mymodule.test();
use

Lab 4 - 建立自己的Hello World模組
● 申請NPM帳戶● 寫個Hello World模組● 發佈到NPM

更多Node.js模組介紹
http://opennodes.arecord.us按個讚吧~

END - Q&A