UP206A: Introduction to GIS. » The ArcGIS Network Analyst extension allows you to build a network...
14
Network Analysis UP206A: Introduction to GIS
-
date post
19-Dec-2015 -
Category
Documents
-
view
215 -
download
0
Transcript of UP206A: Introduction to GIS. » The ArcGIS Network Analyst extension allows you to build a network...

Network Analysis
UP206A: Introduction to GIS

What is Network Analyst
» The ArcGIS Network Analyst extension allows you to build a network dataset and perform analysis on a network dataset
» Used primarily on Transportation Networks
» This extension is composed of a number of parts:˃ a wizard to create a network dataset (in
ArcCatalog)˃ a dockable Network Analyst window (in
ArcMap)˃ a Network Analyst toolbar (in ArcMap)˃ and a number of geoprocessing tools
contained within ArcToolbox
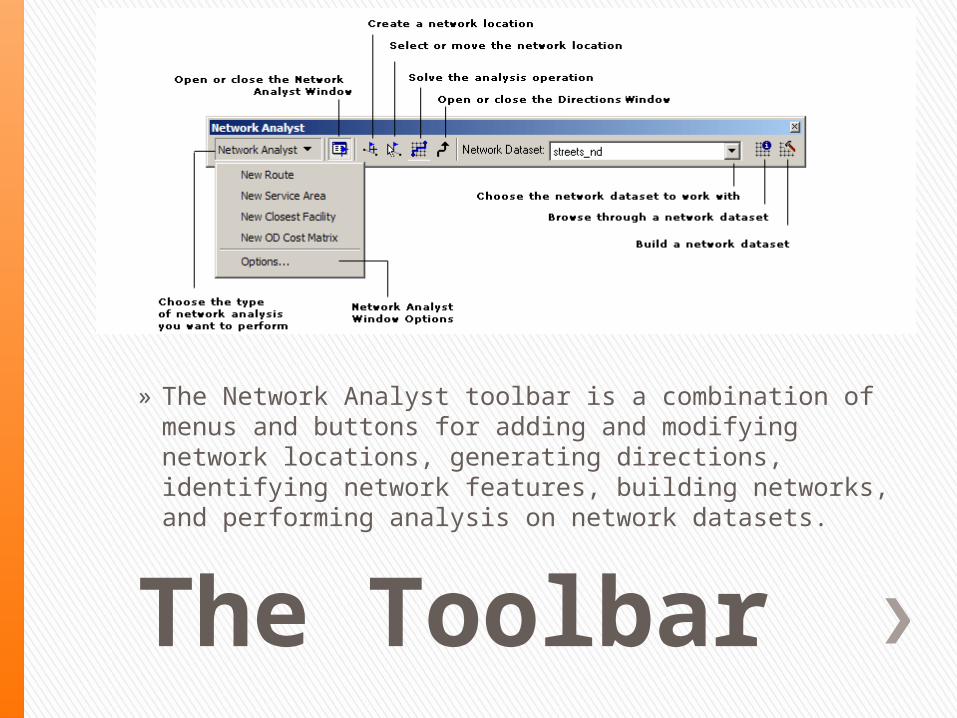
The Toolbar
» The Network Analyst toolbar is a combination of menus and buttons for adding and modifying network locations, generating directions, identifying network features, building networks, and performing analysis on network datasets.

The Network Analyst Window
» The Network Analyst Window is designed to help users quickly and easily manage their network analysis layers and the network analysis classes (containing network locations and results). This is a dockable window in ArcMap.

Network Datasets
» Networks used by ArcGIS Network Analyst are stored as network datasets (_ND)
» A network dataset is created from the feature source or sources that participate in the network
» It incorporates an advanced connectivity model that can represent complex scenarios, such as multimodal transportation networks
» It also possesses a rich network attribute model that helps model impedances, restrictions, and hierarchy for the network
» The network dataset is built from simple features (lines and points) and turns

Network Attributes
» Cost˃ Measure and model impedances (mostly time or distance)˃ Can create custom “cost” fields, such as drive time (ex: Drive time =
Distance / Speed limit)
» Restrictions˃ One way streets, no pedestrians, construction zones
» Hierarchy˃ Order assigned to network elements

Key Features: Routing
» Multipoint routing » Add points dynamically or» Add points from an existing point layer

Service Areas
» Complex polygon generation » Allocation across networks
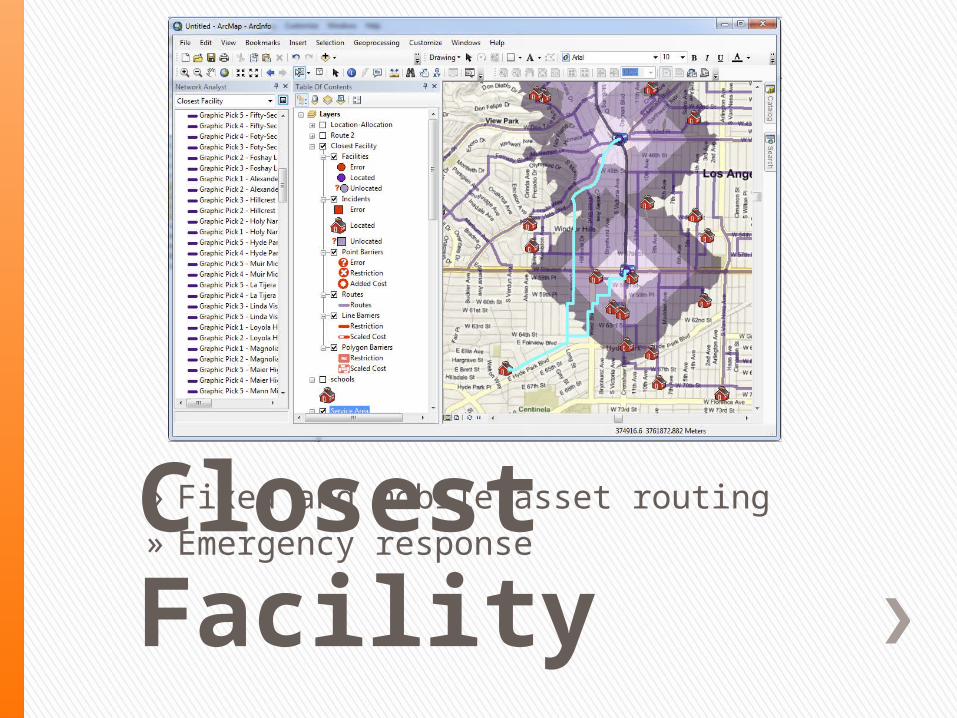
Closest Facility» Fixed and mobile asset routing» Emergency response

Driving Directions

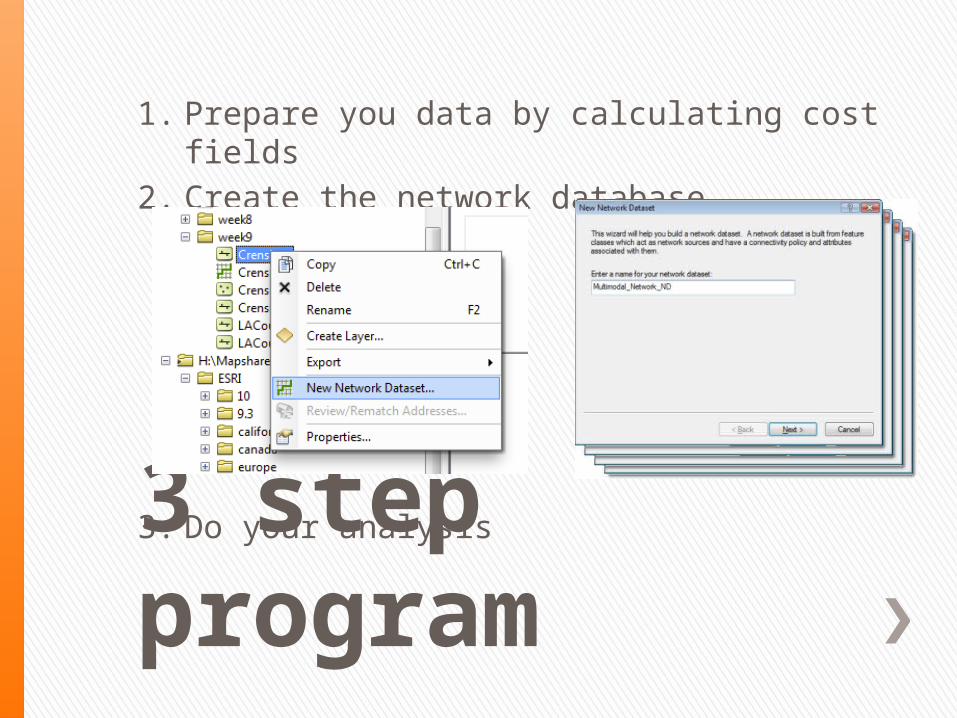
3 step program
1. Prepare you data by calculating cost fields
2. Create the network database3. Do your analysis
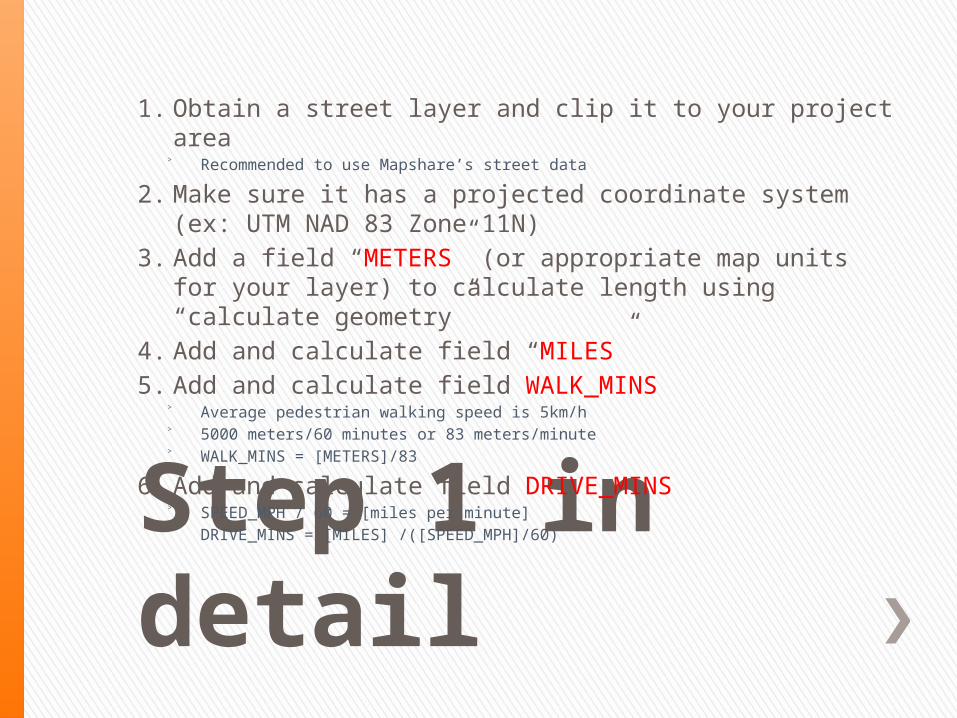
Step 1 in detail
1. Obtain a street layer and clip it to your project area˃ Recommended to use Mapshare’s street data
2. Make sure it has a projected coordinate system (ex: UTM NAD 83 Zone 11N)
3. Add a field “METERS” (or appropriate map units for your layer) to calculate length using “calculate geometry”
4. Add and calculate field “MILES”5. Add and calculate field WALK_MINS
˃ Average pedestrian walking speed is 5km/h˃ 5000 meters/60 minutes or 83 meters/minute˃ WALK_MINS = [METERS]/83
6. Add and calculate field DRIVE_MINS˃ SPEED_MPH / 60 = [miles per minute]˃ DRIVE_MINS = [MILES] /([SPEED_MPH]/60)
3 step program
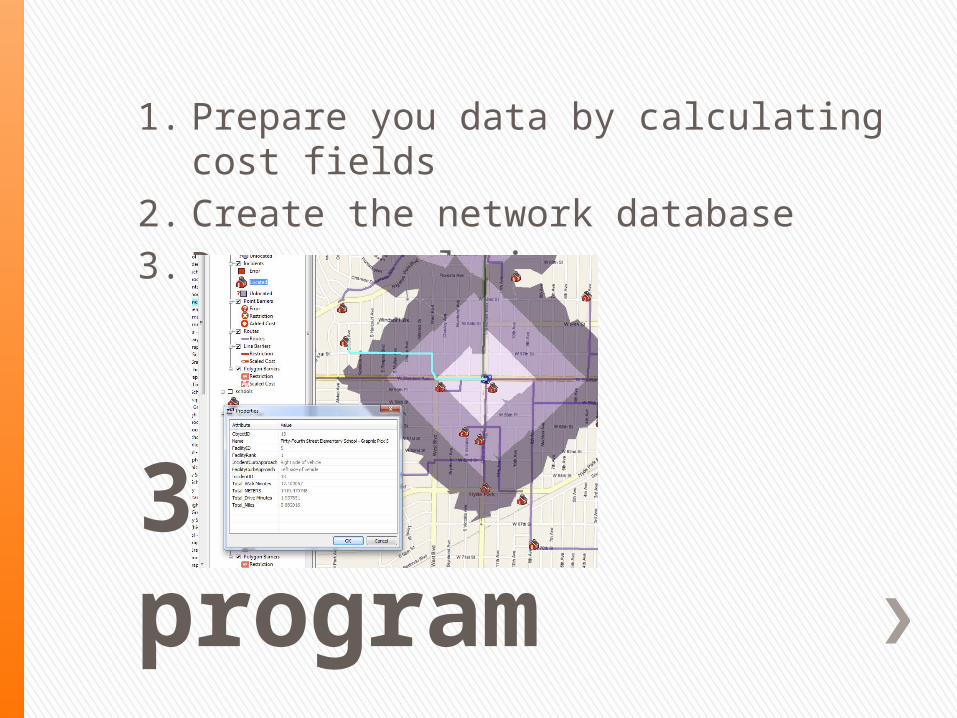
1. Prepare you data by calculating cost fields2. Create the network database
3. Do your analysis
3 step program
1. Prepare you data by calculating cost fields2. Create the network database3. Do your analysis