Levine Trombone Clinic
38
Trombone Technique for Young Players Michael Levine Dallas Brass
description
Trombone basics
Transcript of Levine Trombone Clinic
Trombone Technique for
Young Players
Michael Levine Dallas Brass
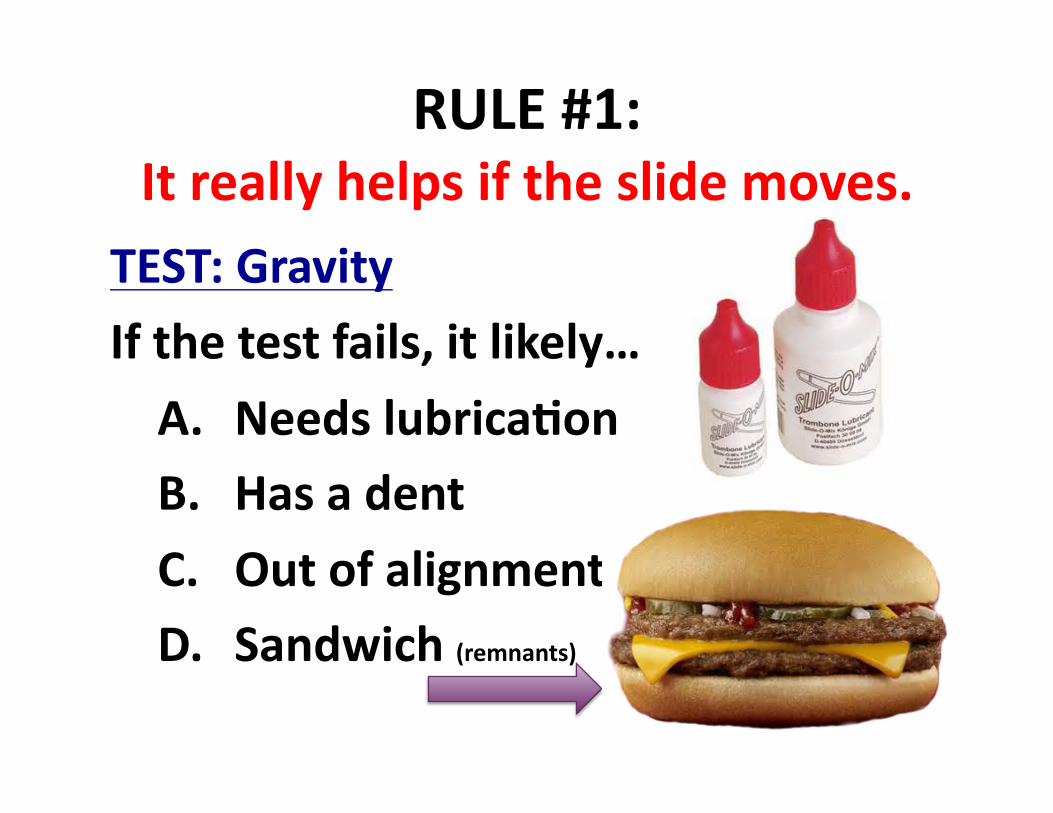
RULE #1: It really helps if the slide moves.
TEST: Gravity
If the test fails, it likely…
A. Needs lubricaJon B. Has a dent C. Out of alignment D. Sandwich (remnants)
RULE #2: ProtecJng the Trombone.
• Holding it – Try not to forget you are holding it (pretend it’s a baby); ESPECIALLY the slide!
– Every trombone player gets to drop the slide one Ame in their life. Once you have used up your quota, that’s it!
• Walking with it – You are it’s bodyguard; hold it straight up and down with you behind it.
– Treat it like it was made of glass
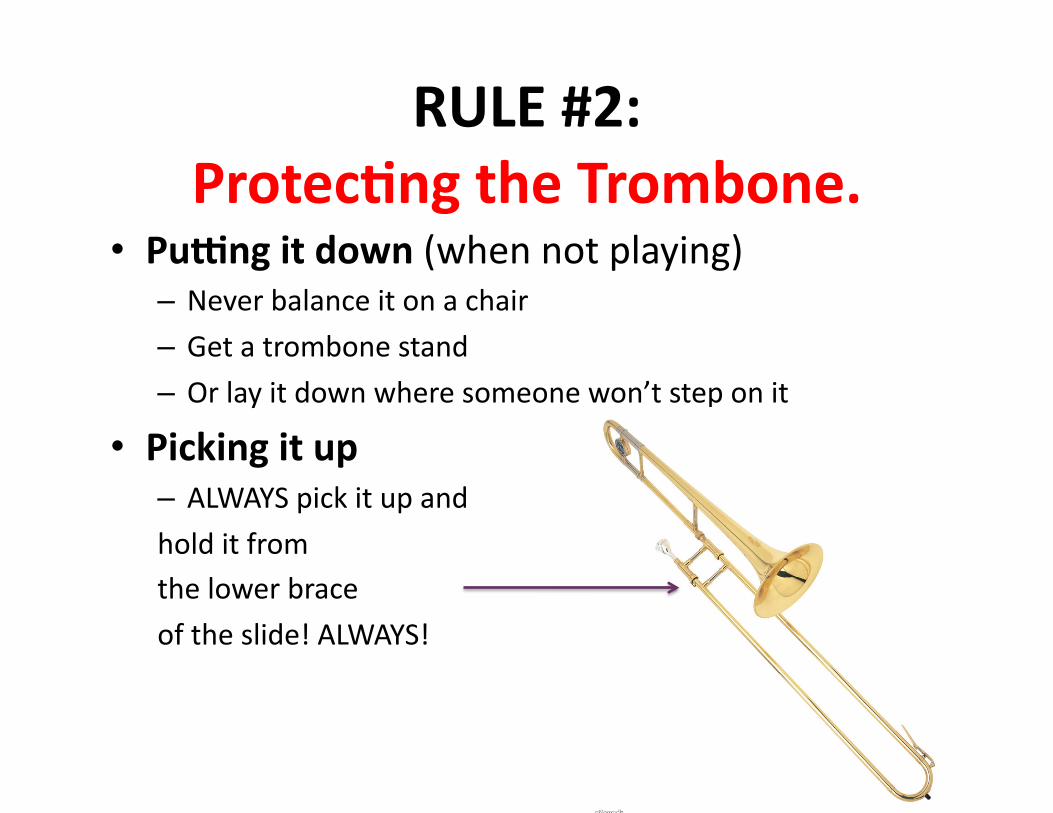
RULE #2: ProtecJng the Trombone.
• PuUng it down (when not playing) – Never balance it on a chair – Get a trombone stand
– Or lay it down where someone won’t step on it
• Picking it up – ALWAYS pick it up and
hold it from the lower brace
of the slide! ALWAYS!
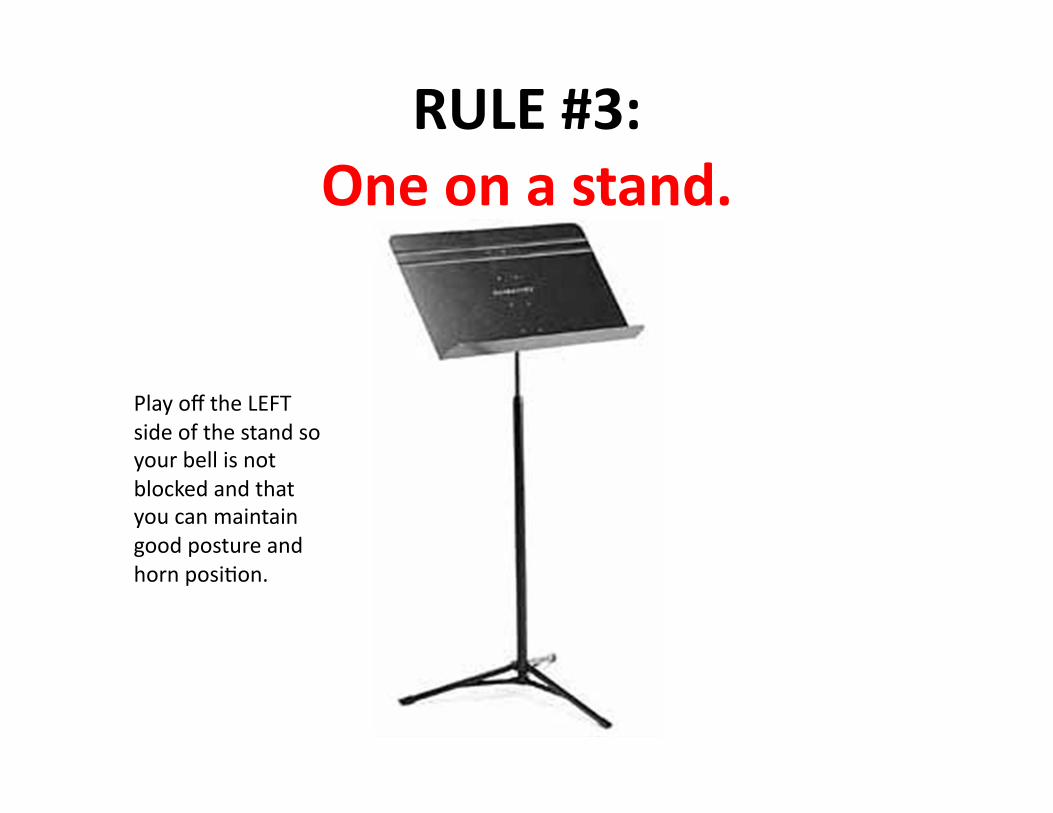
RULE #3: One on a stand.
Play off the LEFT side of the stand so your bell is not blocked and that you can maintain good posture and horn posiAon.
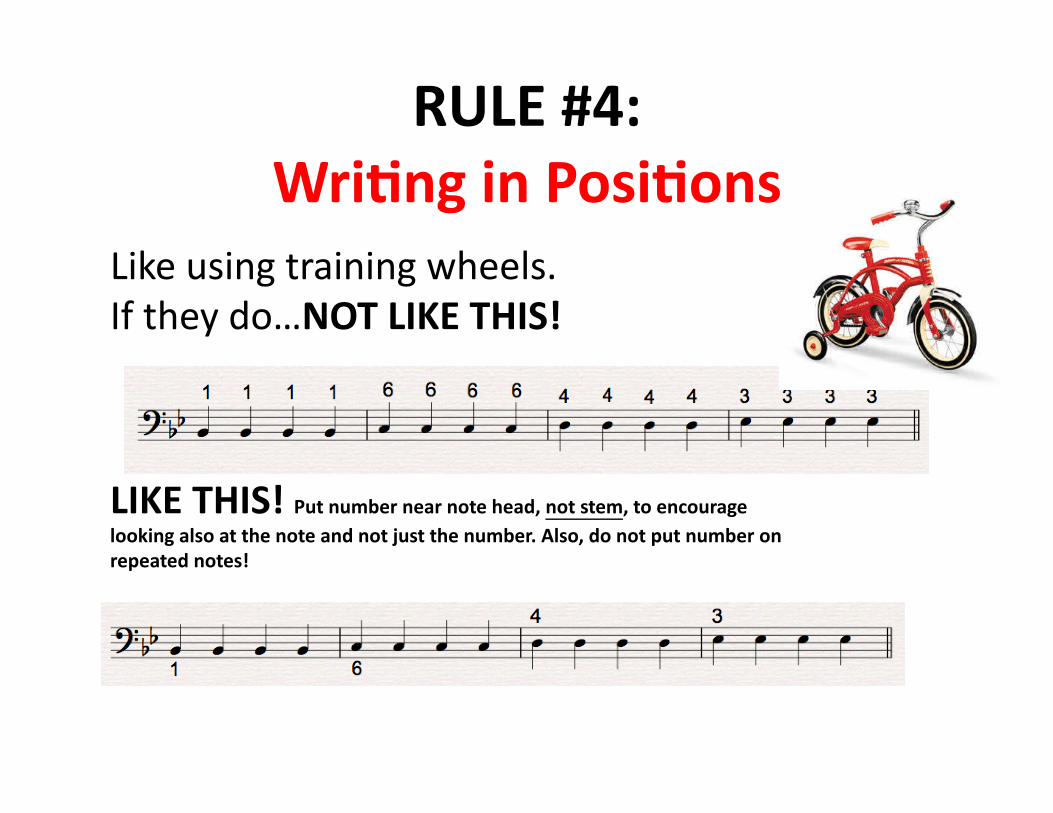
RULE #4: WriJng in PosiJons
Like using training wheels. If they do…NOT LIKE THIS!
LIKE THIS! Put number near note head, not stem, to encourage looking also at the note and not just the number. Also, do not put number on repeated notes!
RULE #5: Bathing • Bath – Every 6 months. (At least once a year)! • Mostly it’s the slide. • A`er eaJng, brush teeth or at least rinse your mouth before playing). • Equipment
– Cleaning rod – Snake – Strips of cloth – Mouthpiece brush
• Mouthpiece — Test: hold up to the light. If you can see through it, it’s a good sign.
Four (4) Steps to playing a note _______________________________________ For ALL players!
1. Set (instrument up)
2. Pause (focus, posiAon mouthpiece)
3. Breathe (mouthpiece should stay lightly in contact with lips; don’t lower horn to breathe)
4. Play
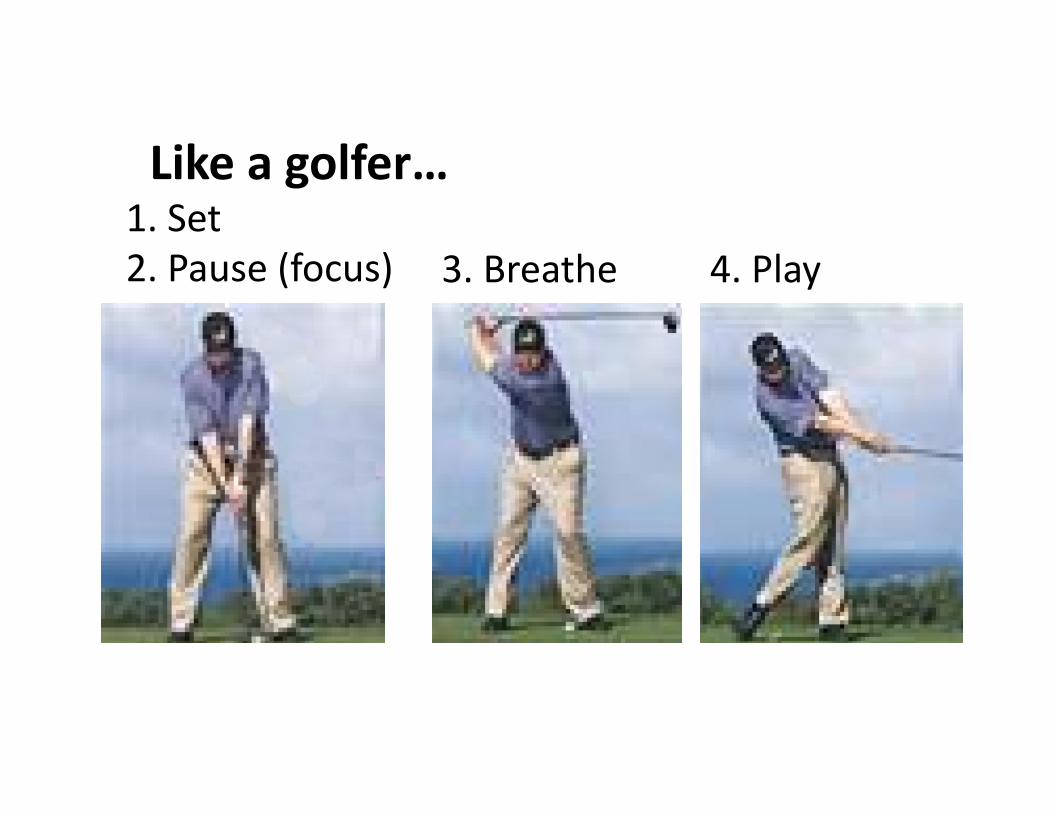
1. Set 2. Pause (focus) 3. Breathe 4. Play
Like a golfer…
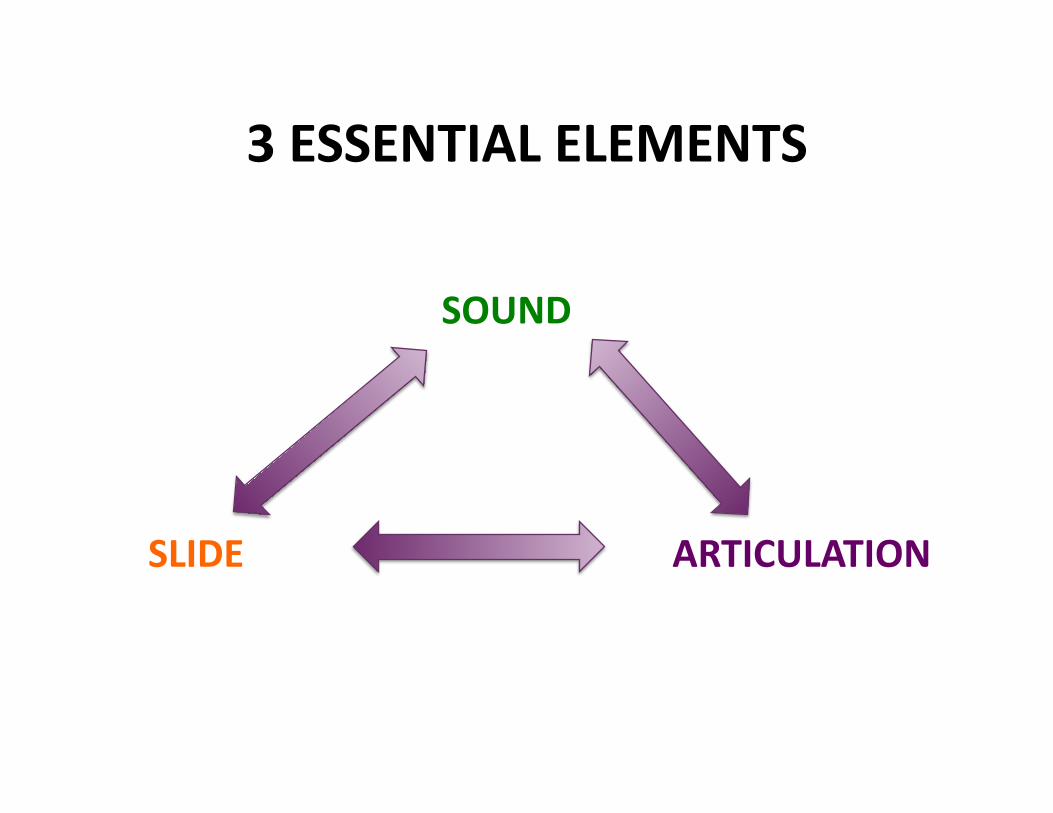
3 ESSENTIAL ELEMENTS
SOUND
SLIDE ARTICULATION
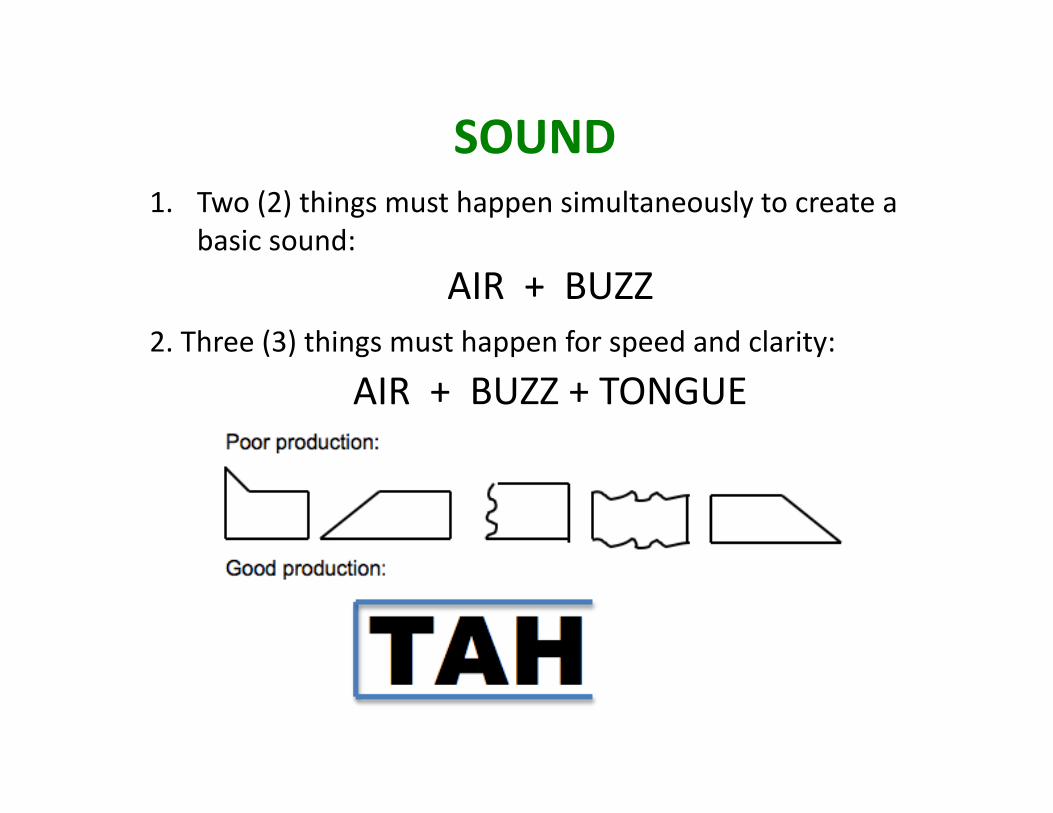
SOUND 1. Two (2) things must happen simultaneously to create a
basic sound:
AIR + BUZZ 2. Three (3) things must happen for speed and clarity:
AIR + BUZZ + TONGUE
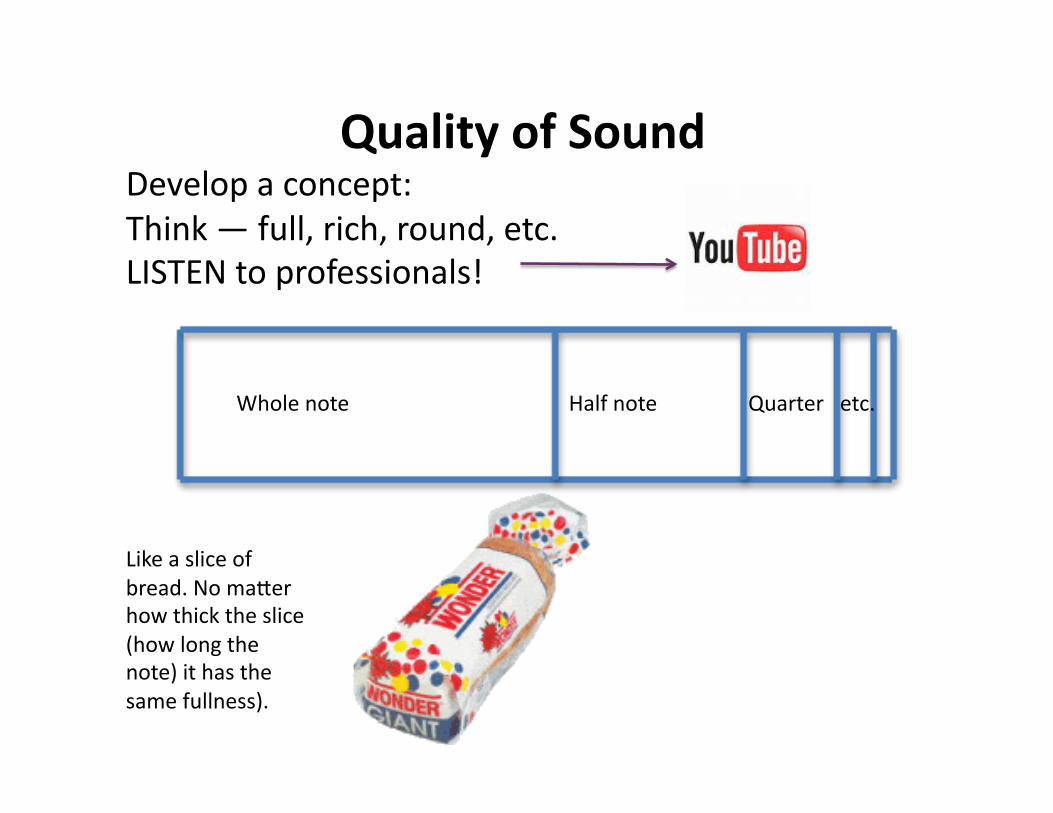
Quality of Sound Develop a concept: Think — full, rich, round, etc. LISTEN to professionals!
Whole note Half note Quarter etc.
Like a slice of bread. No ma_er how thick the slice (how long the note) it has the same fullness).
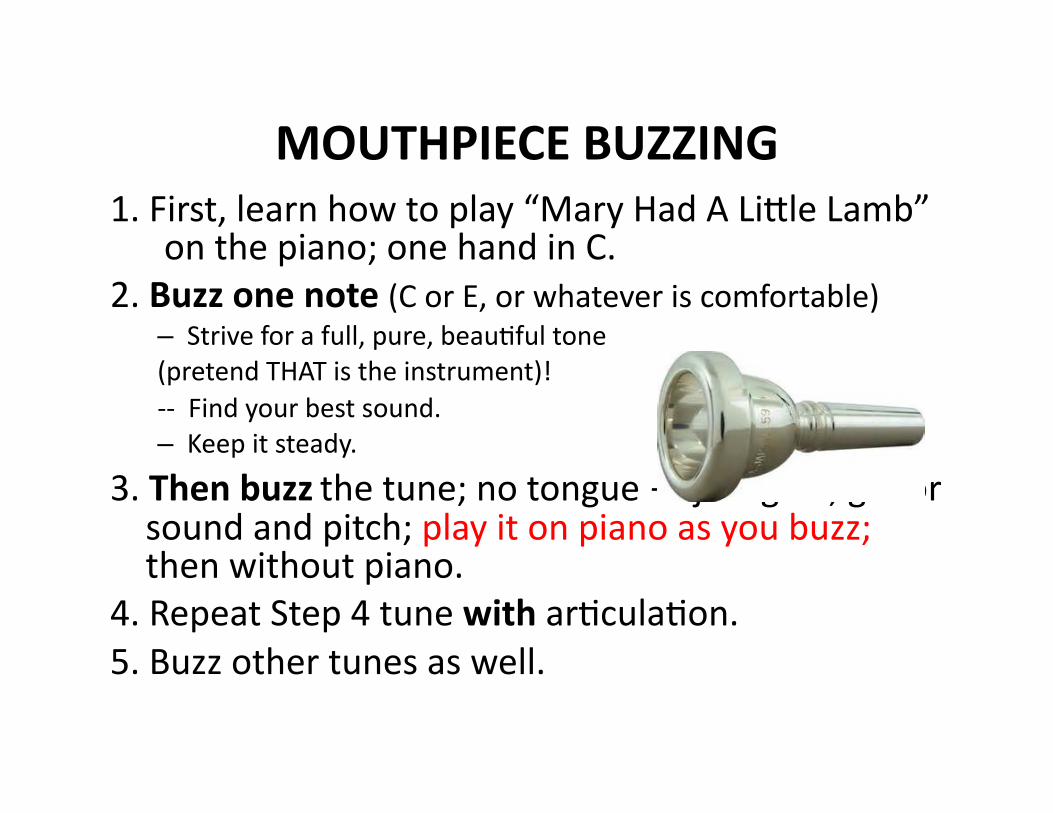
MOUTHPIECE BUZZING 1. First, learn how to play “Mary Had A Li_le Lamb”
on the piano; one hand in C. 2. Buzz one note (C or E, or whatever is comfortable)
– Strive for a full, pure, beauAful tone (pretend THAT is the instrument)! -‐-‐ Find your best sound. – Keep it steady.
3. Then buzz the tune; no tongue — just gliss; go for sound and pitch; play it on piano as you buzz; then without piano.
4. Repeat Step 4 tune with arAculaAon. 5. Buzz other tunes as well.
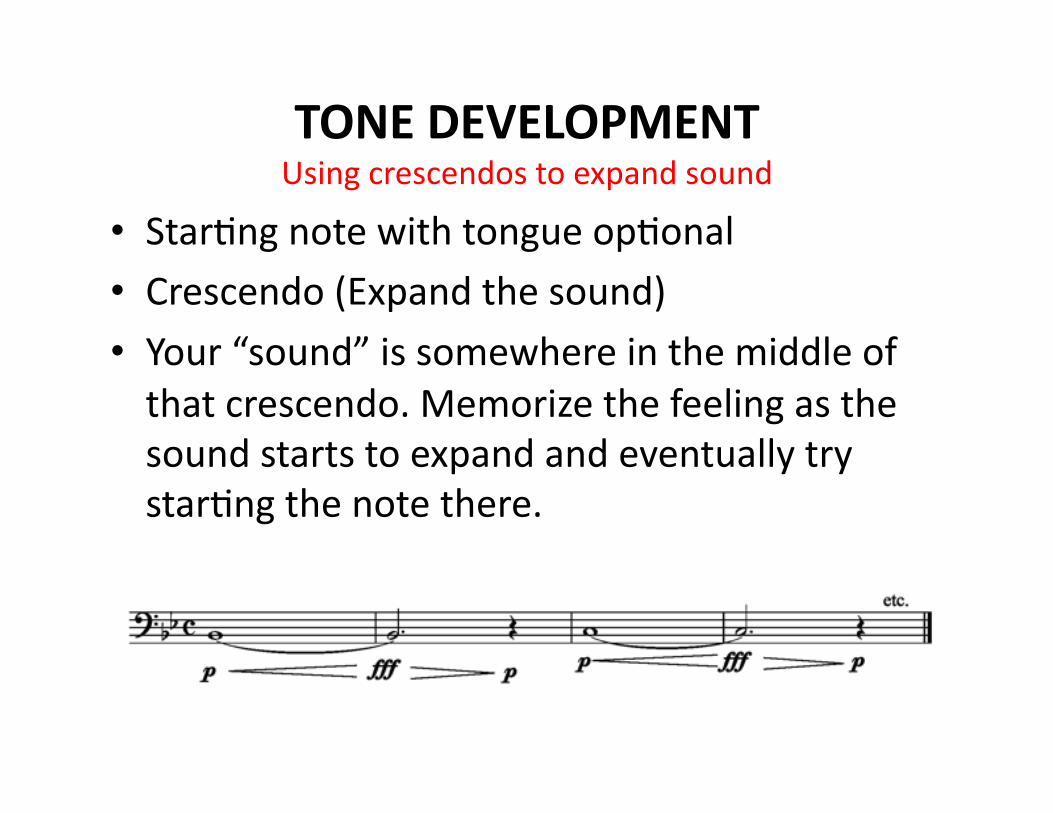
TONE DEVELOPMENT Using crescendos to expand sound
• StarAng note with tongue opAonal • Crescendo (Expand the sound) • Your “sound” is somewhere in the middle of that crescendo. Memorize the feeling as the sound starts to expand and eventually try starAng the note there.
SLIDE
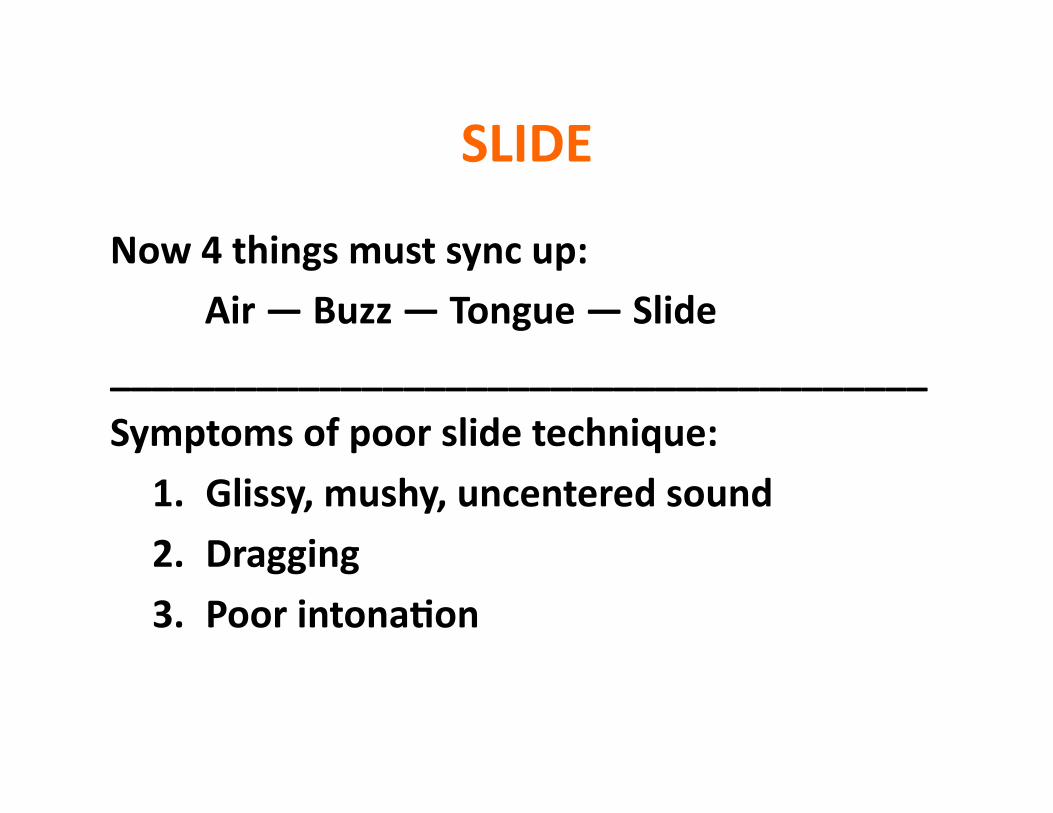
Now 4 things must sync up: Air — Buzz — Tongue — Slide
_______________________________________
Symptoms of poor slide technique:
1. Glissy, mushy, uncentered sound
2. Dragging 3. Poor intonaJon

Beware the
Bb scale! The second note [C] is 2 feet away!! Develop the slide from 1 to 2; then to 3, etc.
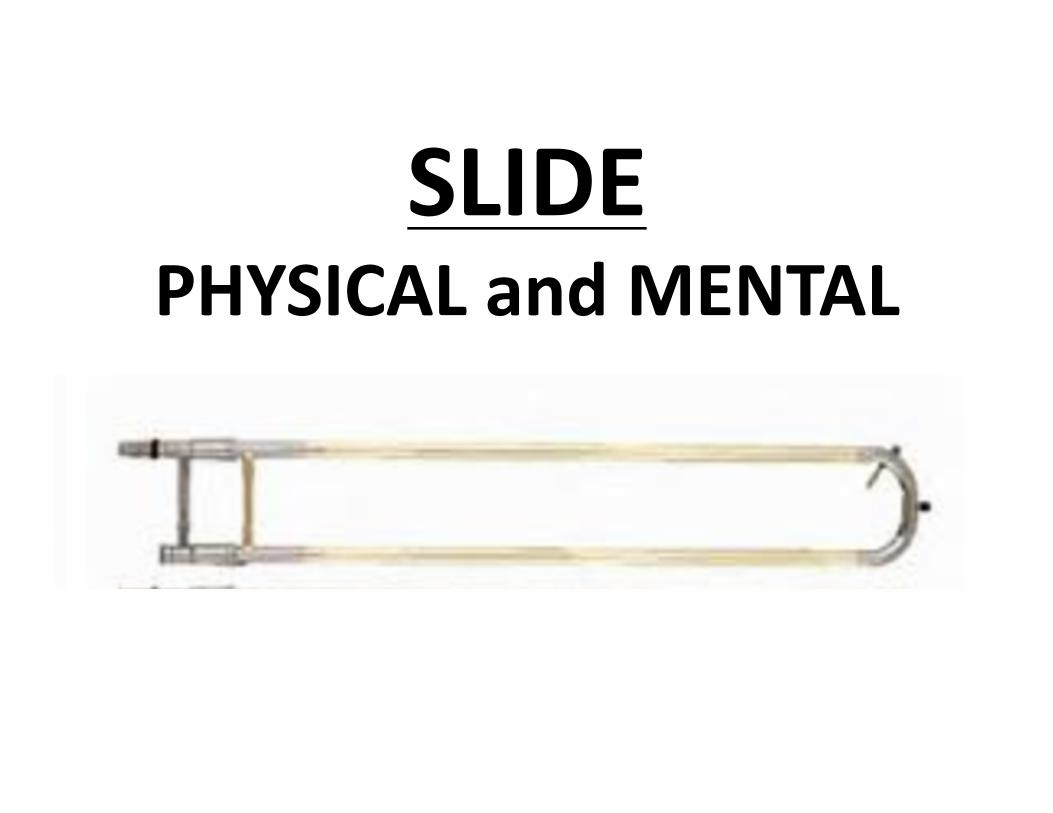
SLIDE PHYSICAL and MENTAL
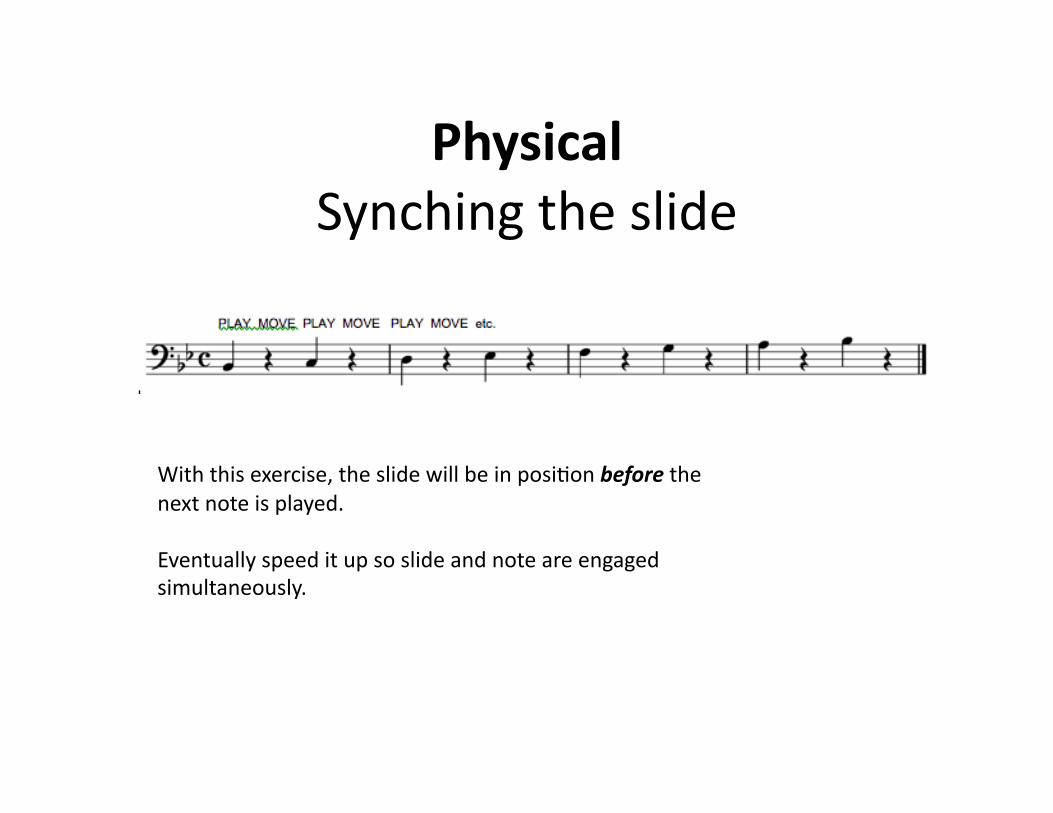
Physical Synching the slide
With this exercise, the slide will be in posiAon before the next note is played.
Eventually speed it up so slide and note are engaged simultaneously.
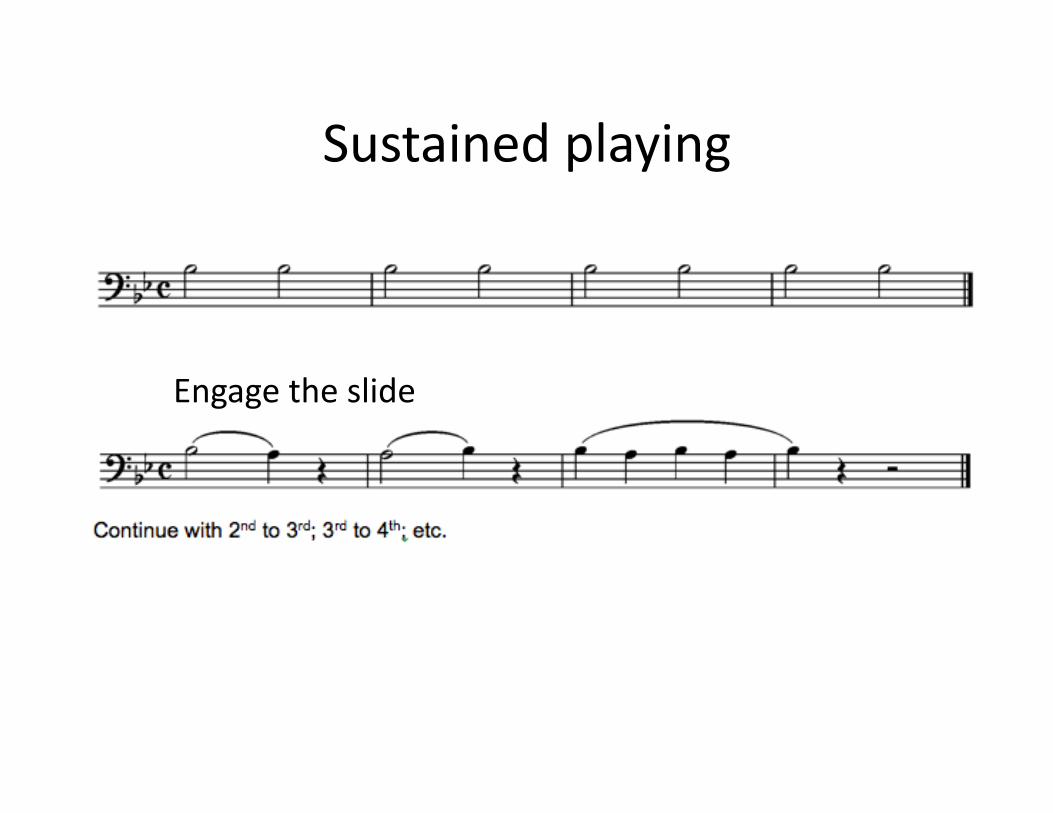
Sustained playing
Engage the slide

Expanding the slide

Building a scale

Mental Learn your posiJons — Get your brain in gear. Say the posiAons without trombone. Keep steady Ame!
1. Start with the Bb scale
2. Same thing, no music (close eyes; visualize notes)
3. Add hand movement
4. Add slide 5. Play
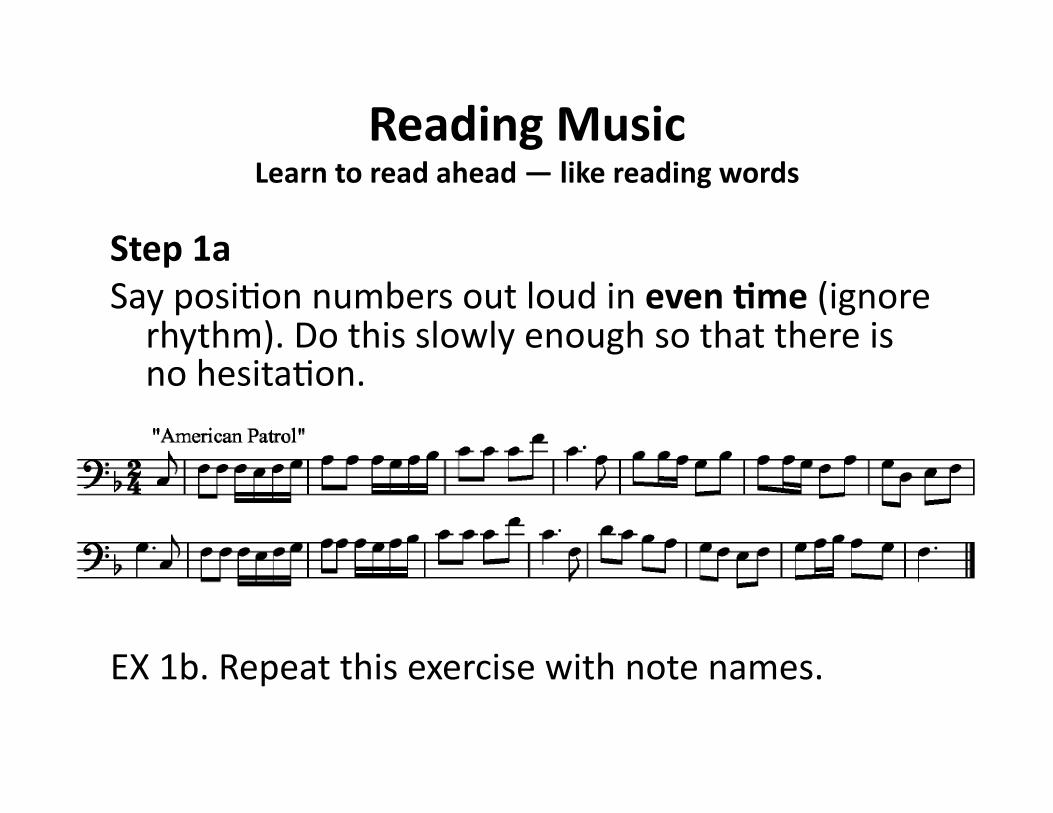
Reading Music Learn to read ahead — like reading words
Step 1a Say posiAon numbers out loud in even Jme (ignore rhythm). Do this slowly enough so that there is no hesitaAon.
EX 1b. Repeat this exercise with note names.
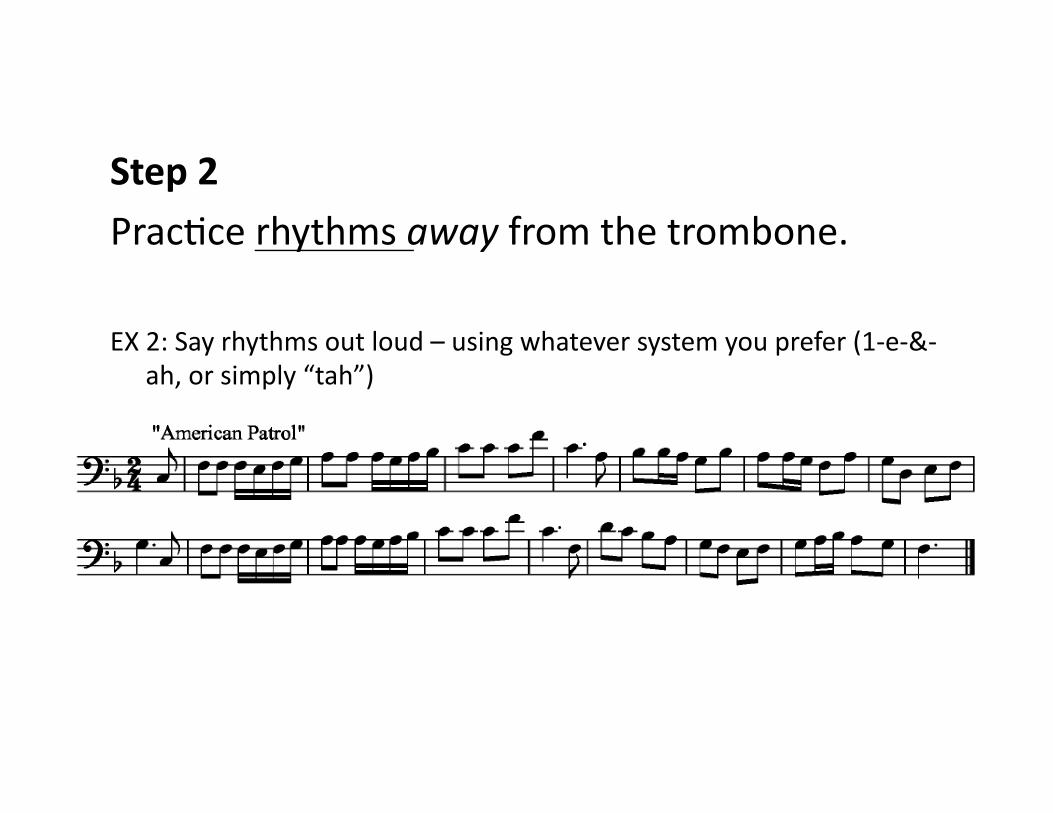
Step 2 PracAce rhythms away from the trombone.
EX 2: Say rhythms out loud – using whatever system you prefer (1-‐e-‐&-‐ah, or simply “tah”)
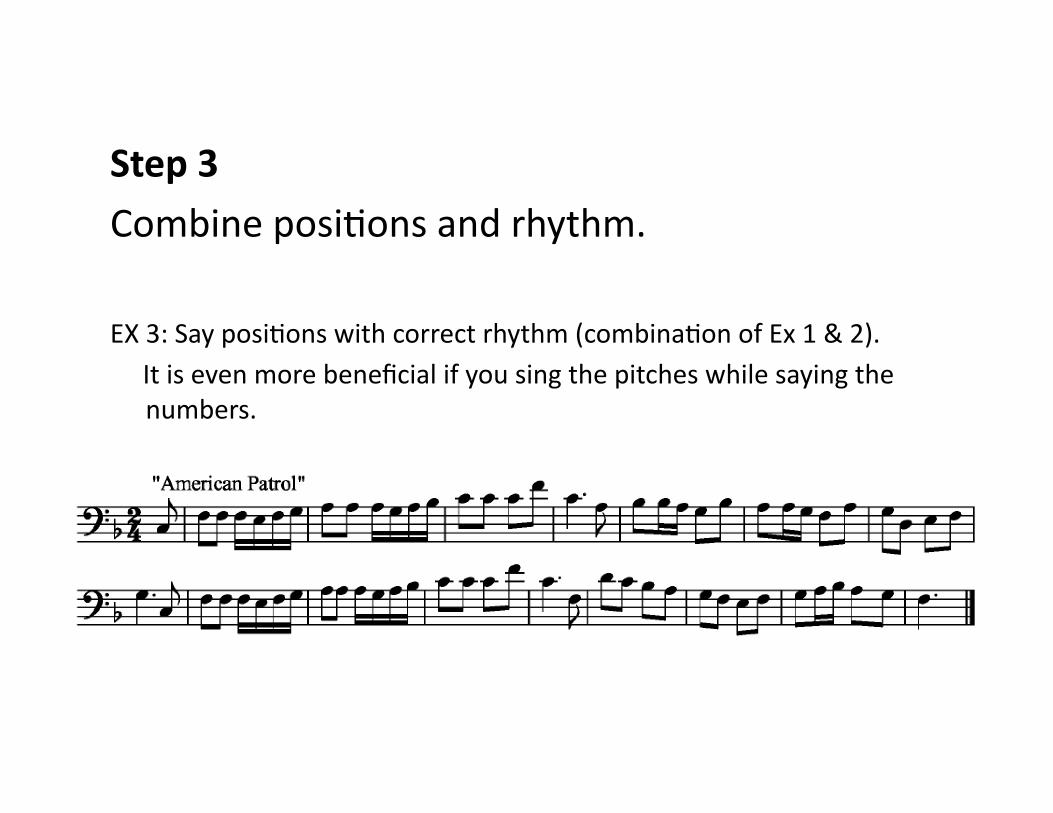
Step 3 Combine posiAons and rhythm.
EX 3: Say posiAons with correct rhythm (combinaAon of Ex 1 & 2). It is even more beneficial if you sing the pitches while saying the
numbers.
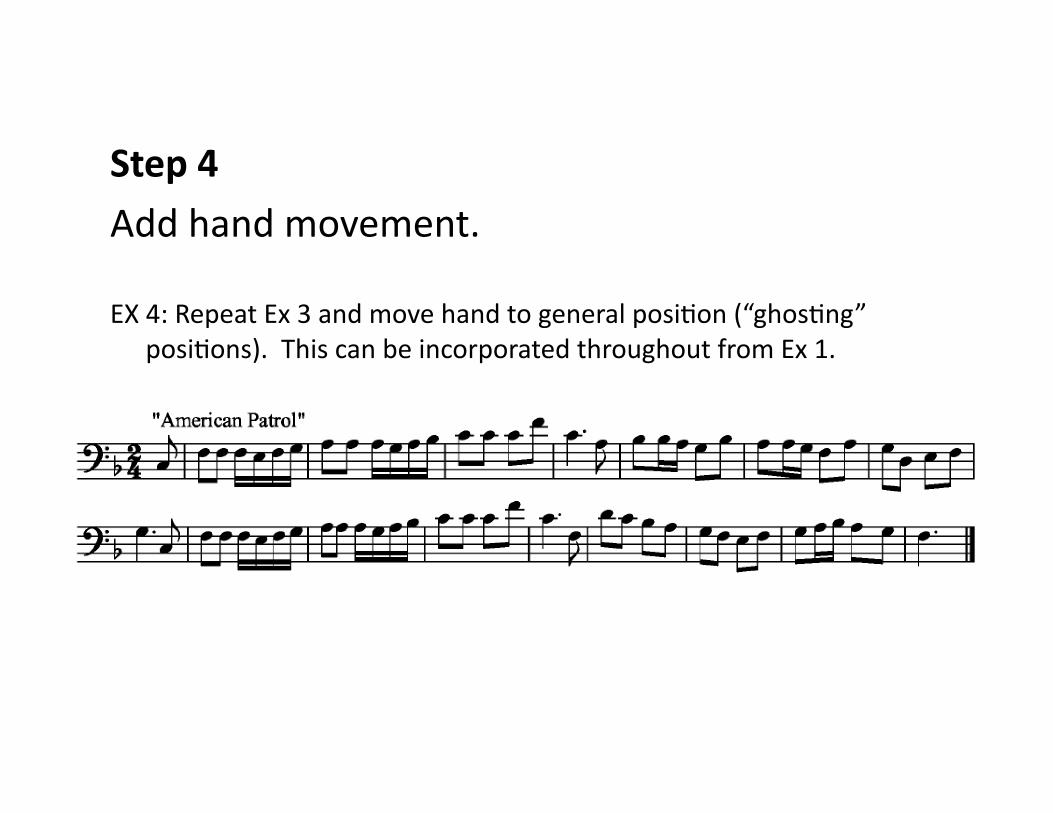
Step 4 Add hand movement.
EX 4: Repeat Ex 3 and move hand to general posiAon (“ghosAng” posiAons). This can be incorporated throughout from Ex 1.
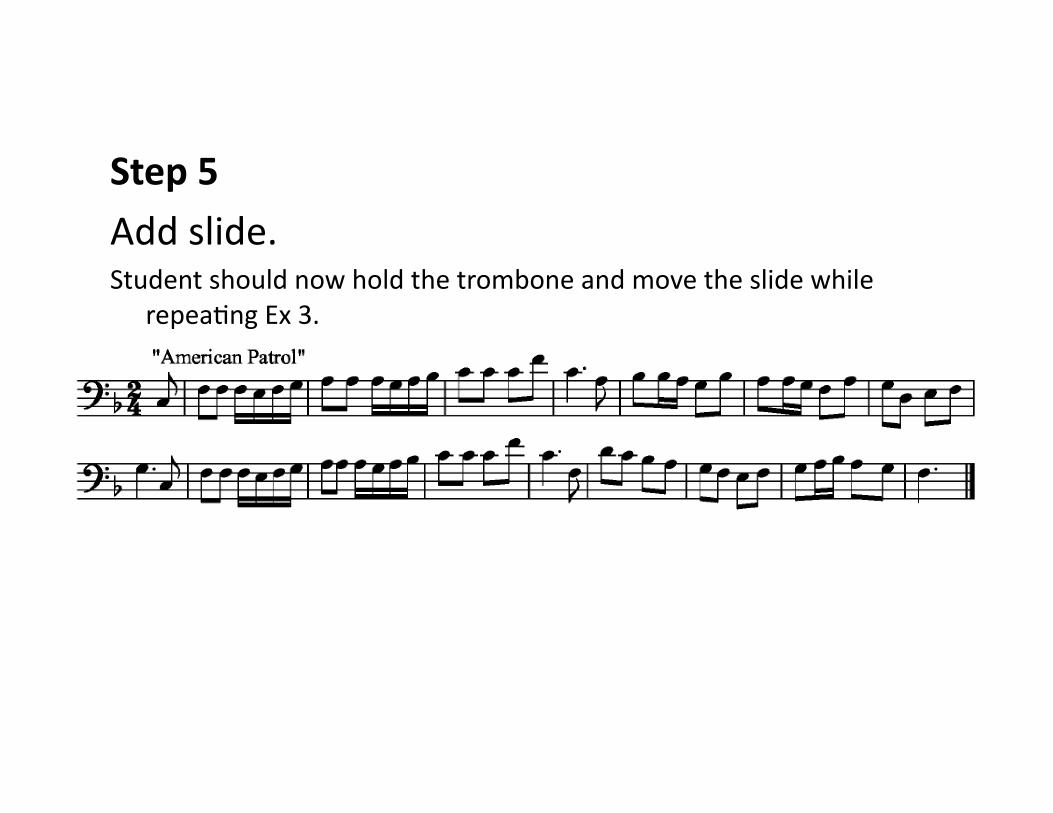
Step 5 Add slide. Student should now hold the trombone and move the slide while
repeaAng Ex 3.
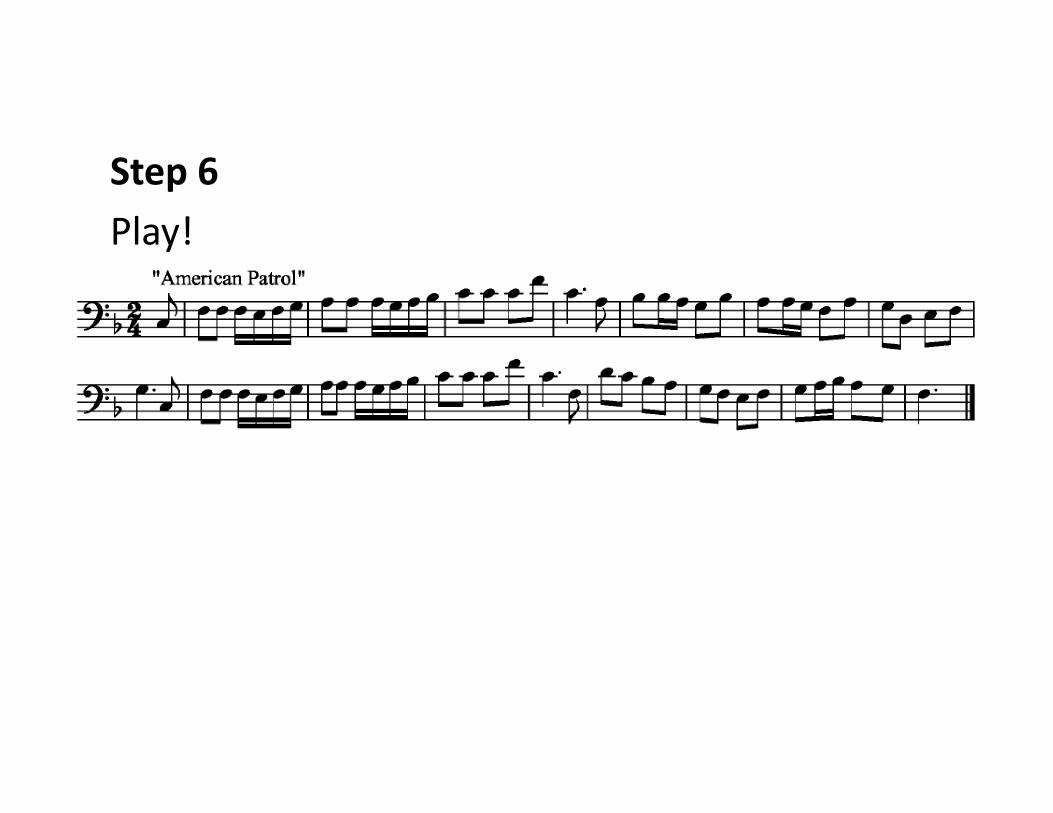
Step 6 Play!
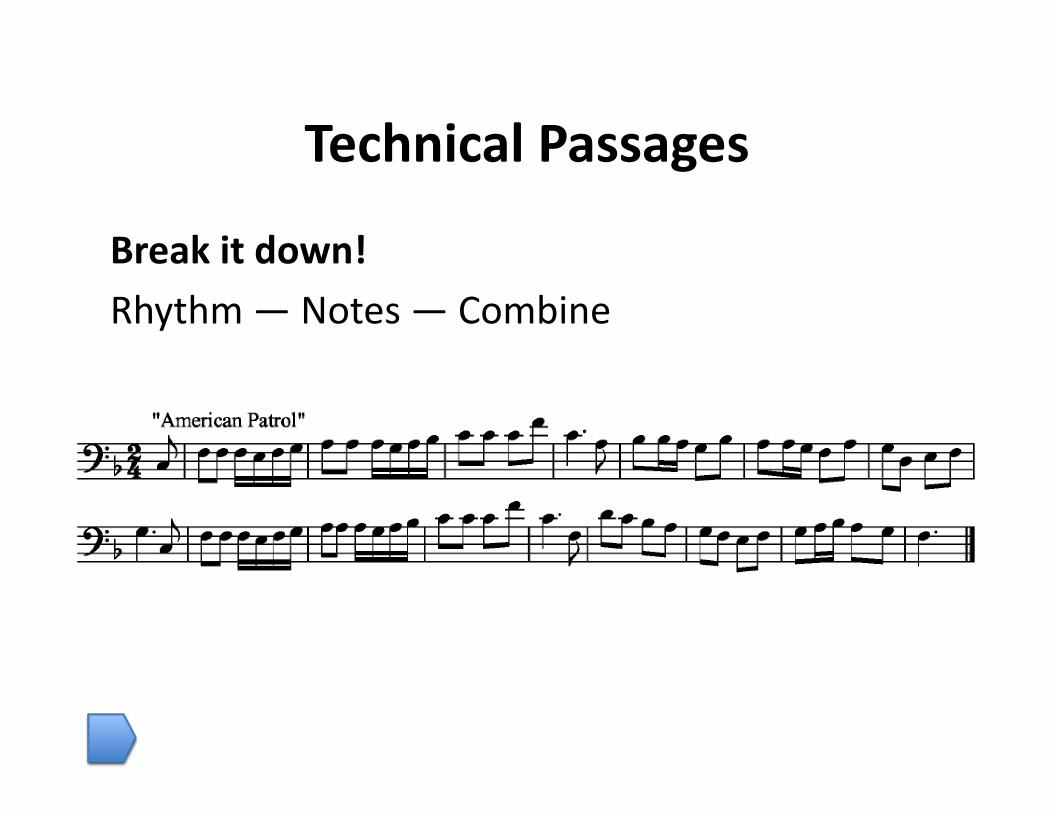
Technical Passages
Break it down! Rhythm — Notes — Combine
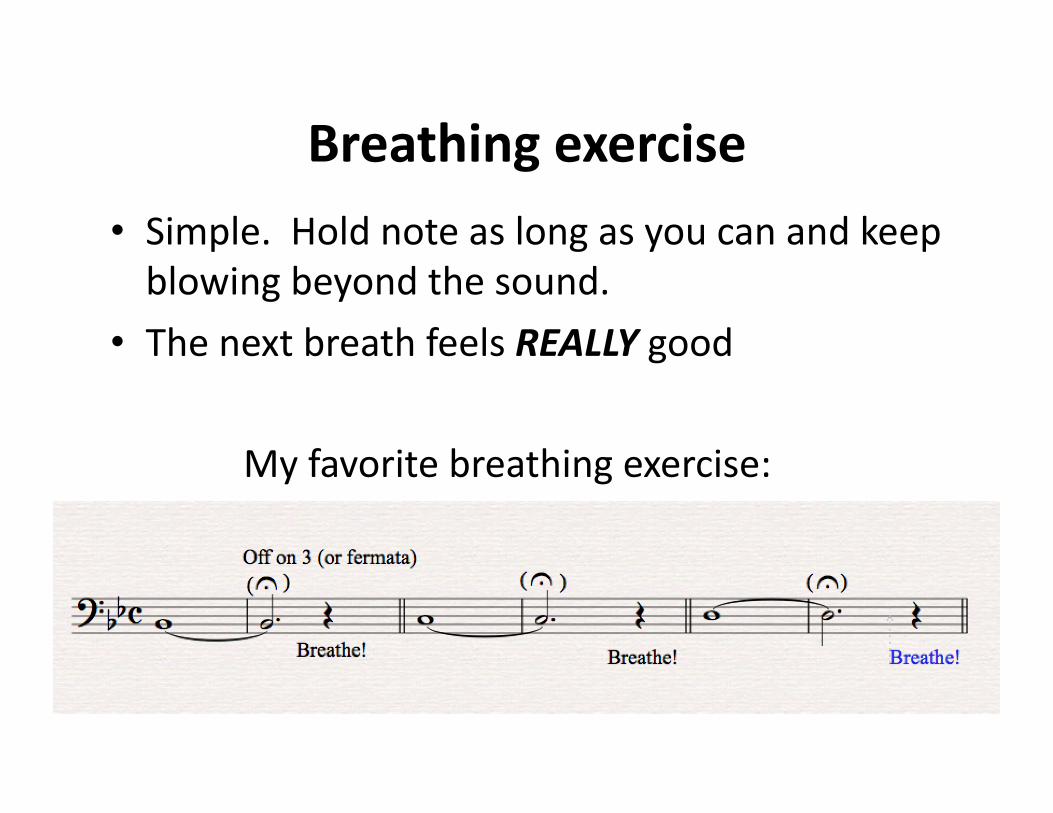
Breathing exercise • Simple. Hold note as long as you can and keep blowing beyond the sound.
• The next breath feels REALLY good
My favorite breathing exercise:
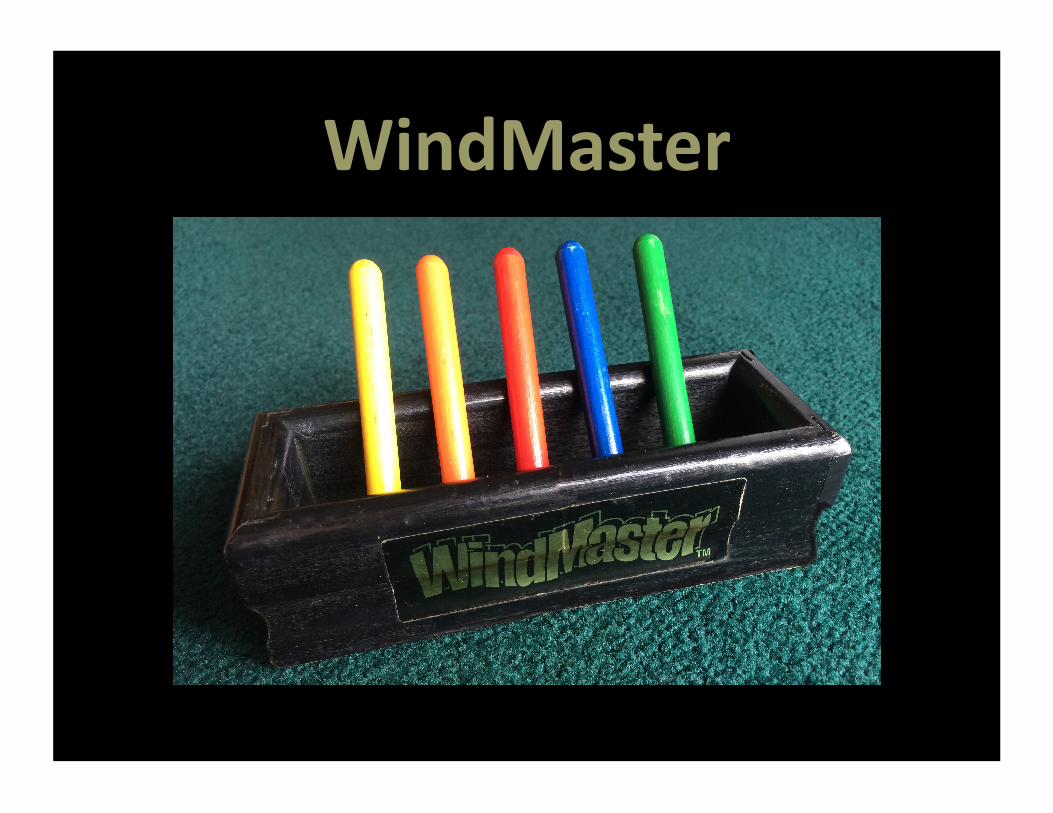
WindMaster
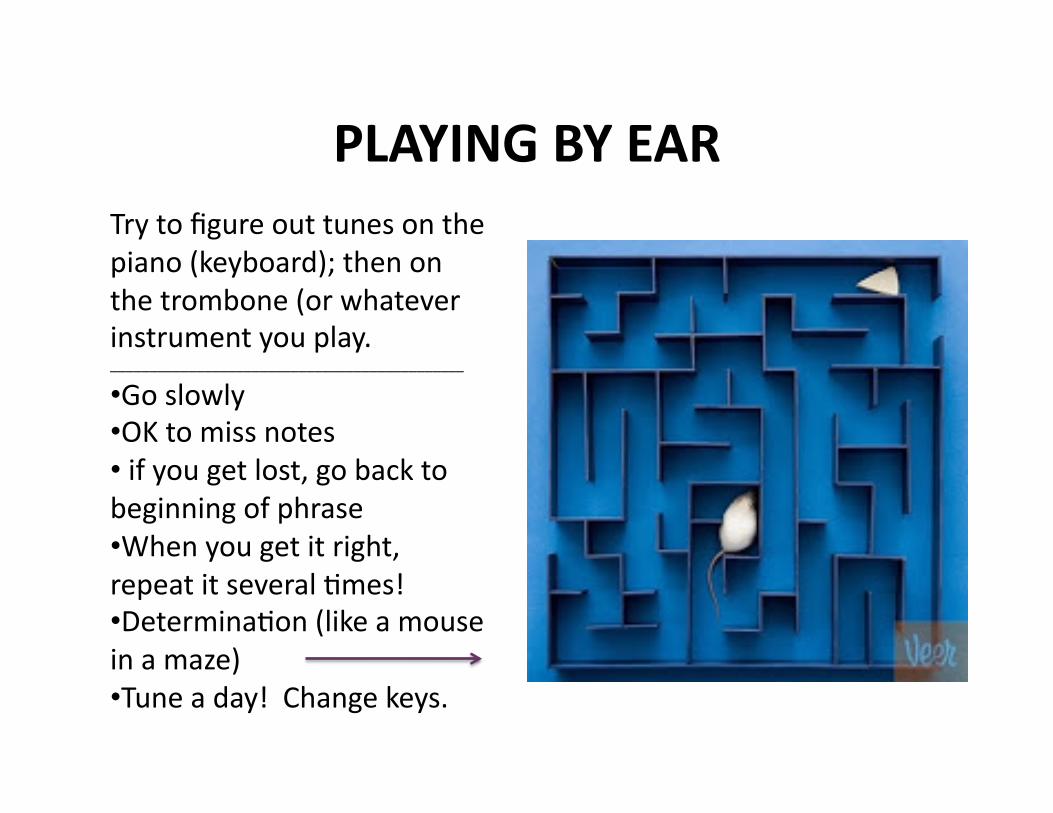
PLAYING BY EAR Try to figure out tunes on the piano (keyboard); then on the trombone (or whatever instrument you play. _____________________________________________
• Go slowly • OK to miss notes • if you get lost, go back to beginning of phrase • When you get it right, repeat it several Ames! • DeterminaAon (like a mouse in a maze) • Tune a day! Change keys.
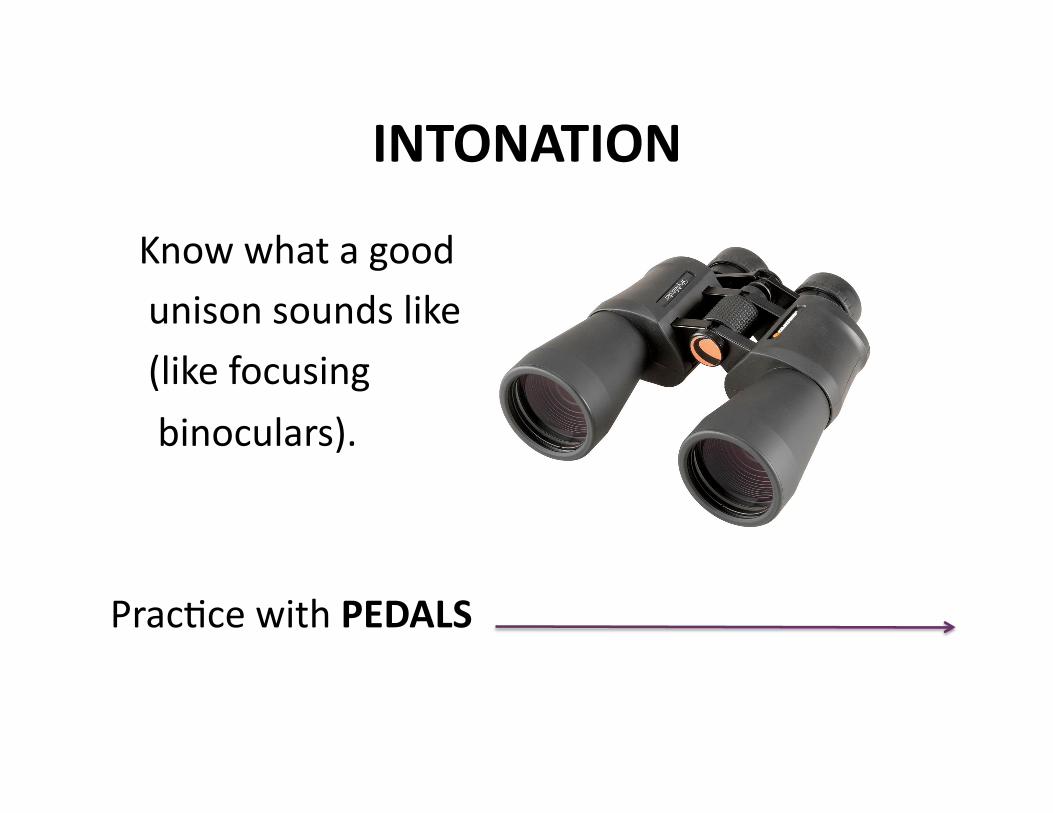
INTONATION
Know what a good unison sounds like
(like focusing
binoculars).
PracAce with PEDALS
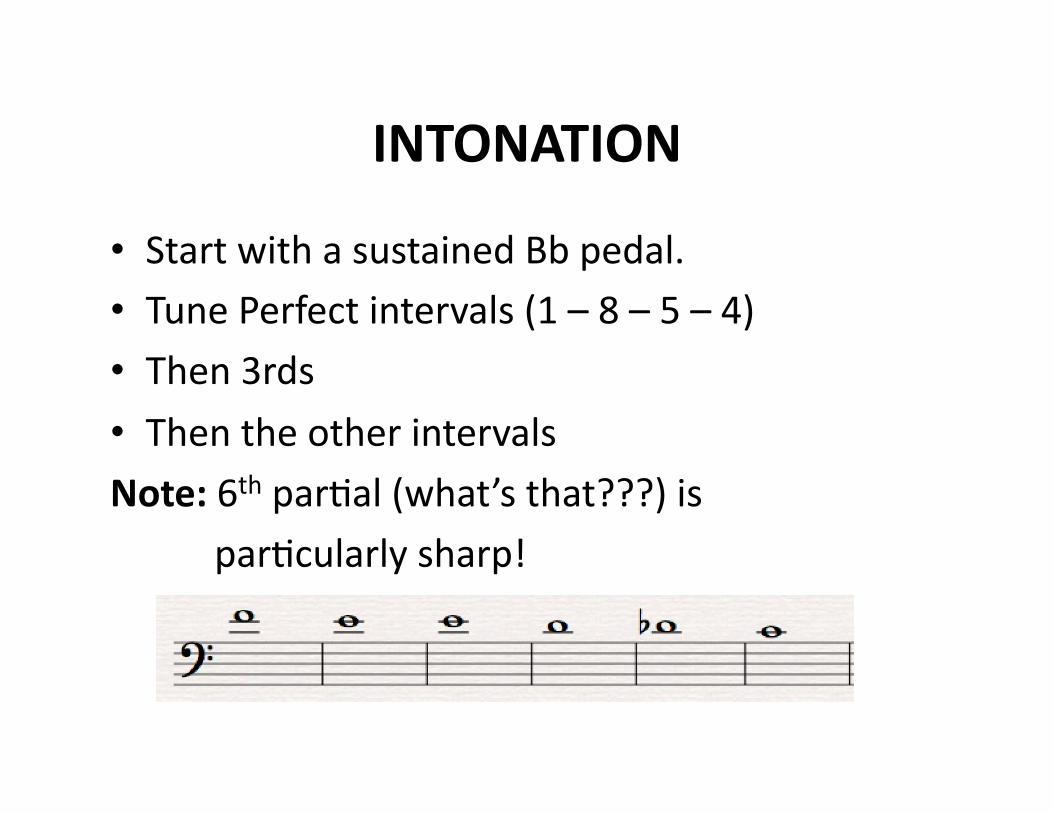
INTONATION
• Start with a sustained Bb pedal. • Tune Perfect intervals (1 – 8 – 5 – 4) • Then 3rds • Then the other intervals Note: 6th parAal (what’s that???) is
parAcularly sharp!
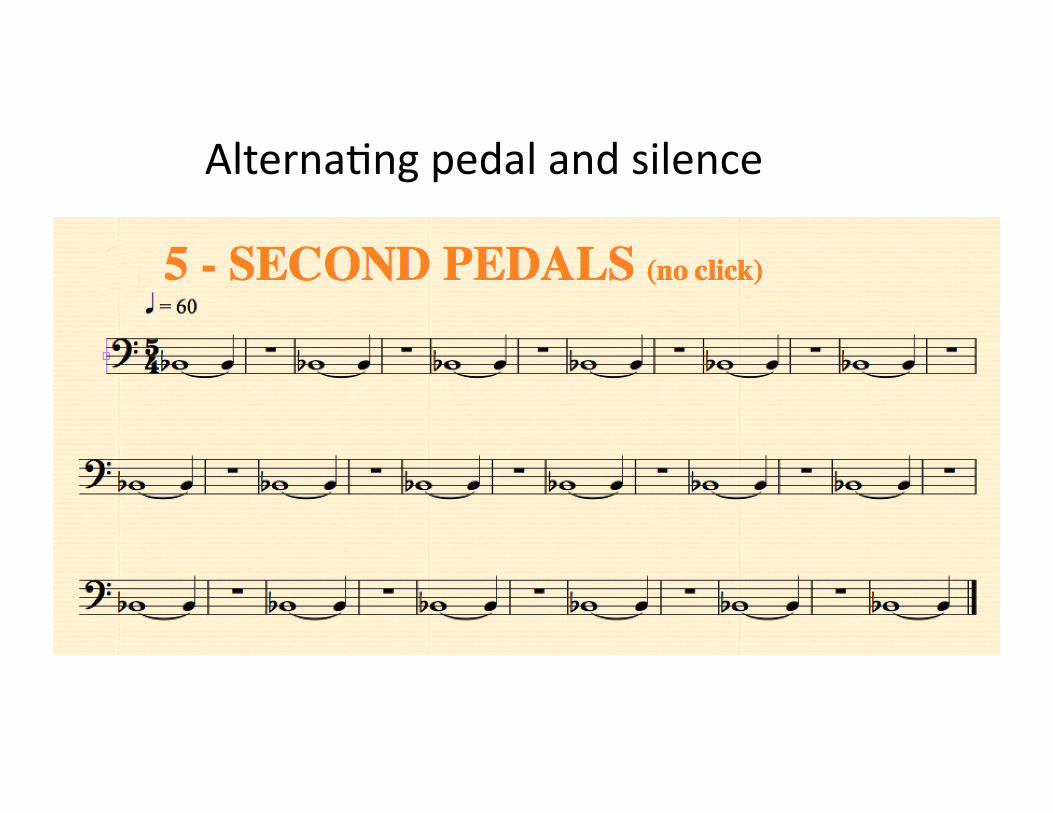
AlternaAng pedal and silence
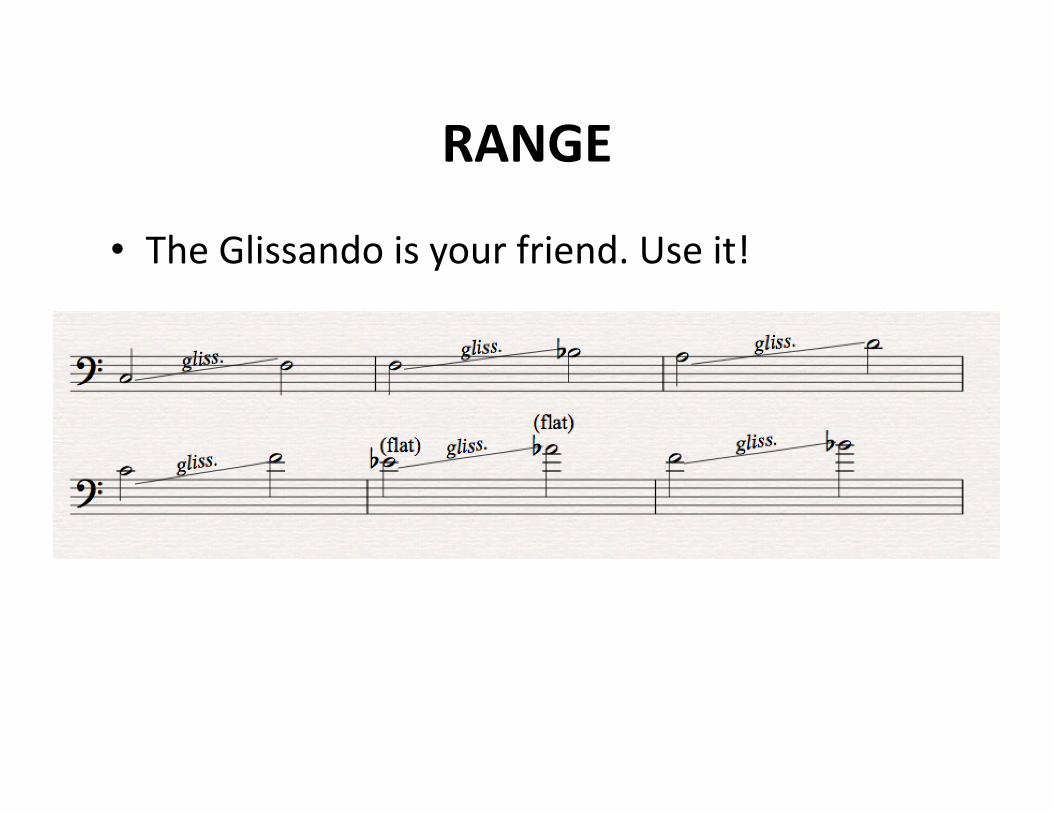
RANGE
• The Glissando is your friend. Use it!

Use grooves! It’s the
modern day
metronome.
TIME
SuperMetronome GrooveBox
PRACTICING
It starts with moJvaJon… • Live concerts • You Tube assignments – listening/watching/experiencing
• Smart Music • Pop songs; movie music • Private lessons • ???