How to make a topo salad-tray model - USGS Education · How to make a topo salad-tray model 1....
2
How to make a topo salad-tray model 1. Select a feature that you would like to model. Islands work well because they have well-defined boundaries. Mountains, canyons, or any feature with enough topographic relief will work. 2. Get a topographic map of the feature you want to model. Digital topographic maps can be downloaded free from the USGS Store. Go to http://store.usgs.gov and click on “Map Locator”. 3. Get some clear plastic salad containers (salad trays) or pie covers (any clear, stackable plastic with a flat surface will do). You will need at least 7 or 8 plus a few extras in case of mistakes. They can be purchased at restaurant supply stores or any business that uses them for salads and take-out food. Or save them from your meals. Square salad trays are easier to work with than round trays or pie covers. 4. Use a reducing/enlarging photocopier to adjust the size of the feature you are modeling so it is almost as large as the flat bottom of the plastic salad tray. 5. Once you have the correctly sized photocopy, use a marker to darken just those contour lines you want to transfer to the salad trays. In picking the contour lines to transfer, remember two things: The difference in elevation between adjacent pairs of contour lines should always be the same. This difference is called the contour interval. The contour interval for the darkened lines on the back of this page for Angel Island, California is 100 feet. The models seem to work best if you use a total of 7 or 8 contour lines (one per salad tray). 6. Let's call the photocopy with the darkened contour lines the "master copy." Using scissors, trim the master copy so that it just fits the flat bottom of the inside of a salad tray. Getting the fit as tight as possible will help you put the master copy in the same position in each salad tray, and this will help the contour lines on the salad trays line up properly. 7. Position the master copy in the bottom of a salad tray, with the darkened contour lines against the plastic. Secure with tape so the master copy won't move while you are tracing. 8. Looking through the bottom of the salad tray at the master copy, use a permanent marker (black seems to work best) to trace one contour line onto the salad tray. 9. Remove the master copy and position it in a second tray. Trace another contour line onto the second salad tray. 10. Continue until you have a different contour line on each salad tray. Add the name of the feature, a scale bar (showing how long a mile is, for example), and a north arrow on the top or bottom salad tray. Label each tray with the elevation of the contour line on that tray. Stack them up and be amazed! U.S. Department of the Interior Science Education Handout U.S. Geological Survey February 2010 http://online.wr.usgs.gov/outreach/topo_instructions.html
Transcript of How to make a topo salad-tray model - USGS Education · How to make a topo salad-tray model 1....
How to make a topo salad-tray model
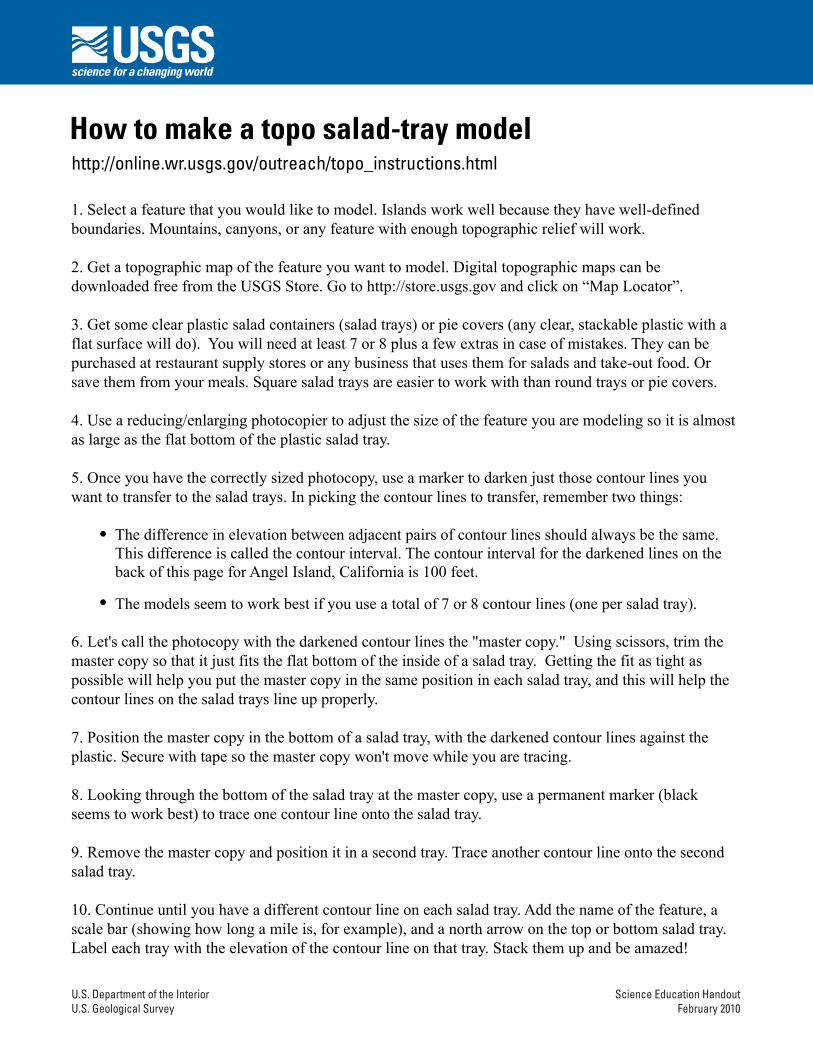
1. Select a feature that you would like to model. Islands work well because they have well-defined boundaries. Mountains, canyons, or any feature with enough topographic relief will work.
2. Get a topographic map of the feature you want to model. Digital topographic maps can be downloaded free from the USGS Store. Go to http://store.usgs.gov and click on “Map Locator”.
3. Get some clear plastic salad containers (salad trays) or pie covers (any clear, stackable plastic with a flat surface will do). You will need at least 7 or 8 plus a few extras in case of mistakes. They can be purchased at restaurant supply stores or any business that uses them for salads and take-out food. Or save them from your meals. Square salad trays are easier to work with than round trays or pie covers.
4. Use a reducing/enlarging photocopier to adjust the size of the feature you are modeling so it is almost as large as the flat bottom of the plastic salad tray.
5. Once you have the correctly sized photocopy, use a marker to darken just those contour lines you want to transfer to the salad trays. In picking the contour lines to transfer, remember two things:
The difference in elevation between adjacent pairs of contour lines should always be the same. This difference is called the contour interval. The contour interval for the darkened lines on the back of this page for Angel Island, California is 100 feet.
The models seem to work best if you use a total of 7 or 8 contour lines (one per salad tray).
6. Let's call the photocopy with the darkened contour lines the "master copy." Using scissors, trim the master copy so that it just fits the flat bottom of the inside of a salad tray. Getting the fit as tight as possible will help you put the master copy in the same position in each salad tray, and this will help the contour lines on the salad trays line up properly.
7. Position the master copy in the bottom of a salad tray, with the darkened contour lines against the plastic. Secure with tape so the master copy won't move while you are tracing.
8. Looking through the bottom of the salad tray at the master copy, use a permanent marker (black seems to work best) to trace one contour line onto the salad tray.
9. Remove the master copy and position it in a second tray. Trace another contour line onto the second salad tray.
10. Continue until you have a different contour line on each salad tray. Add the name of the feature, a scale bar (showing how long a mile is, for example), and a north arrow on the top or bottom salad tray. Label each tray with the elevation of the contour line on that tray. Stack them up and be amazed!
U.S. Department of the Interior Science Education HandoutU.S. Geological Survey February 2010
http://online.wr.usgs.gov/outreach/topo_instructions.html

Angel IslandSan Francisco Bay, California
122°26'30"W
122°26'30"W
122°26'0"W
122°26'0"W
122°25'30"W
122°25'30"W
37°5
1'30
"N
37°5
1'30
"N
37°5
2'0"
N
37°5
2'0"
N
0 1,000 2,000500
Feet