
Finished size 39” x 39” - sulky.com · PDF fileseam allowance. Press all the seams...
8
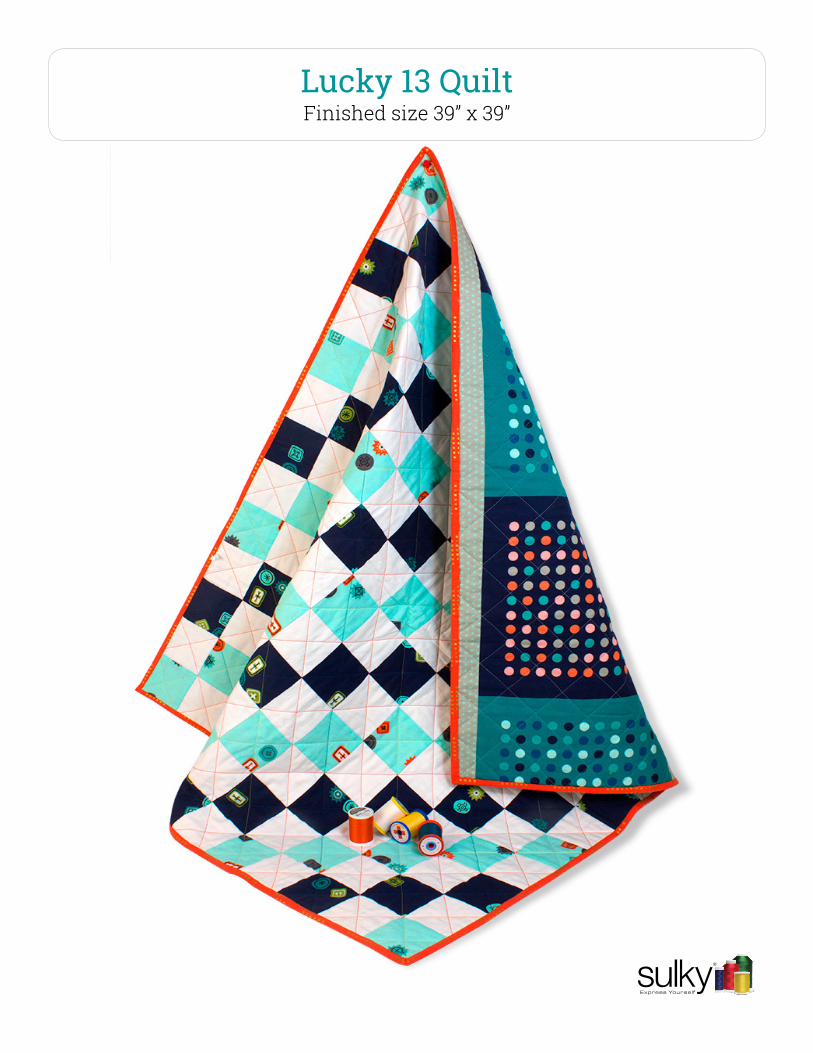
Lucky 13 Quilt Finished size 39” x 39”
Transcript of Finished size 39” x 39” - sulky.com · PDF fileseam allowance. Press all the seams...
Lucky 13 QuiltFinished size 39” x 39”

Lucky 13 Quilt–2–
Project OverviewWe love this quick and easy quilt with a modern flair. The perfect quilt for a new baby, to brighten up a living room or for your quilt-worthy pooch. Do you want the quilt to be a different size? Easy! Just change the size of the squares; the bigger the squares, the bigger the quilt. Happy Sewing!
Fabric:• 1 yd. of White Cotton Fabric
• 1/2 yd. of Navy Blue Cotton Fabric
• 1/2 yd. of Light Blue Cotton Fabric
• 1-1/2 yds. of Cotton Backing Fabric
Thread:• Cotton + Steel 50 wt. Cotton Thread by Sulky in coordinating colors (We used 3 threads. #1071 Off White for
piecing, #1536 Midnight Teal and # 502 Cornsilk for quilting)
• Sulky 30 wt. Cotton Thread in contrasting color (we used Orange #1833 Pumpkin Pie)
• Sulky PolyLite™ 60 wt. Thread for bobbin and sewing on the binding (Use colors that match your fabrics. We used #1001 White for the bobbin and #1078 Tangerine for hand sewing the binding down.)
Supplies:• 45” x 45” square of Warm and Natural™ Cotton Batting
• Sulky® KK 2000™ Temporary Spray Adhesive

Lucky 13 Quilt–3–
Cutting Instructions:
For binding - cut (4) 2-1/4” strips WOF (width of fabric) and join the strips lengthwise.
1. Using the diagram, layout the first three rows on a table. I laid them out top to bottom, but you can do them anyway you like, following the diagram on page 6.
• 84 white 3-1/2” squares
• 42 Navy 3-1/2” squares
• 43 Light Blue 3-1/2” squares
HINT: If you cut larger squares, you will have a larger quilt. Go ahead, make this quilt whatever size you want!

Lucky 13 Quilt–4–
Instructions - continued
2. Using Cotton + Steel Thread by Sulky for the piecing, join the squares together for the first row using a 1/4” seam allowance. Press all the seams away from the white fabric.
3. Sew the next two rows together, again pressing the seam allowances towards the darker fabric.
4. Sew the three rows together carefully matching the seams. If you always pressed to the darker fabric, the seams should nest nicely helping you sew the strips together accurately.
Lucky 13 Quilt–5–
Instructions
HINT: If you store your quilt in a sealed ziplock bag with the air squeezed out between the times you’re working on it, the KK 2000 will last much, much longer.
Make a Quilt Sandwich1. Smooth the backing fabric, right side down, onto a large surface like a quilting table or ping-pong table. To prevent
shifting, secure it with either masking tape or binder clips. It should be smooth and taut, but not stretched. Smaller wallhangings may not need masking or painter’s tape to hold them in place on the table, but larger ones, like this one, definitely will.
2. Lay the batting on top of it. Smooth in place. Fold half of the batting back to expose the backing. Lightly shake the KK 2000 Temporary Spray Adhesive and then lightly spray it onto the backing fabric. Carefully smooth the batting back into place. Repeat for the other half.
3. Place the quilt top (right side up) on top of the batting. Fold half of the top back to expose the batting. Lightly spray Sulky KK 2000 on the folded half of the quilt top. Carefully smooth the top back into place. Repeat for the other half.
(For larger quilts, secure all layers of the quilt sandwich to a large, flat surface with masking tape, or binder clips every 12” to 15”.) Add some safety pins throughout the quilt as well for extra security.
- continued
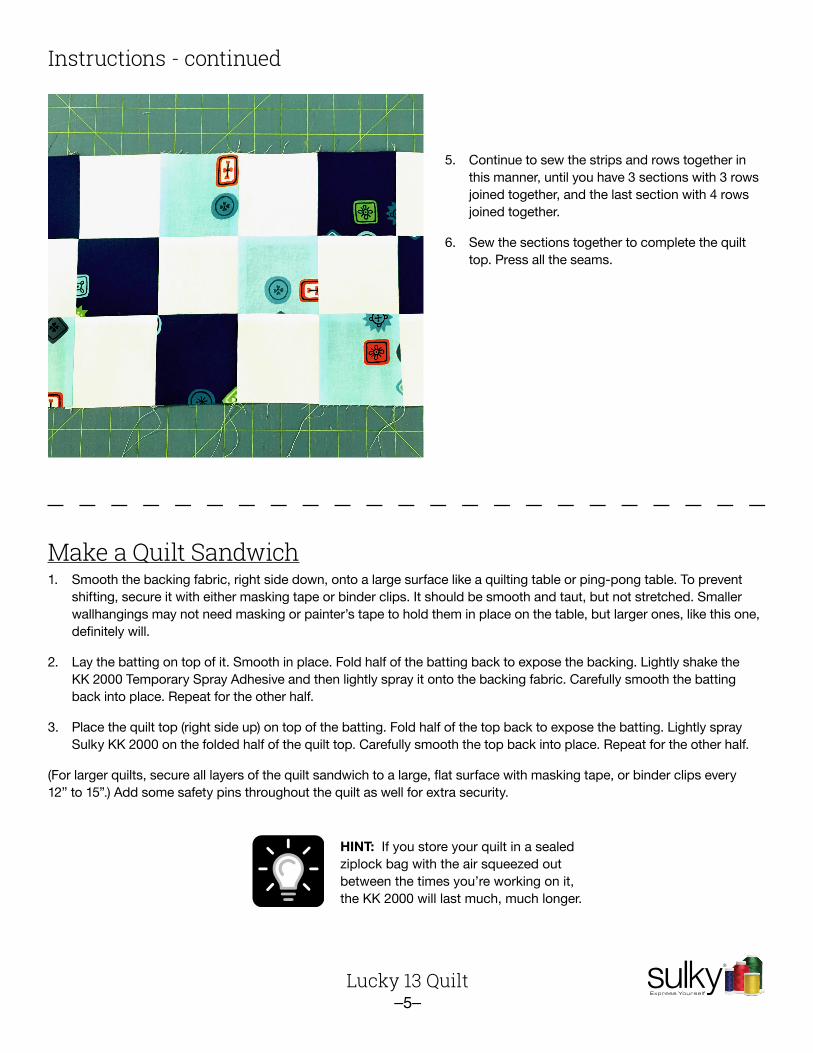
5. Continue to sew the strips and rows together in this manner, until you have 3 sections with 3 rows joined together, and the last section with 4 rows joined together.
6. Sew the sections together to complete the quilt top. Press all the seams.
Lucky 13 Quilt–6–
Instructions
Quilting & Binding.1. Change the foot on your machine to a walking or even-feed foot.
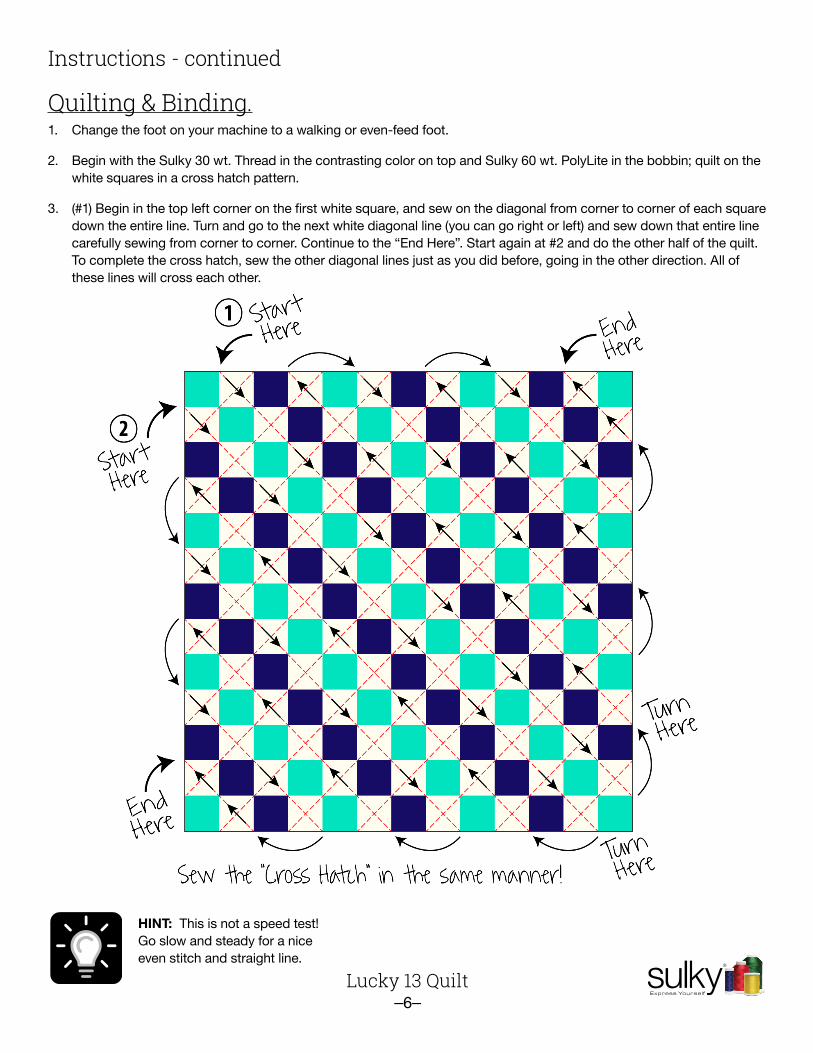
2. Begin with the Sulky 30 wt. Thread in the contrasting color on top and Sulky 60 wt. PolyLite in the bobbin; quilt on the white squares in a cross hatch pattern.
3. (#1) Begin in the top left corner on the first white square, and sew on the diagonal from corner to corner of each square down the entire line. Turn and go to the next white diagonal line (you can go right or left) and sew down that entire line carefully sewing from corner to corner. Continue to the “End Here”. Start again at #2 and do the other half of the quilt. To complete the cross hatch, sew the other diagonal lines just as you did before, going in the other direction. All of these lines will cross each other.
HINT: This is not a speed test! Go slow and steady for a nice even stitch and straight line.
- continued
Lucky 13 Quilt–7–
Instructions
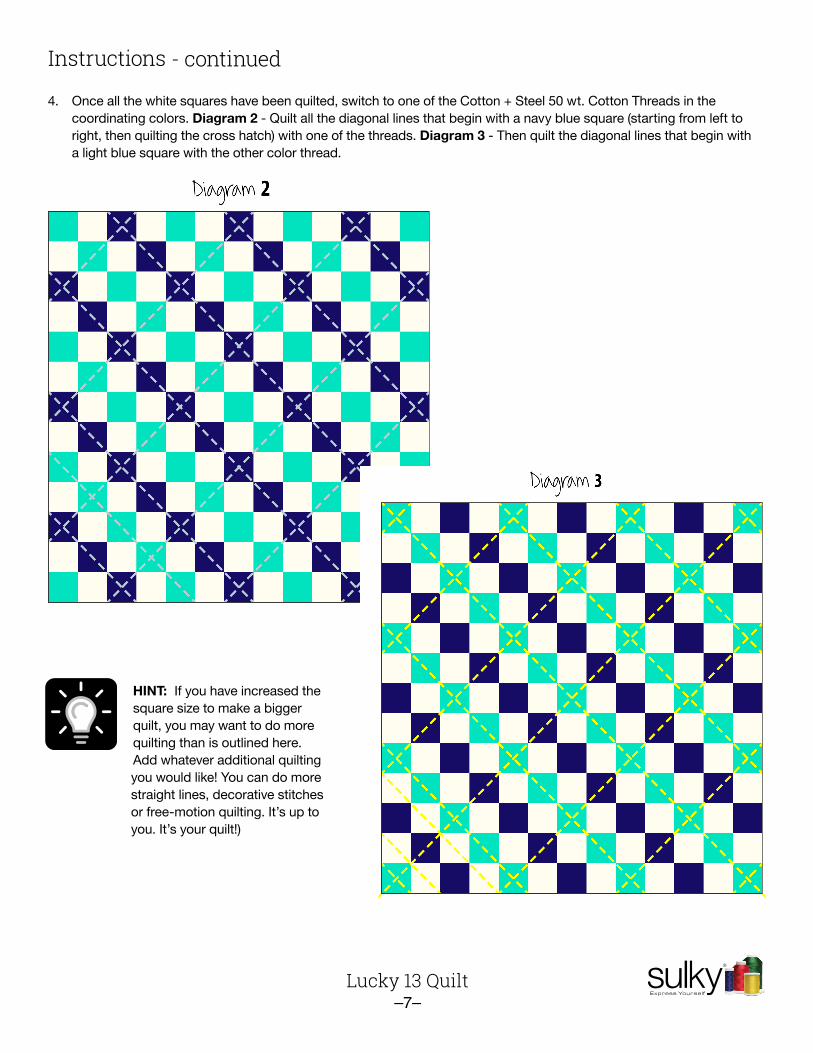
4. Once all the white squares have been quilted, switch to one of the Cotton + Steel 50 wt. Cotton Threads in the coordinating colors. Diagram 2 - Quilt all the diagonal lines that begin with a navy blue square (starting from left to right, then quilting the cross hatch) with one of the threads. Diagram 3 - Then quilt the diagonal lines that begin with a light blue square with the other color thread.
HINT: If you have increased the square size to make a bigger quilt, you may want to do more quilting than is outlined here. Add whatever additional quilting you would like! You can do more straight lines, decorative stitches or free-motion quilting. It’s up to you. It’s your quilt!)
- continued
Lucky 13 Quilt–8–
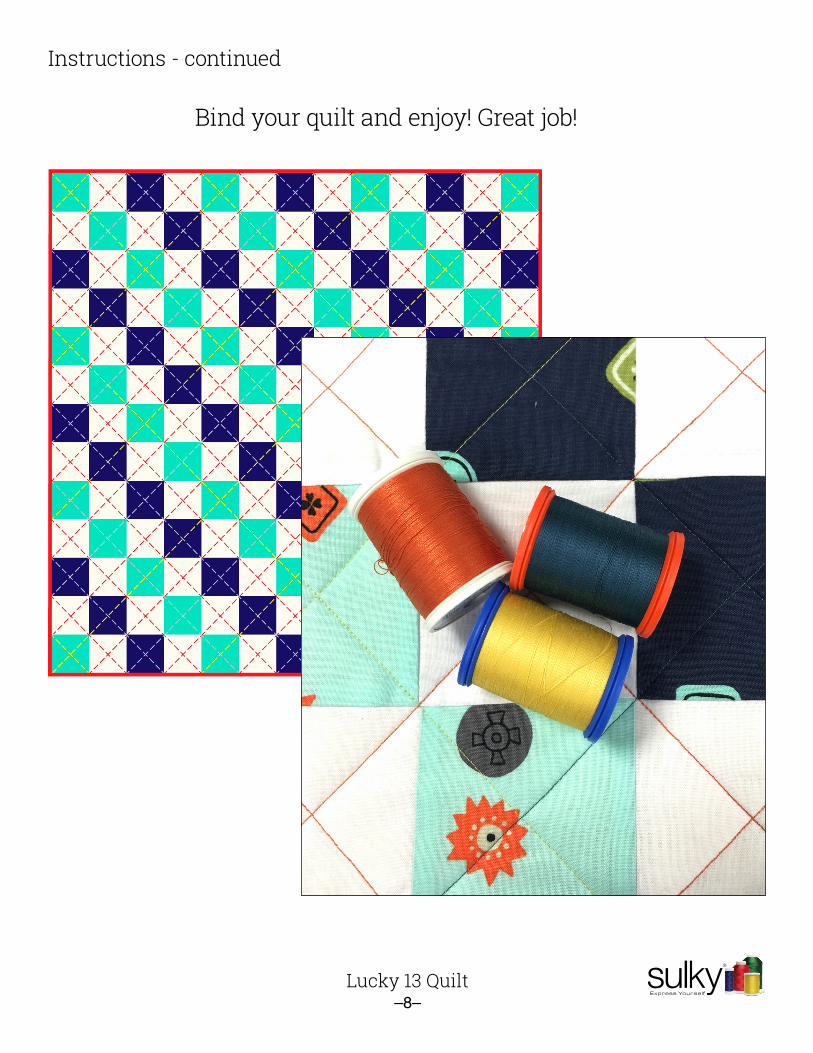
Instructions
Bind your quilt and enjoy! Great job!
- continued