Cooptracker (rcm).pptx
31
COOPTRACKER USER SETUP GUIDE
Transcript of Cooptracker (rcm).pptx
COOPTRACKER ���
USER SETUP GUIDE
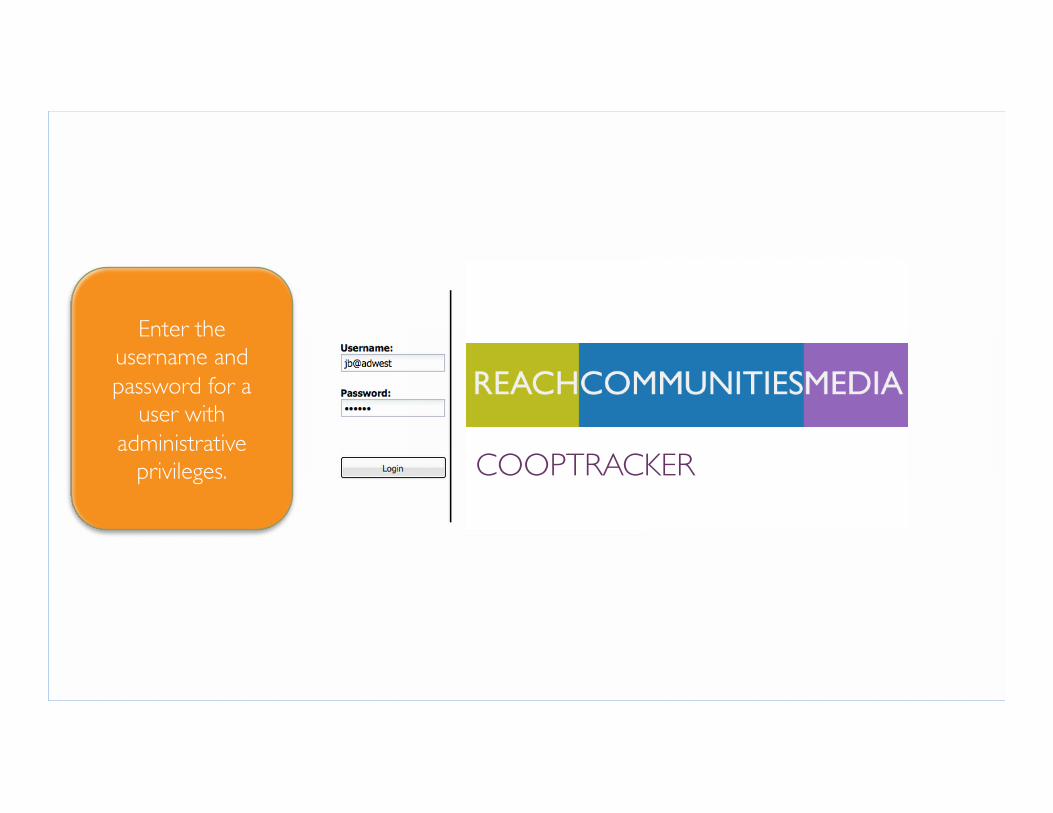
Enter the username and password for a
user with administrative
privileges. COOPTRACKER ���
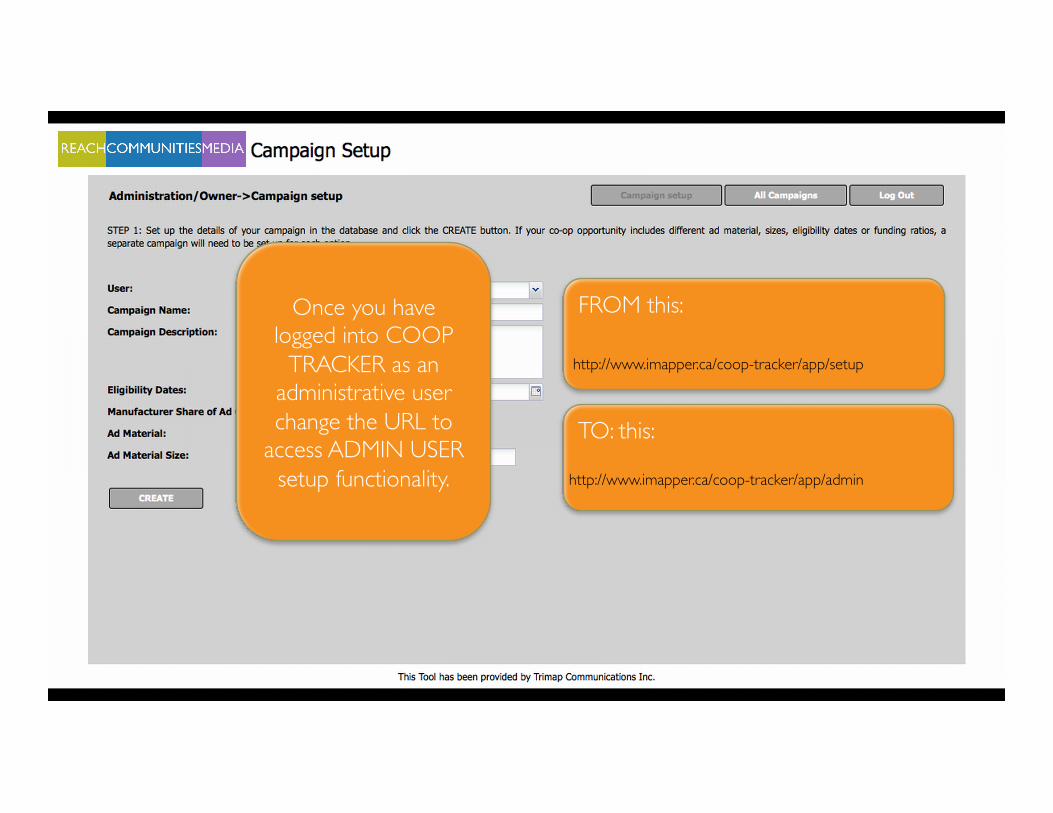
Once you have logged into COOP
TRACKER as an administrative user change the URL to
access ADMIN USER setup functionality.
FROM this:
TO: this:
http://www.imapper.ca/coop-tracker/app/setup
http://www.imapper.ca/coop-tracker/app/admin
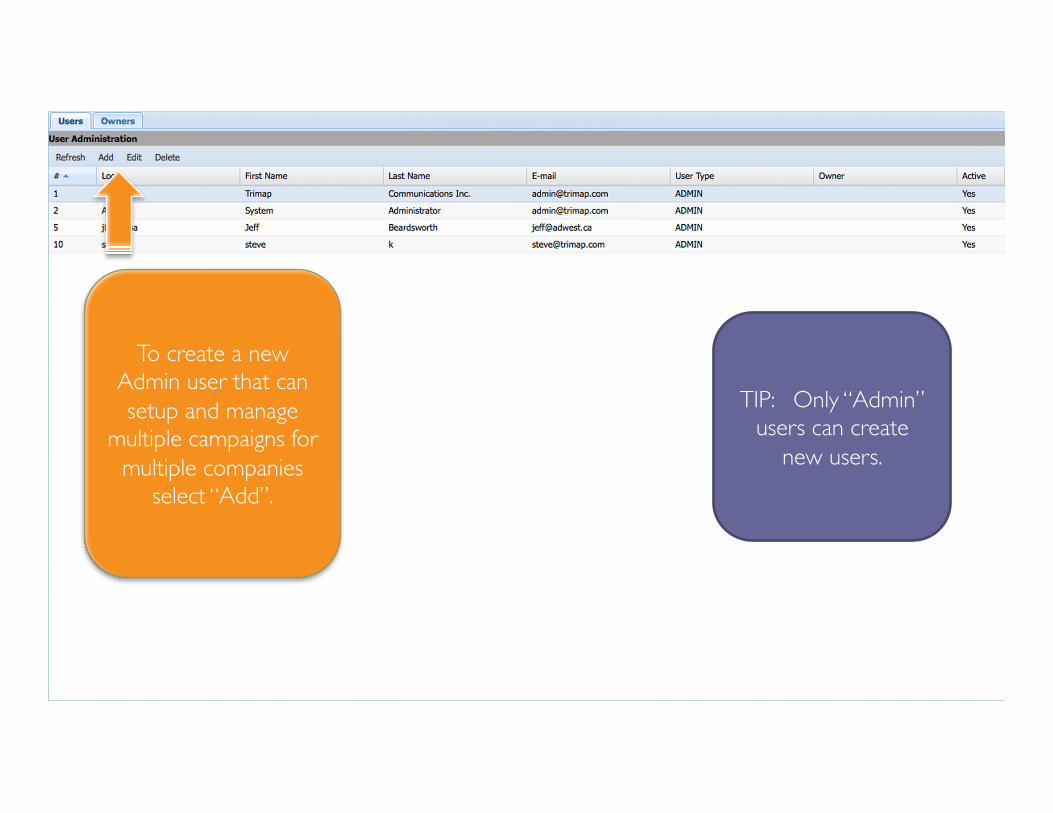
To create a new Admin user that can setup and manage
multiple campaigns for multiple companies
select “Add”.
TIP: Only “Admin” users can create
new users.
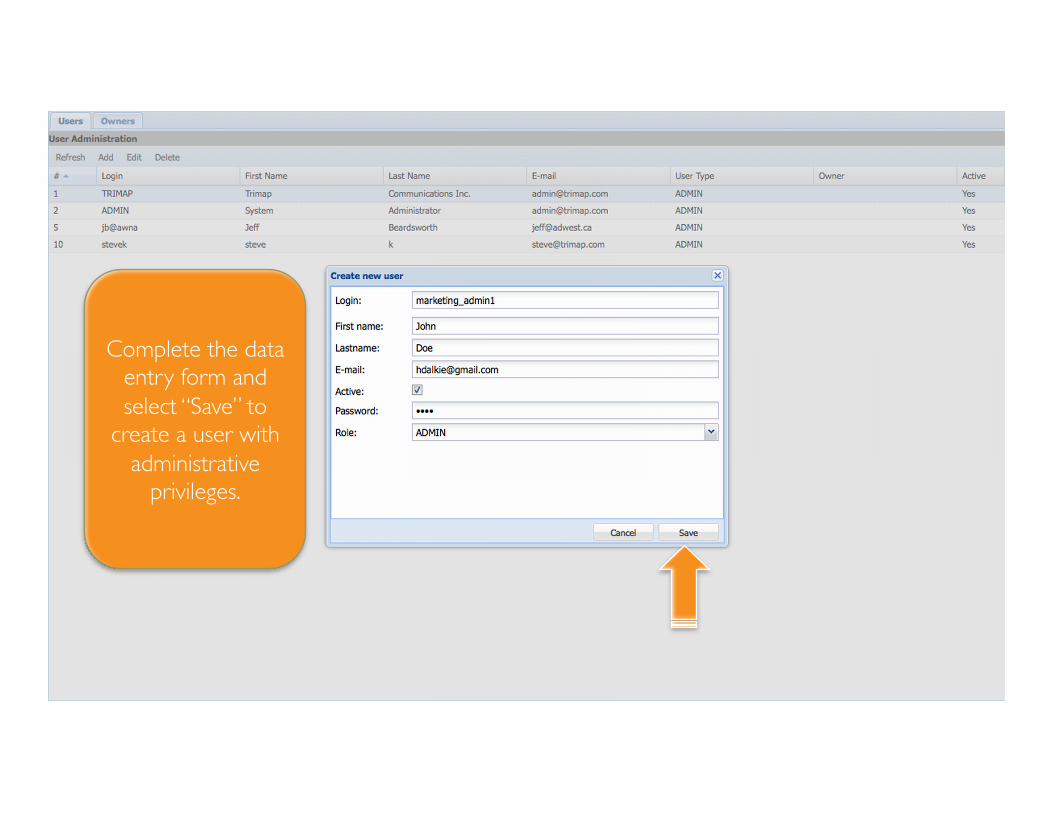
Complete the data entry form and select “Save” to
create a user with administrative
privileges.
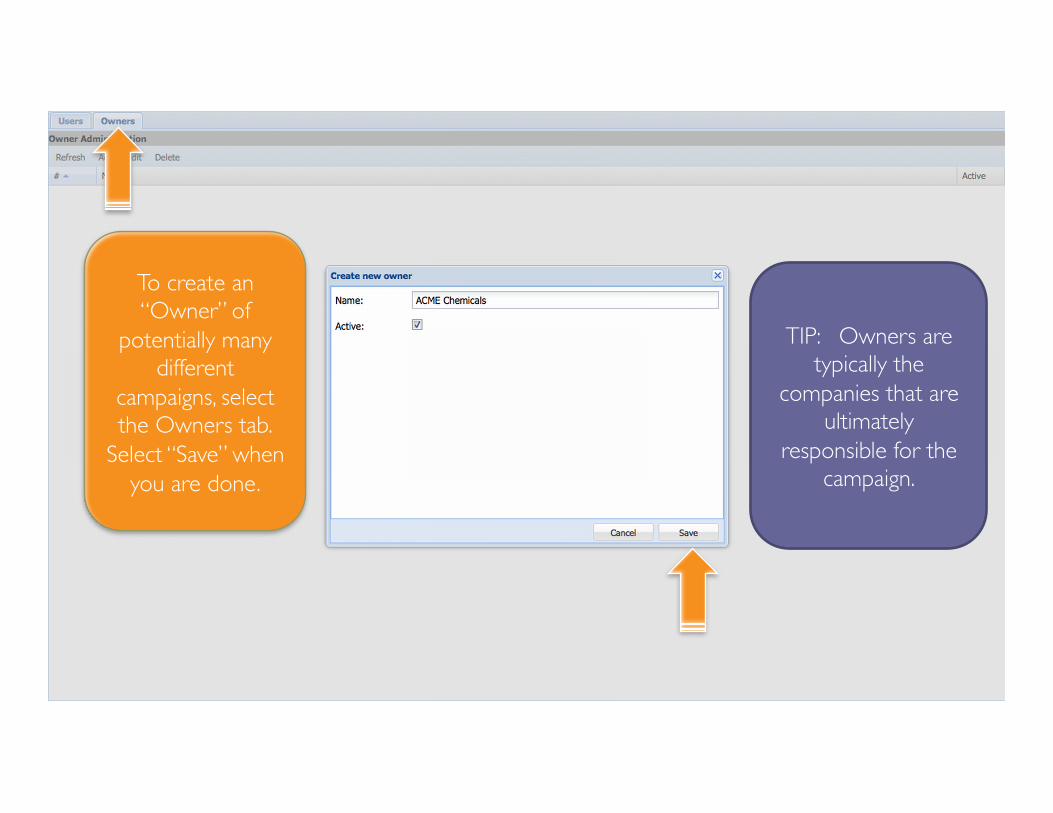
To create an “Owner” of
potentially many different
campaigns, select the Owners tab.
Select “Save” when you are done.
TIP: Owners are typically the
companies that are ultimately
responsible for the campaign.
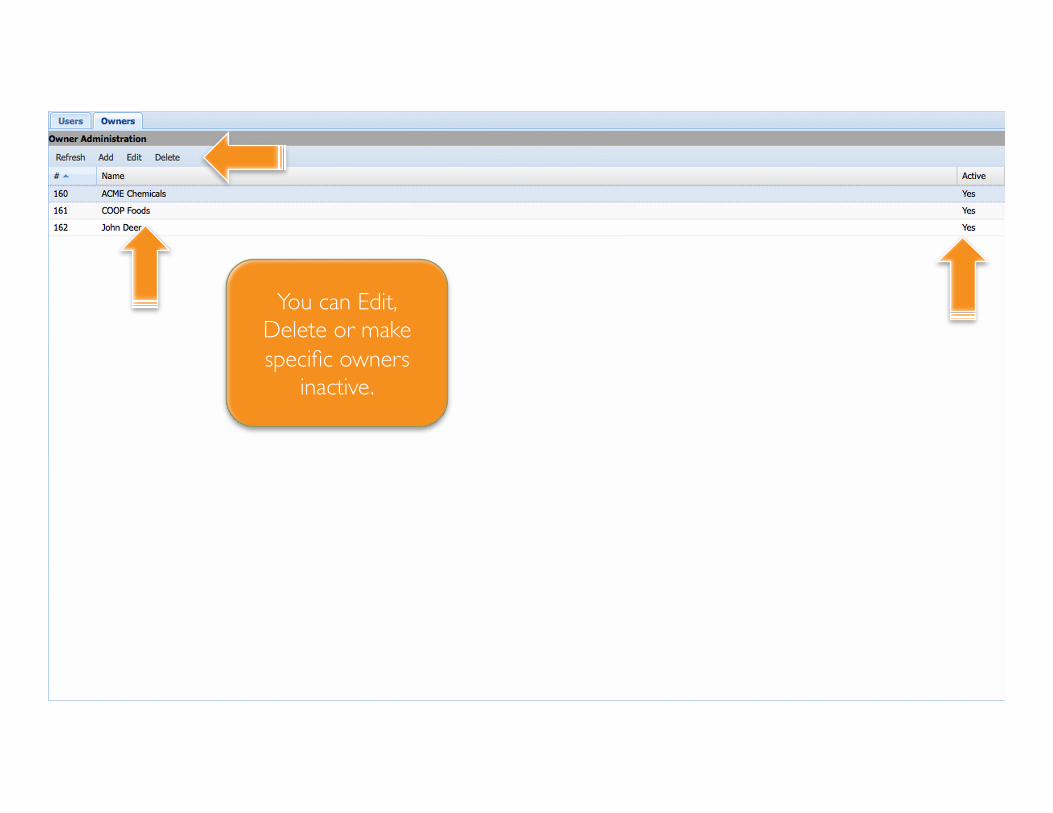
You can Edit, Delete or make specific owners
inactive.
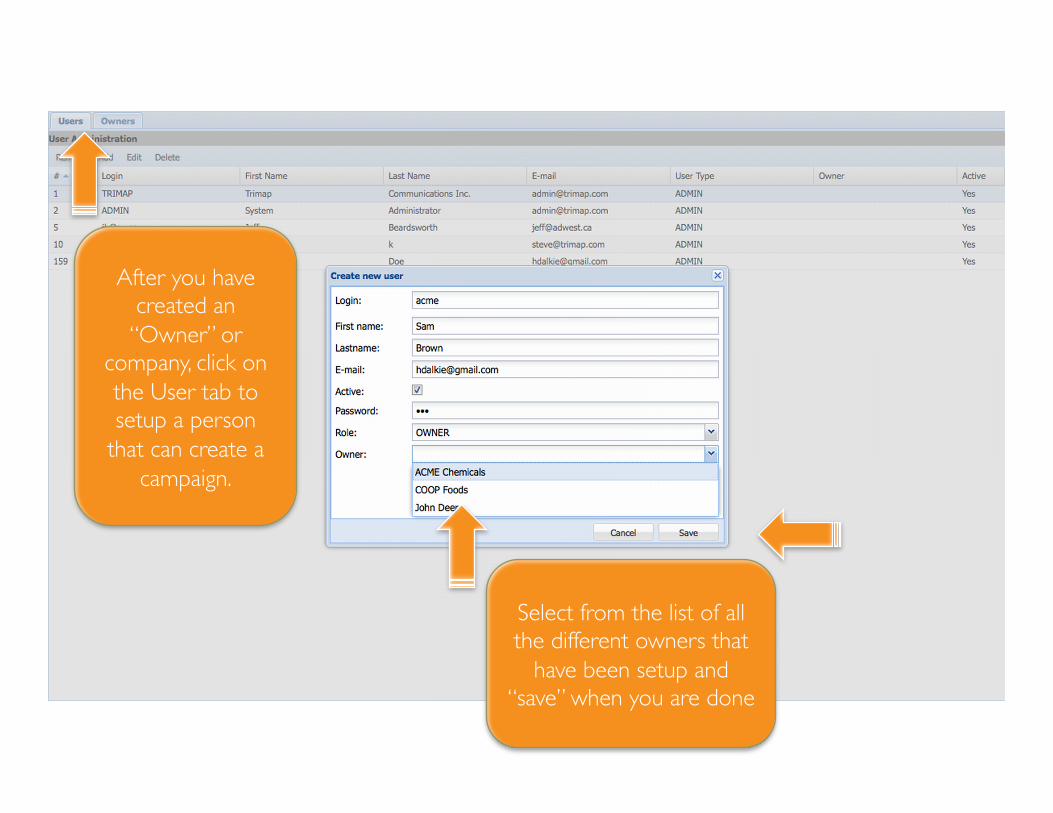
After you have created an
“Owner” or company, click on the User tab to setup a person
that can create a campaign.
Select from the list of all the different owners that
have been setup and “save” when you are done

COOPTRACKER ���
CAMPAIGN SETUP GUIDE
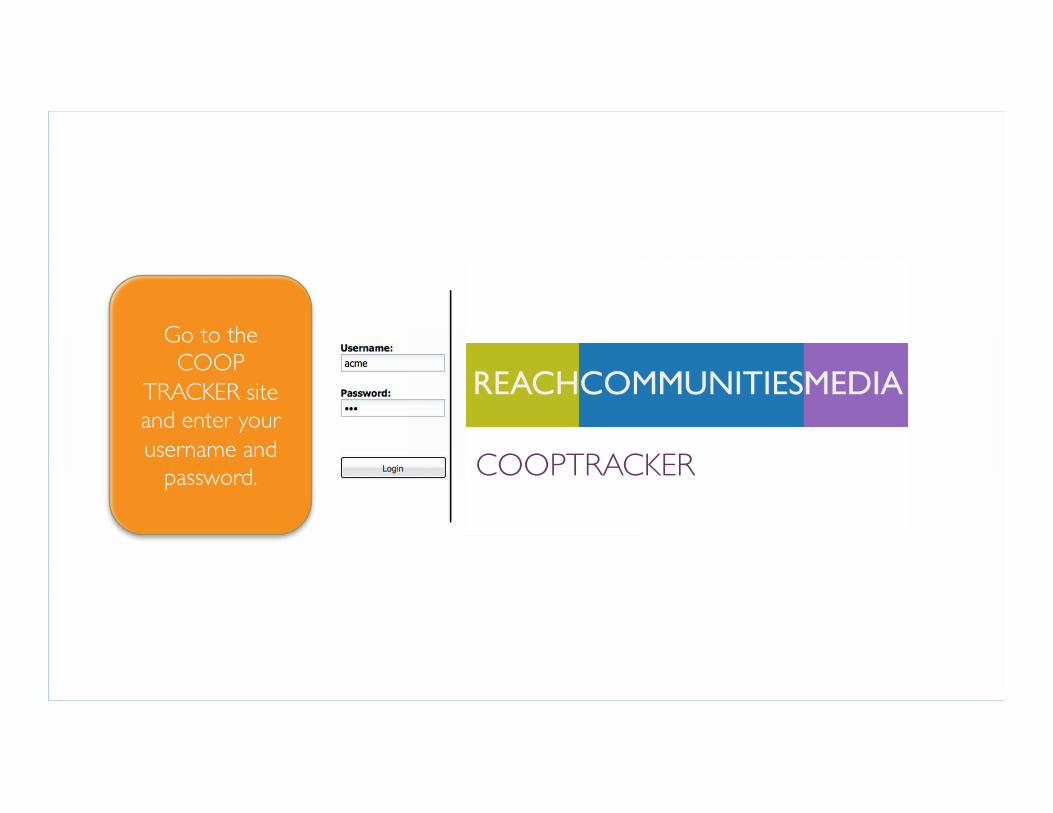
Go to the COOP
TRACKER site and enter your username and
password. COOPTRACKER ���
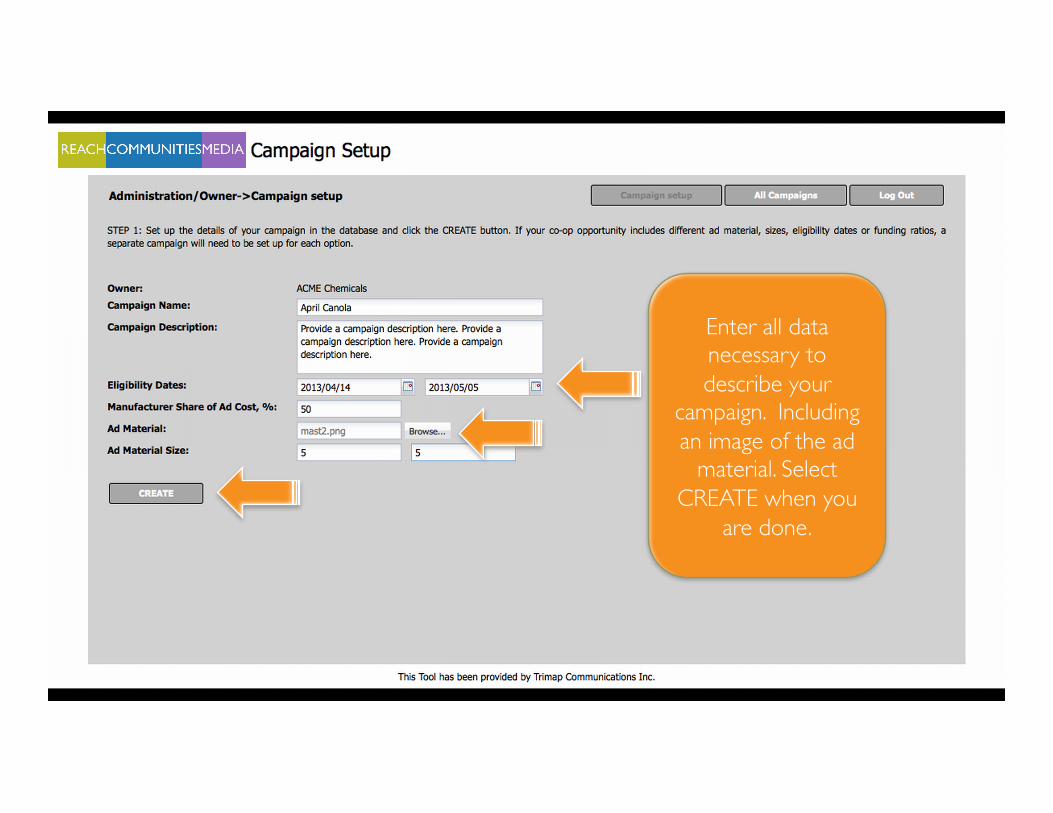
Enter all data necessary to describe your
campaign. Including an image of the ad
material. Select CREATE when you
are done.
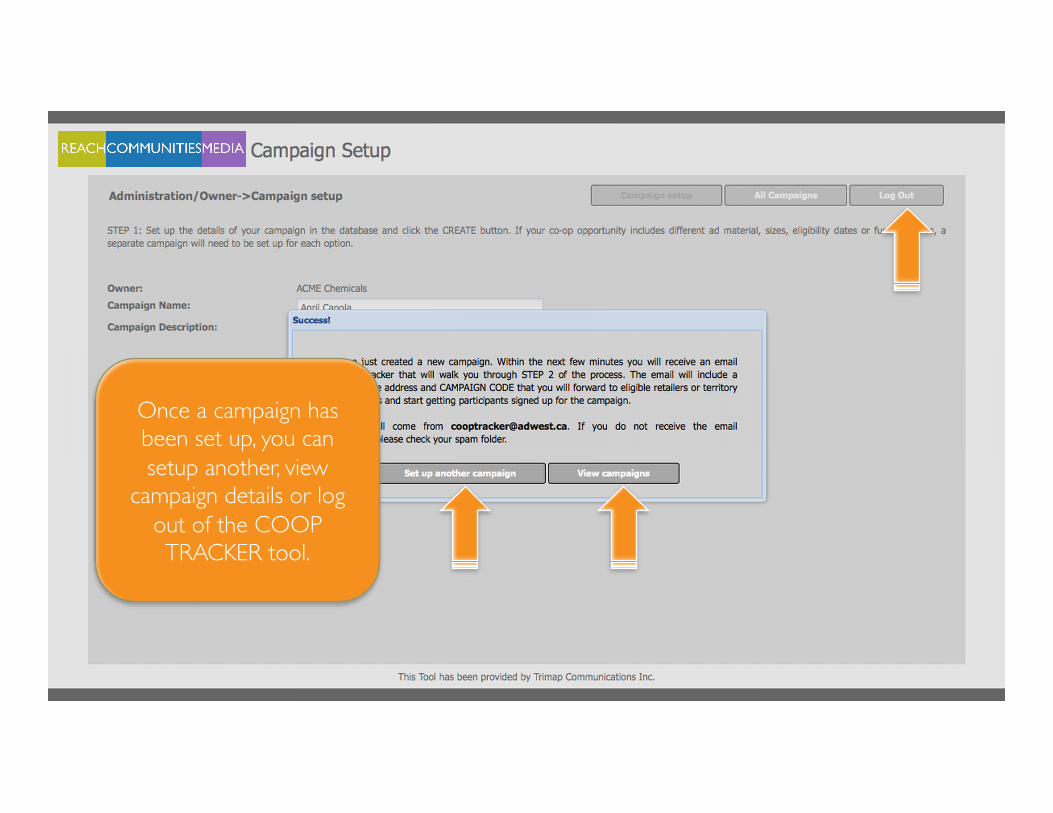
Once a campaign has been set up, you can setup another, view
campaign details or log out of the COOP TRACKER tool.
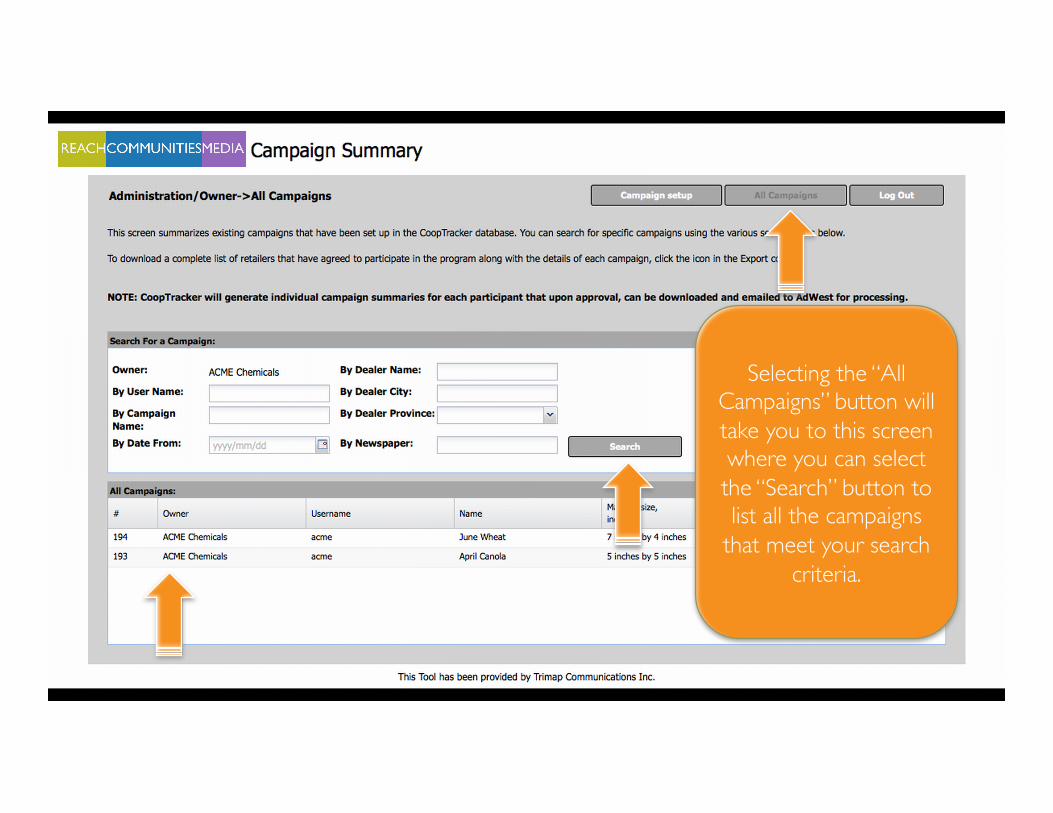
Selecting the “All Campaigns” button will take you to this screen where you can select the “Search” button to list all the campaigns
that meet your search criteria.

Selecting the “Export” button will export all applicable data for a campaign into Excel.
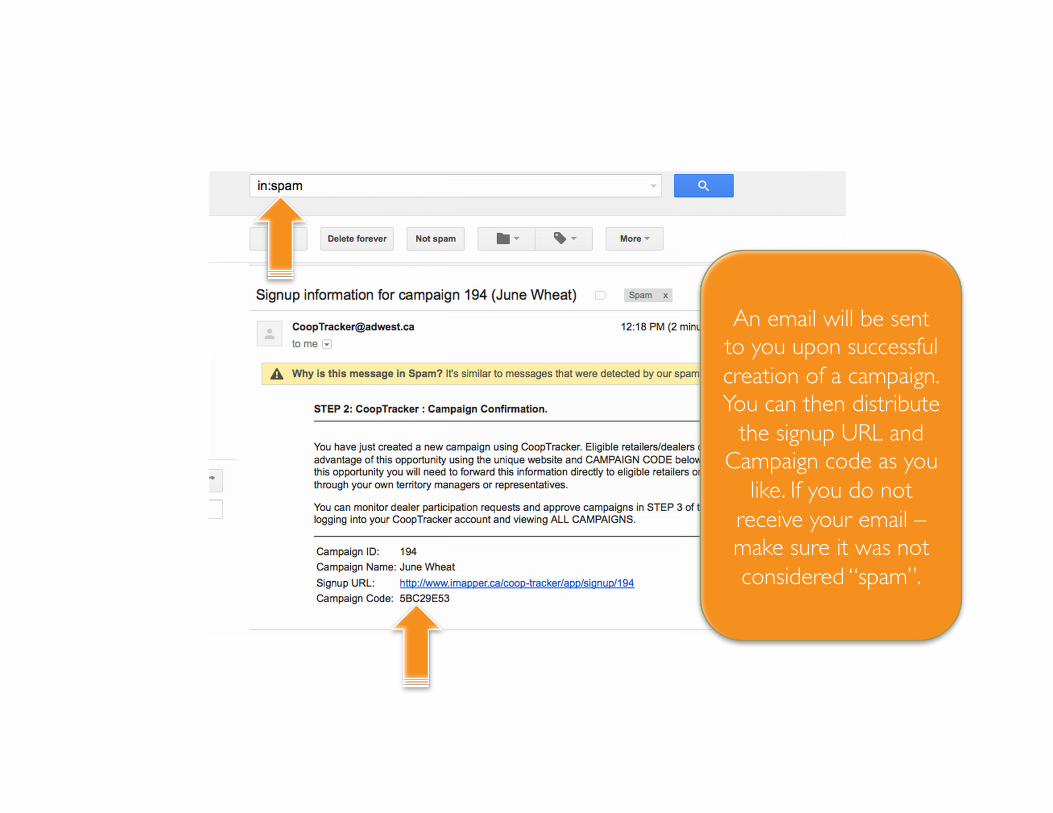
An email will be sent to you upon successful creation of a campaign. You can then distribute
the signup URL and Campaign code as you
like. If you do not receive your email – make sure it was not considered “spam”.

COOPTRACKER ���
USER GUIDE
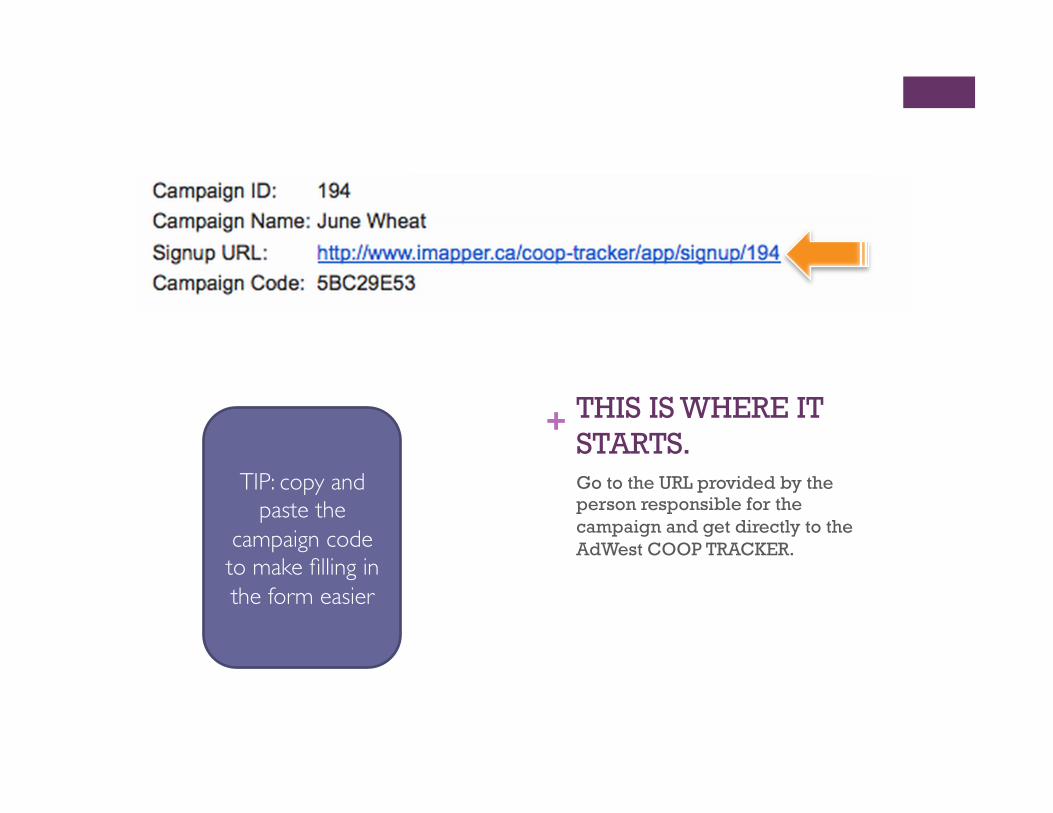
+ THIS IS WHERE IT STARTS. Go to the URL provided by the person responsible for the campaign and get directly to the AdWest COOP TRACKER.
TIP: copy and paste the
campaign code to make filling in the form easier
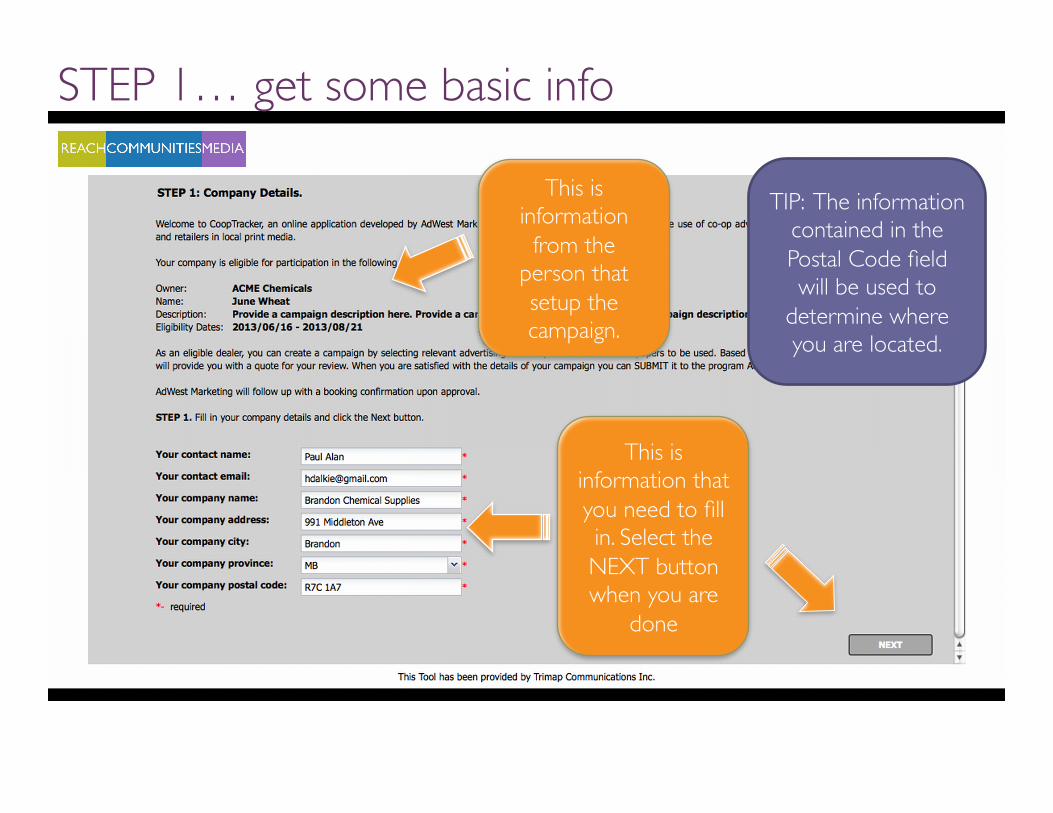
This is information from the
person that setup the campaign.
This is information that you need to fill in. Select the NEXT button when you are
done
TIP: The information contained in the Postal Code field will be used to
determine where you are located.
STEP 1… get some basic info
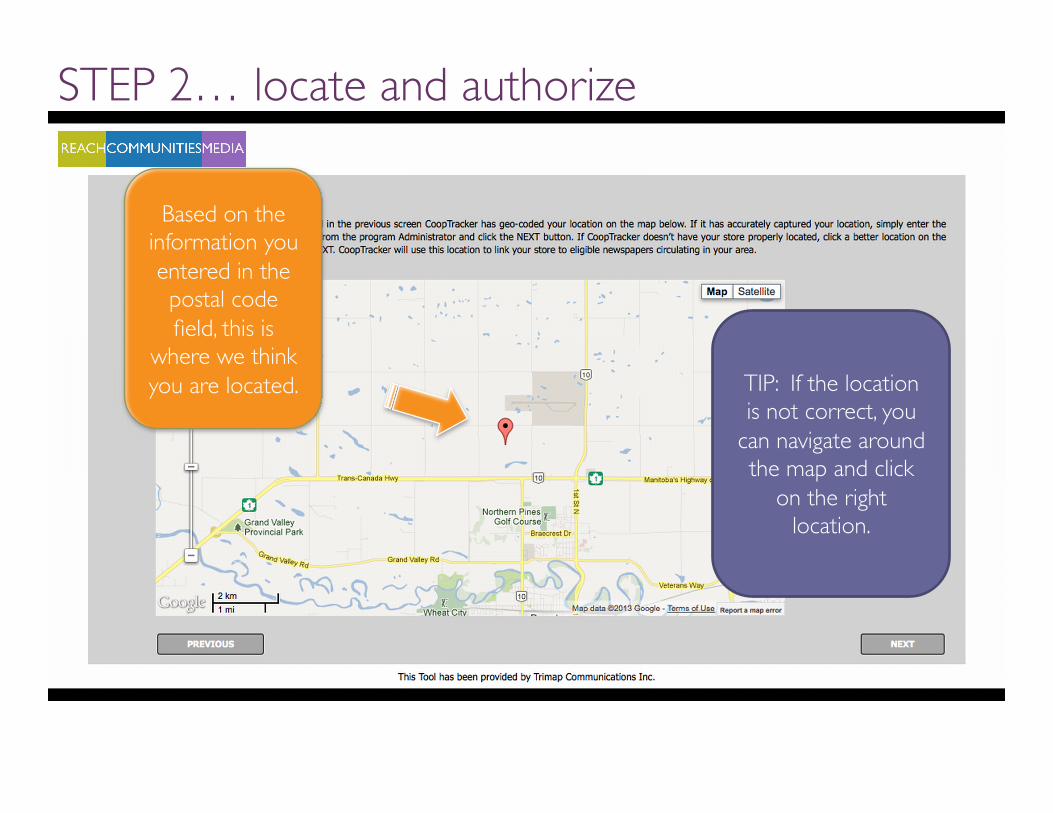
STEP 2… locate and authorize
Based on the information you entered in the postal code field, this is
where we think you are located. TIP: If the location
is not correct, you can navigate around the map and click
on the right location.
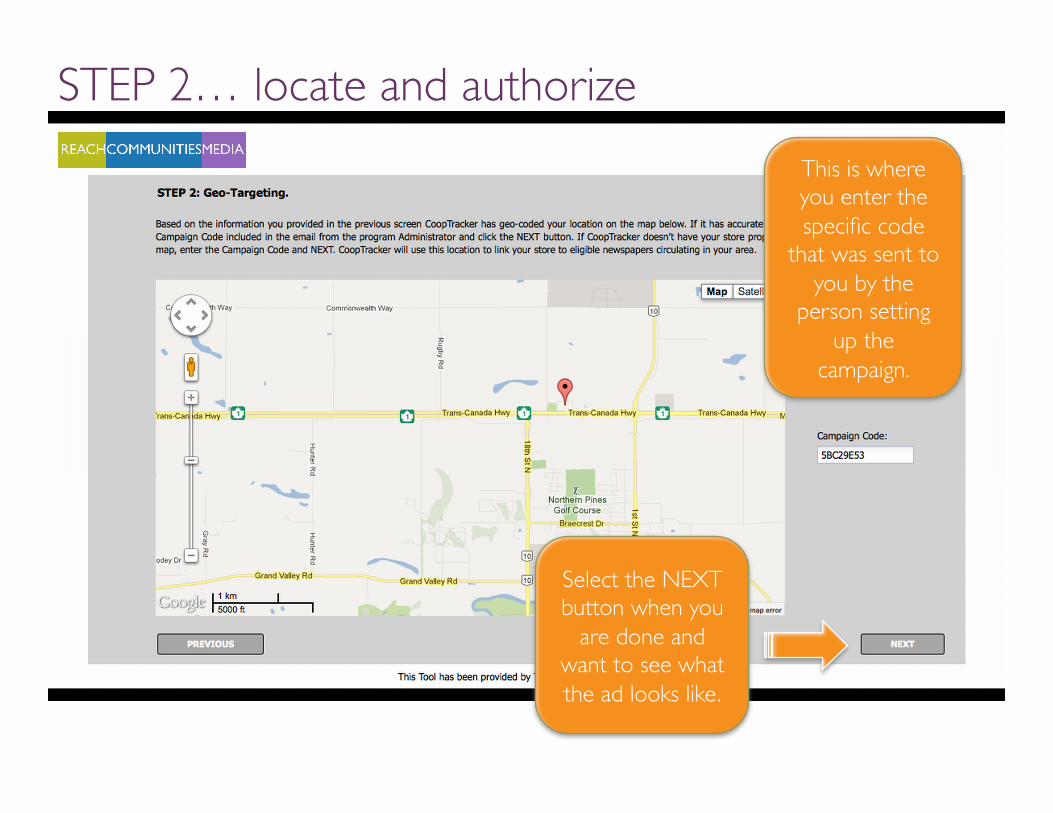
STEP 2… locate and authorize This is where you enter the specific code
that was sent to you by the
person setting up the
campaign.
Select the NEXT button when you
are done and want to see what the ad looks like.
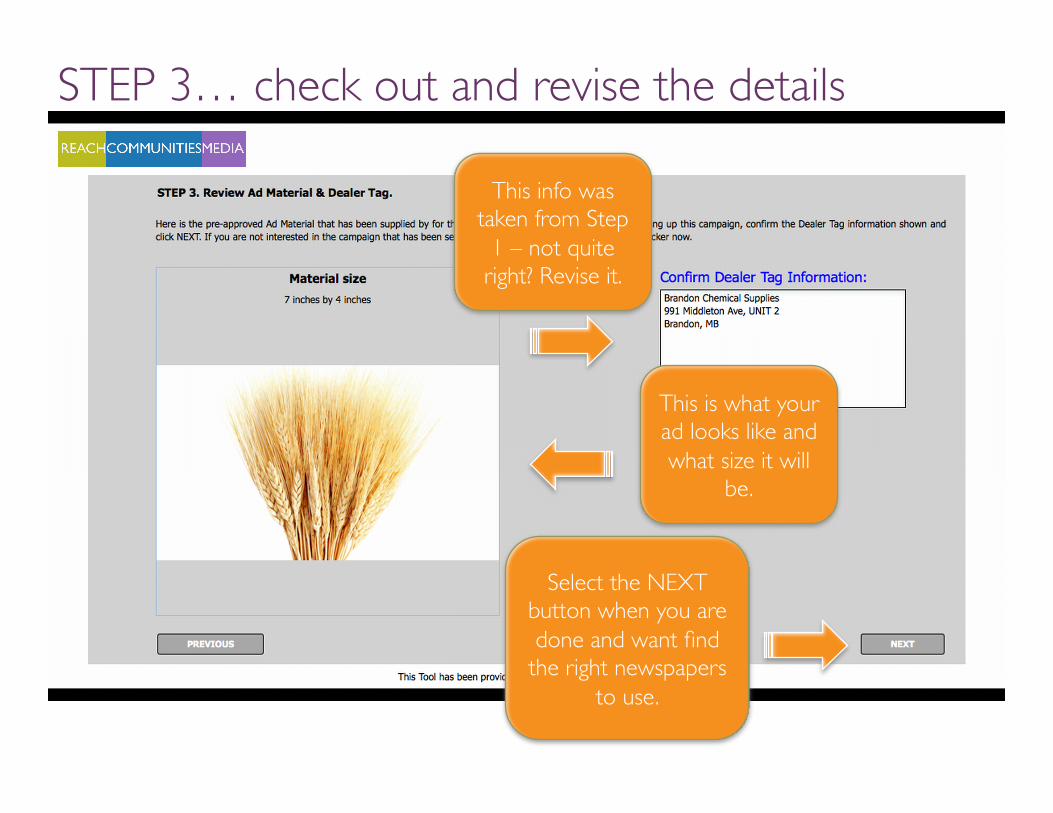
STEP 3… check out and revise the details
This is what your ad looks like and what size it will
be.
This info was taken from Step
1 – not quite right? Revise it.
Select the NEXT button when you are done and want find
the right newspapers to use.
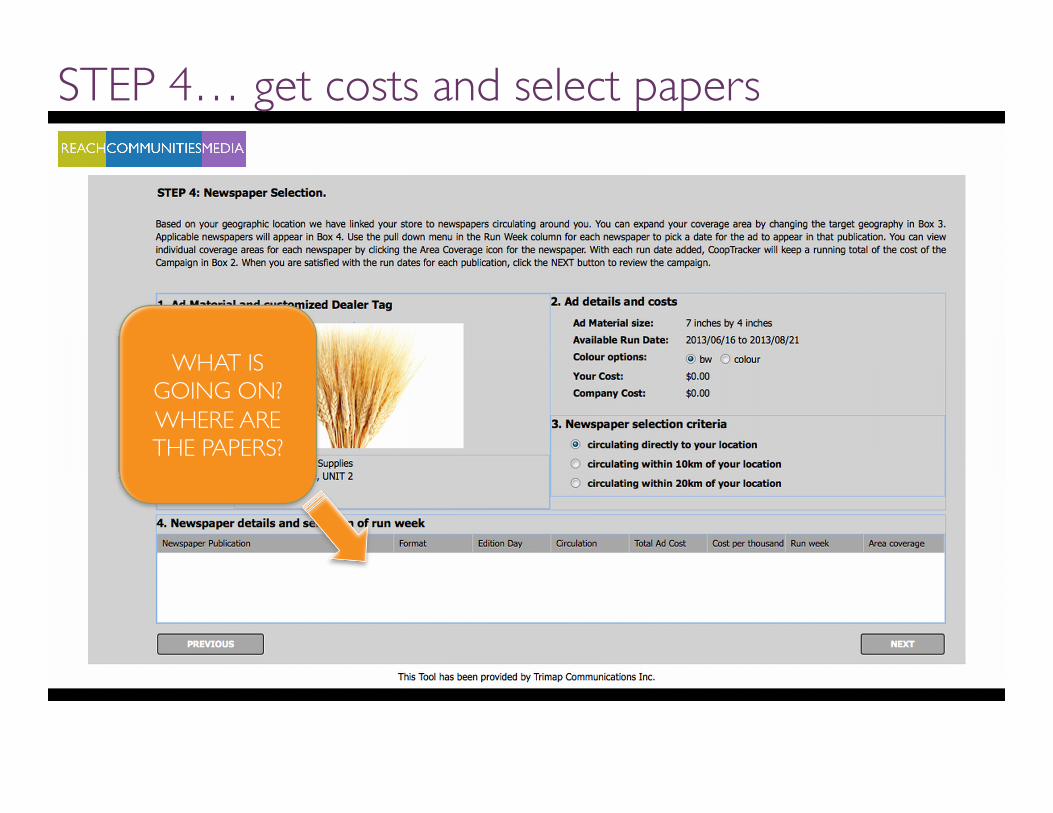
STEP 4… get costs and select papers
WHAT IS GOING ON? WHERE ARE THE PAPERS?
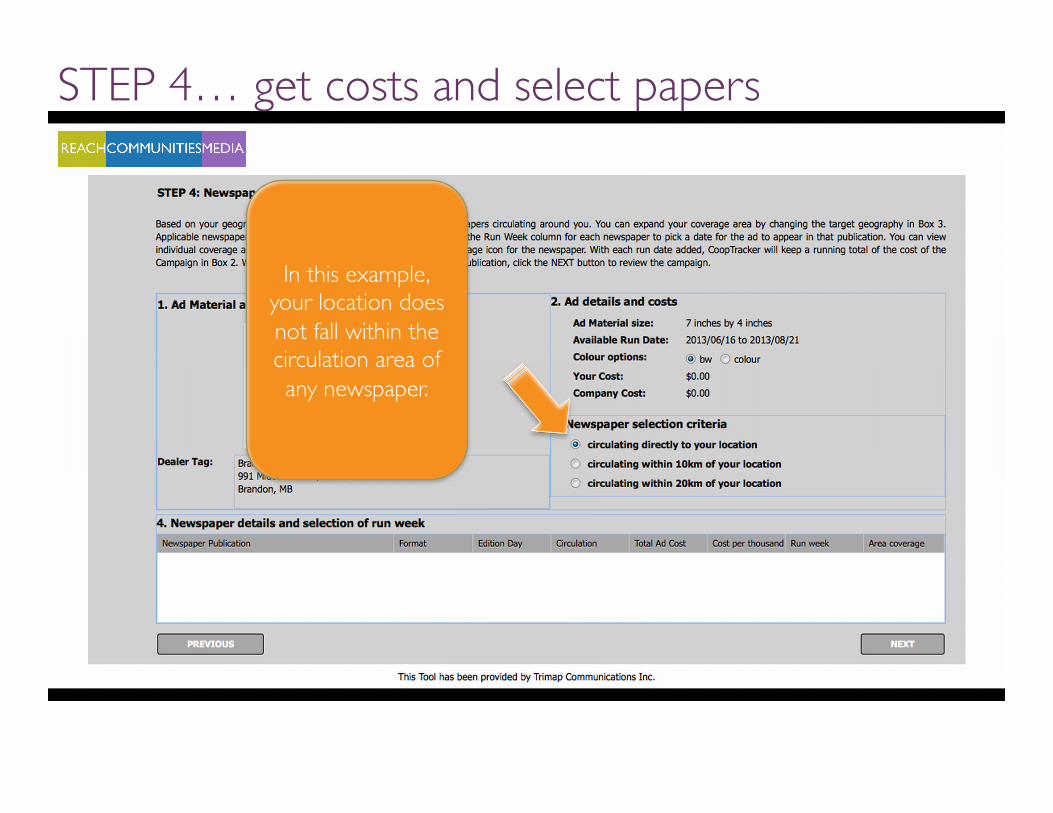
STEP 4… get costs and select papers
In this example, your location does not fall within the circulation area of any newspaper.
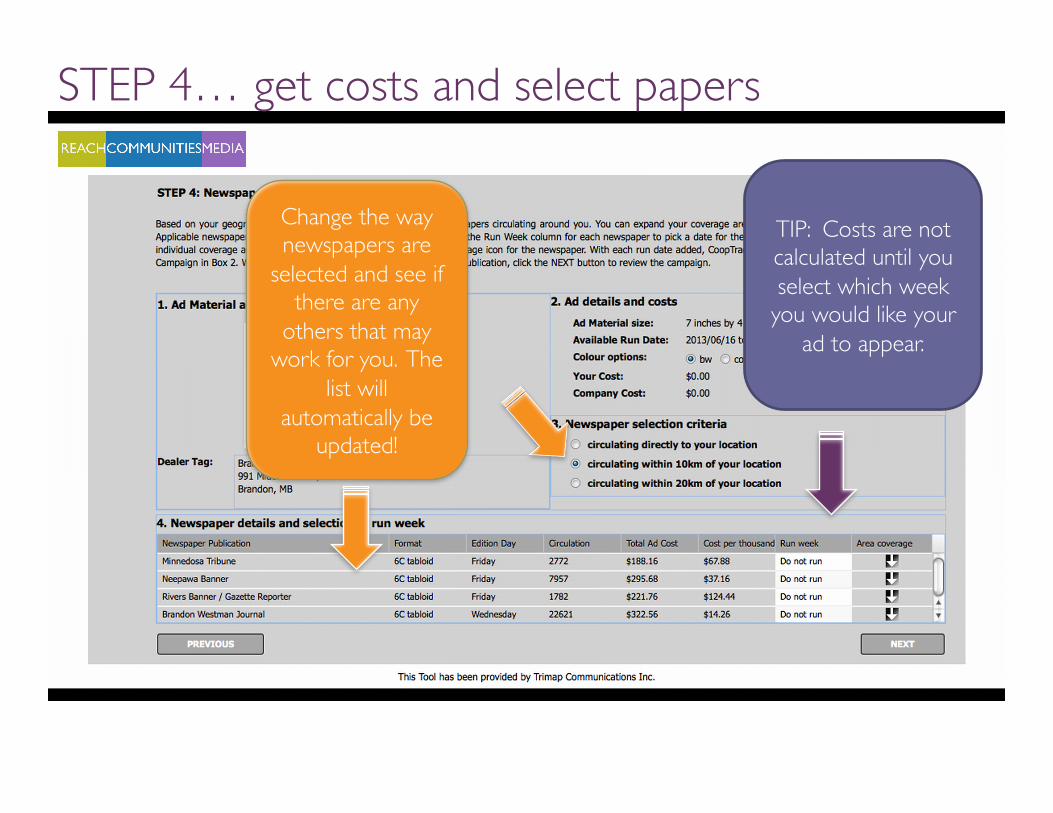
Change the way newspapers are
selected and see if there are any
others that may work for you. The
list will automatically be
updated!
TIP: Costs are not calculated until you select which week
you would like your ad to appear.
STEP 4… get costs and select papers
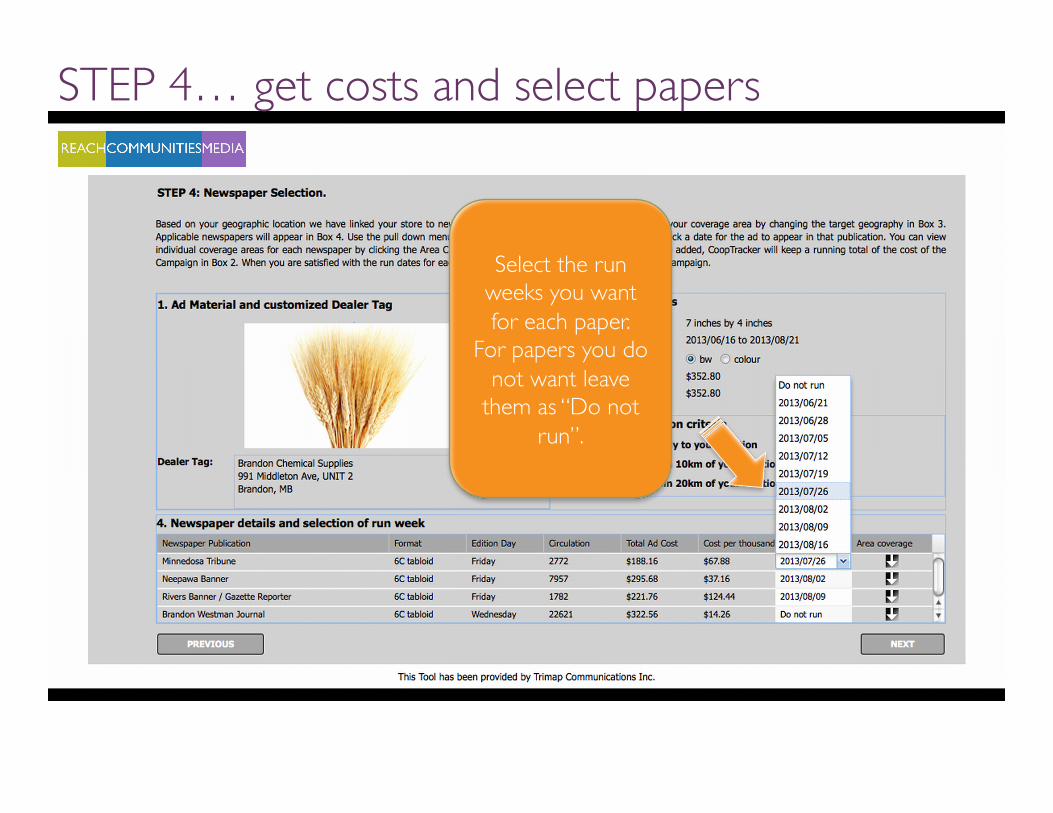
STEP 4… get costs and select papers
Select the run weeks you want for each paper.
For papers you do not want leave
them as “Do not run”.
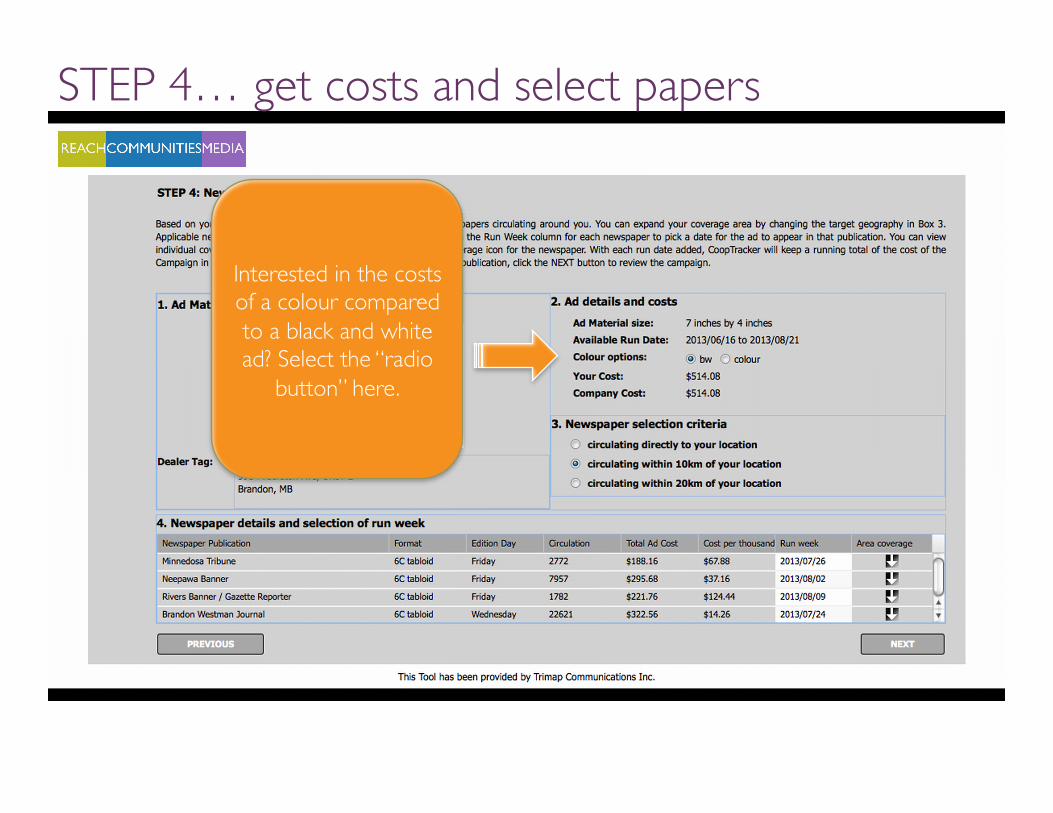
STEP 4… get costs and select papers
Interested in the costs of a colour compared to a black and white ad? Select the “radio
button” here.

STEP 4… get costs and select papers
Costs will be automatically
updated.
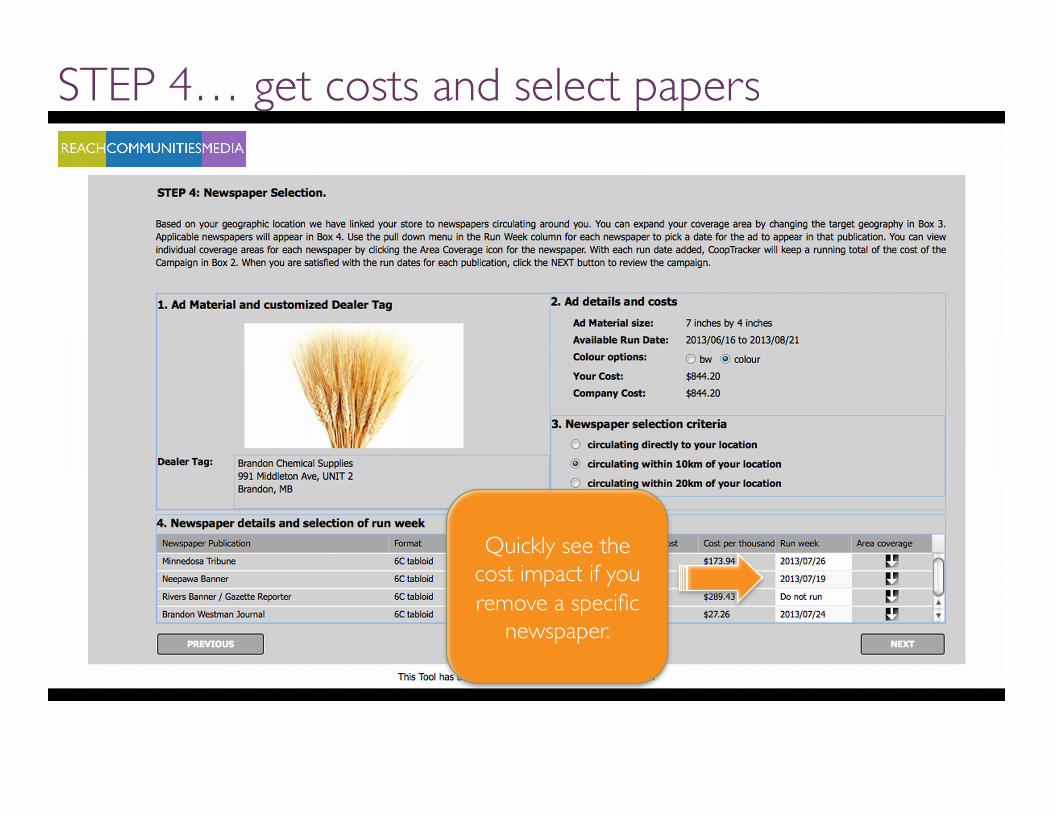
STEP 4… get costs and select papers
Quickly see the cost impact if you remove a specific
newspaper.
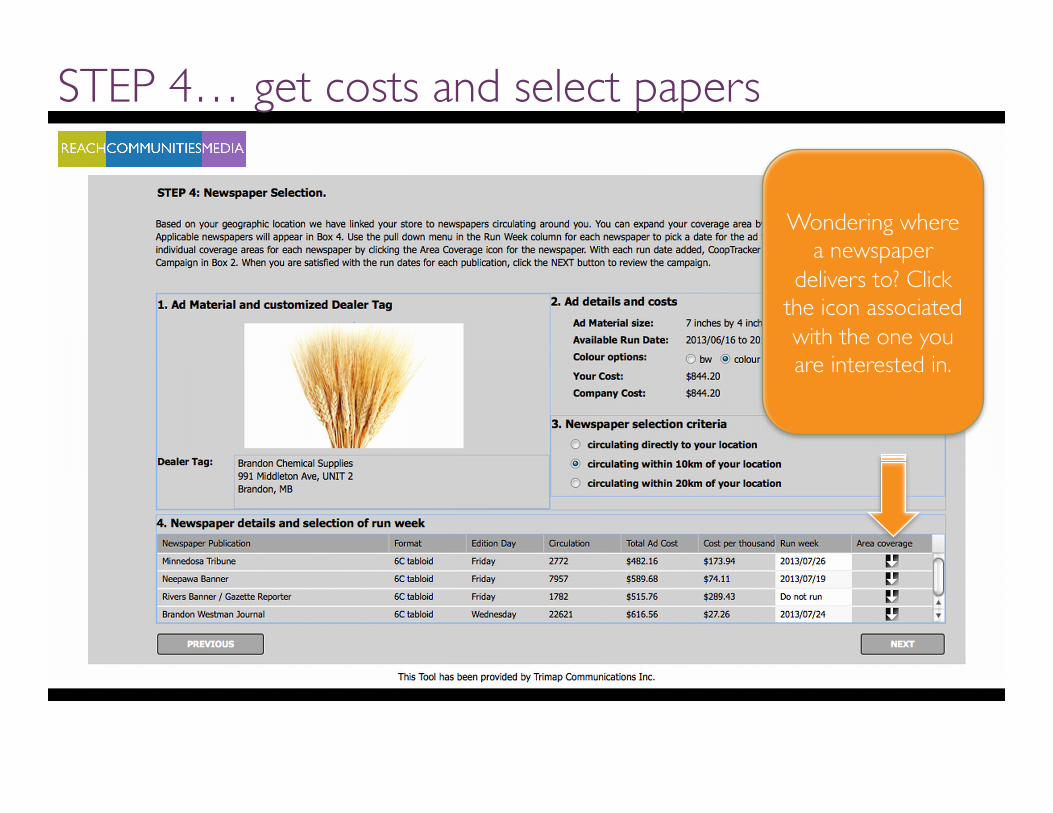
STEP 4… get costs and select papers
Wondering where a newspaper
delivers to? Click the icon associated with the one you are interested in.
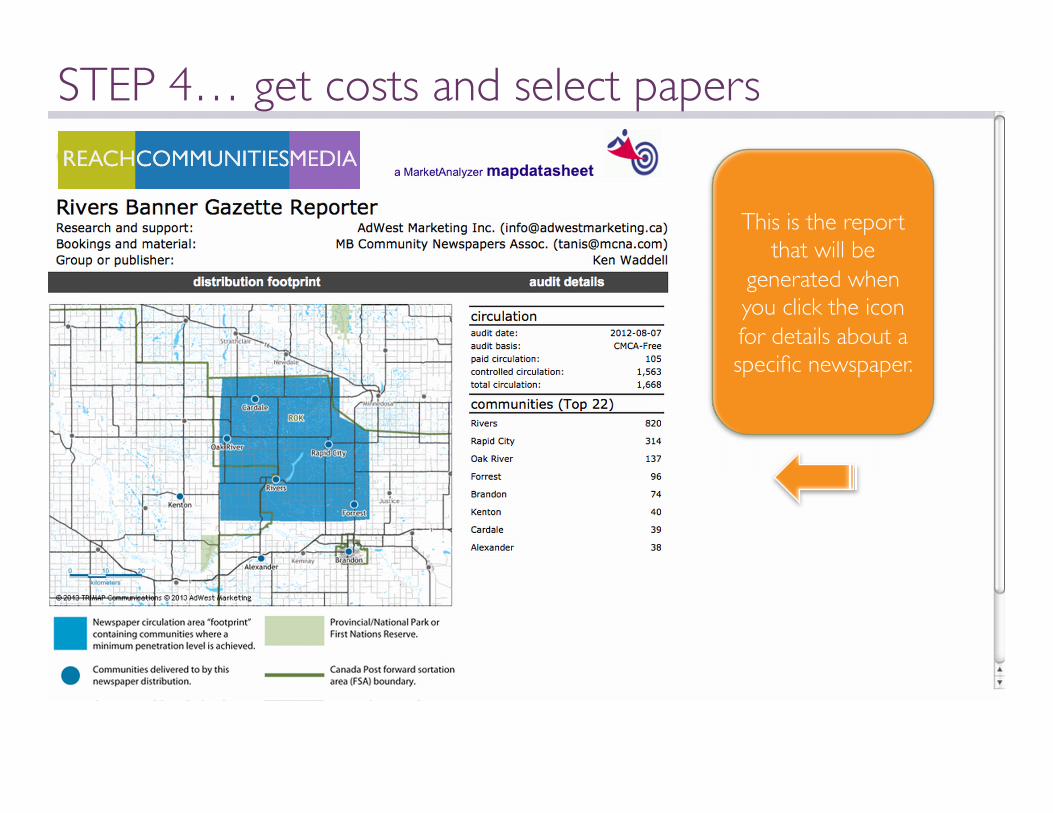
STEP 4… get costs and select papers
This is the report that will be
generated when you click the icon for details about a specific newspaper.
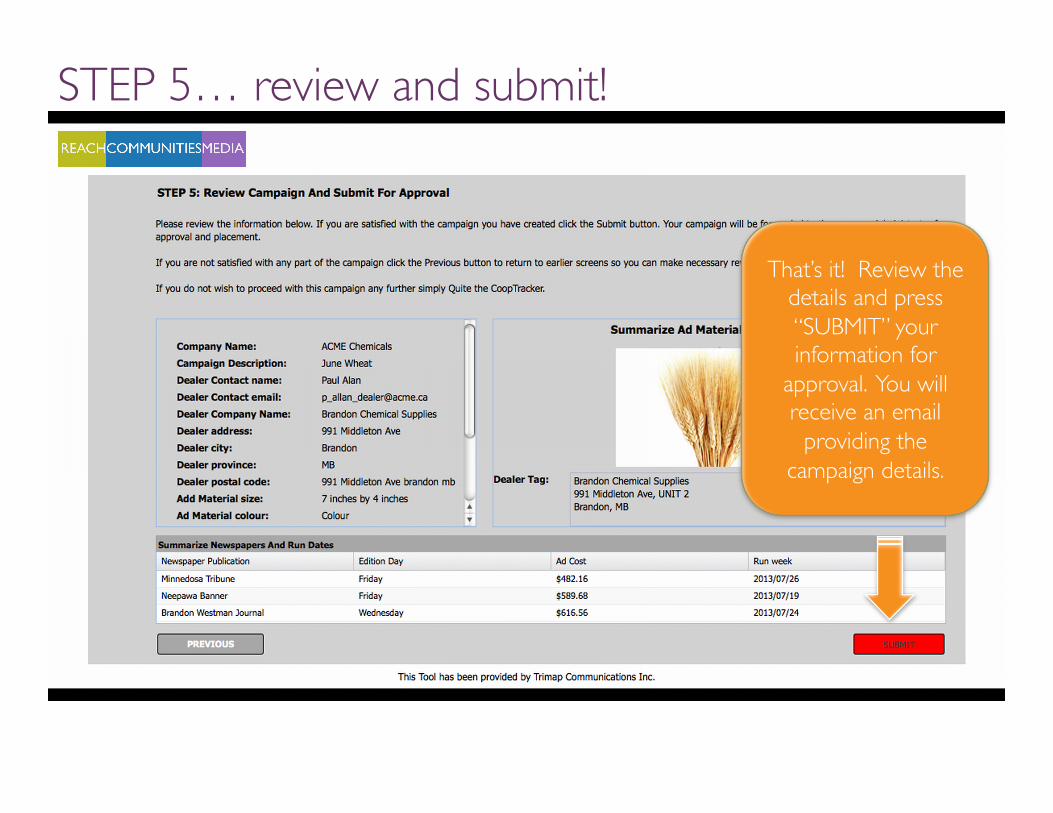
STEP 5… review and submit!
That’s it! Review the details and press “SUBMIT” your information for
approval. You will receive an email
providing the campaign details.